TLDR: I need to make the following repairs to my Roland Alpha Juno 2
- Fix the touch sensitivity of one of the keys
- Fix the non-sounding keys
- Replace the back light
- Replace the battery
- Give it a good clean, inside and out
Using online articles and YouTube videos, I get into the repairs after sharing my history with this synth.
I saved up and bought it new in around 1986. I originally had a couple of small Casio keyboards PT-50 and MT-400V, and got my hands on a Roland SH-101 but wanted to step up to a polyphonic synth.
I was on a year out after my A-Levels, and earning, so a bus ride to into Manchester to hand over some cash (around £700 if i recall) and pick up my new Roland Alpha Juno 2. I’d never call myself a musician – I just enjoyed playing with the synthesis and trying to emulate the sounds of my favourite artists and bands of that time: Jean Michelle Jarre, Gary Numan, Ultravox, Human League, OMD and Pink Floyd.
I have always liked this synth and the feel of its semi-weighted keyboard and it seems to have lately found some popularity as a retro synth used by artists such as Kebu.
The synth (and home made amp) came with, as I left home in 1988 to study for my Computer Science degree. It survived the halls of residence and two student houses despite a near constant fear of being burgled.
In my first year however, it started behaving erratically and needed a repair. Rock city in Middlesborough did the repair job, which included replacement of the memory backup battery and some fuses. It hadn’t been again since. I’m amazed that the patches programmed over 30 years ago remain intact. Having owned it from new, I attach a lot of sentimental value to this synth and I don’t want to ruin it while I attempt to repair it.
I was able to find the reference materials on manualslib. Additionally I searched and found a number of repair videos on YouTube:
- https://youtu.be/0u3WXF193vY?si=2McEUB9gAyo2ADcx
- https://youtu.be/EvAquxPbCQo?si=31939DMhB_n8toG-
- Keyboard repair key fix roland juno dead keys
Saving the patches
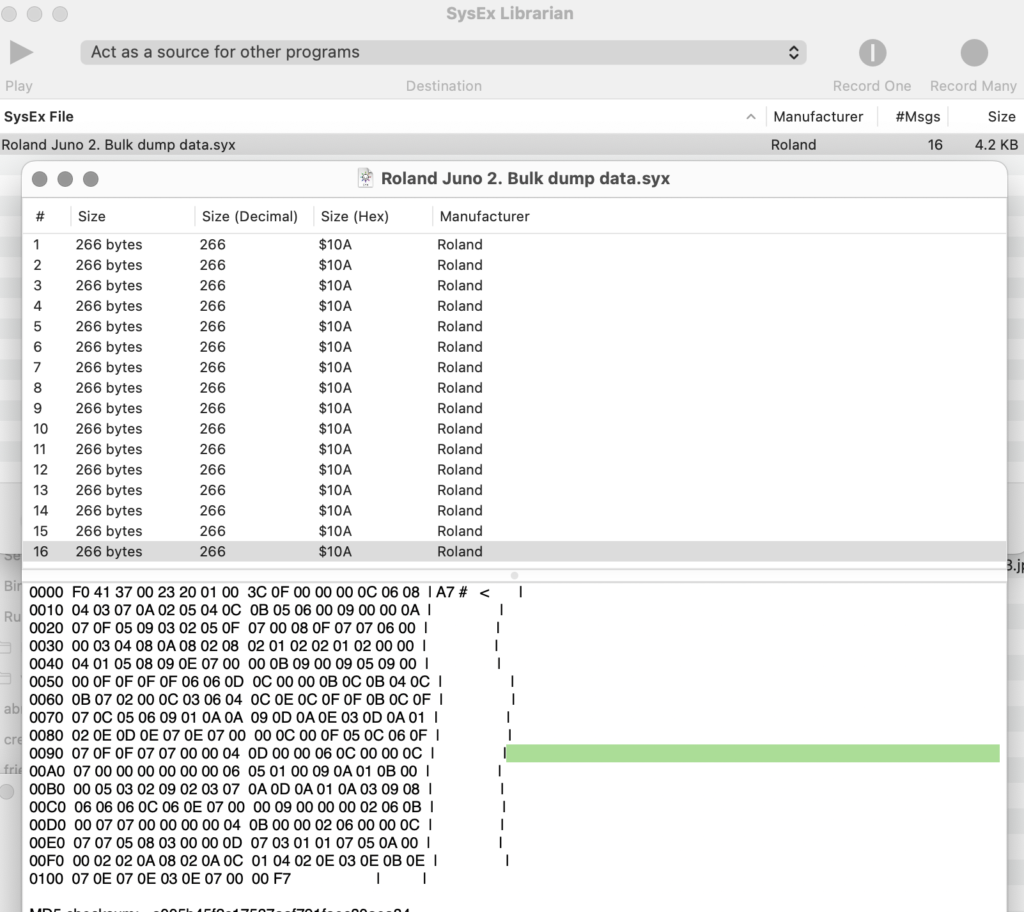
Since I am going to change the battery, I need to dave the patch memory. To do that I used SysEx library on my Mac, and on the Juno, pressed simultaneously:
- Data transfer
- WRITE
- Bulk
This sent 16 messages (4.2 Kb) to SysEx Library, which seems tiny by todays standards, but represents the 64 user defined patches.
Bad keys
First I marked the affected keys with tape:
- The bottom C key, always plays 20% louder than other keys
- The top D key, always plays 100% velocity, no matter how softly played
- The middle G key does not sound

Once inside, removing the keybed is a delicate and fiddly process – since the main board is slotted into the keybed. A rough hand could easily cause damage to that board. Ever careful to take photos of all the connectors in place, to provide reference for reassembly.
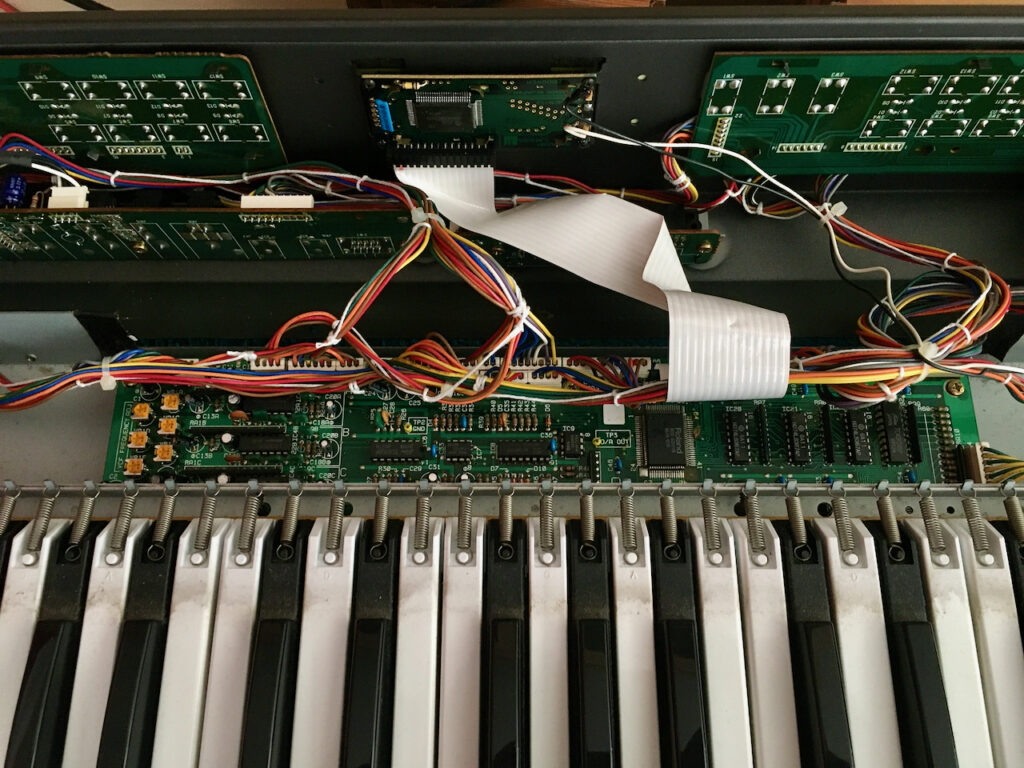
The approach I took unscrew the board from the frame and slide it out, disconnecting the many connectors. Once the main board was free, I unscrewed the keybed from outside of the case and worked on it separately, away from the delicate electronics.
To get to the contacts we need to first remove the keys to which there are 3 stages:
- Remove the springs, keeping the shorter springs of the black keys separate from the larger springs for the white keys
- Underneath the keys, unstick and put aside the ‘Key Stoppers’ (clear plastic strips) that prevent the keys from slipping forwards.
- The keys will now pull forward and can be removed
Despite a good portion of its time boxed, thirty-odd years of dirt had certainly built up. With all the keys removed, all the dirt was brushed and vacuumed away, then the graphite pads of the affected keys cleaned. Removing the glue used to stick the key stoppers was the most time consuming effort.
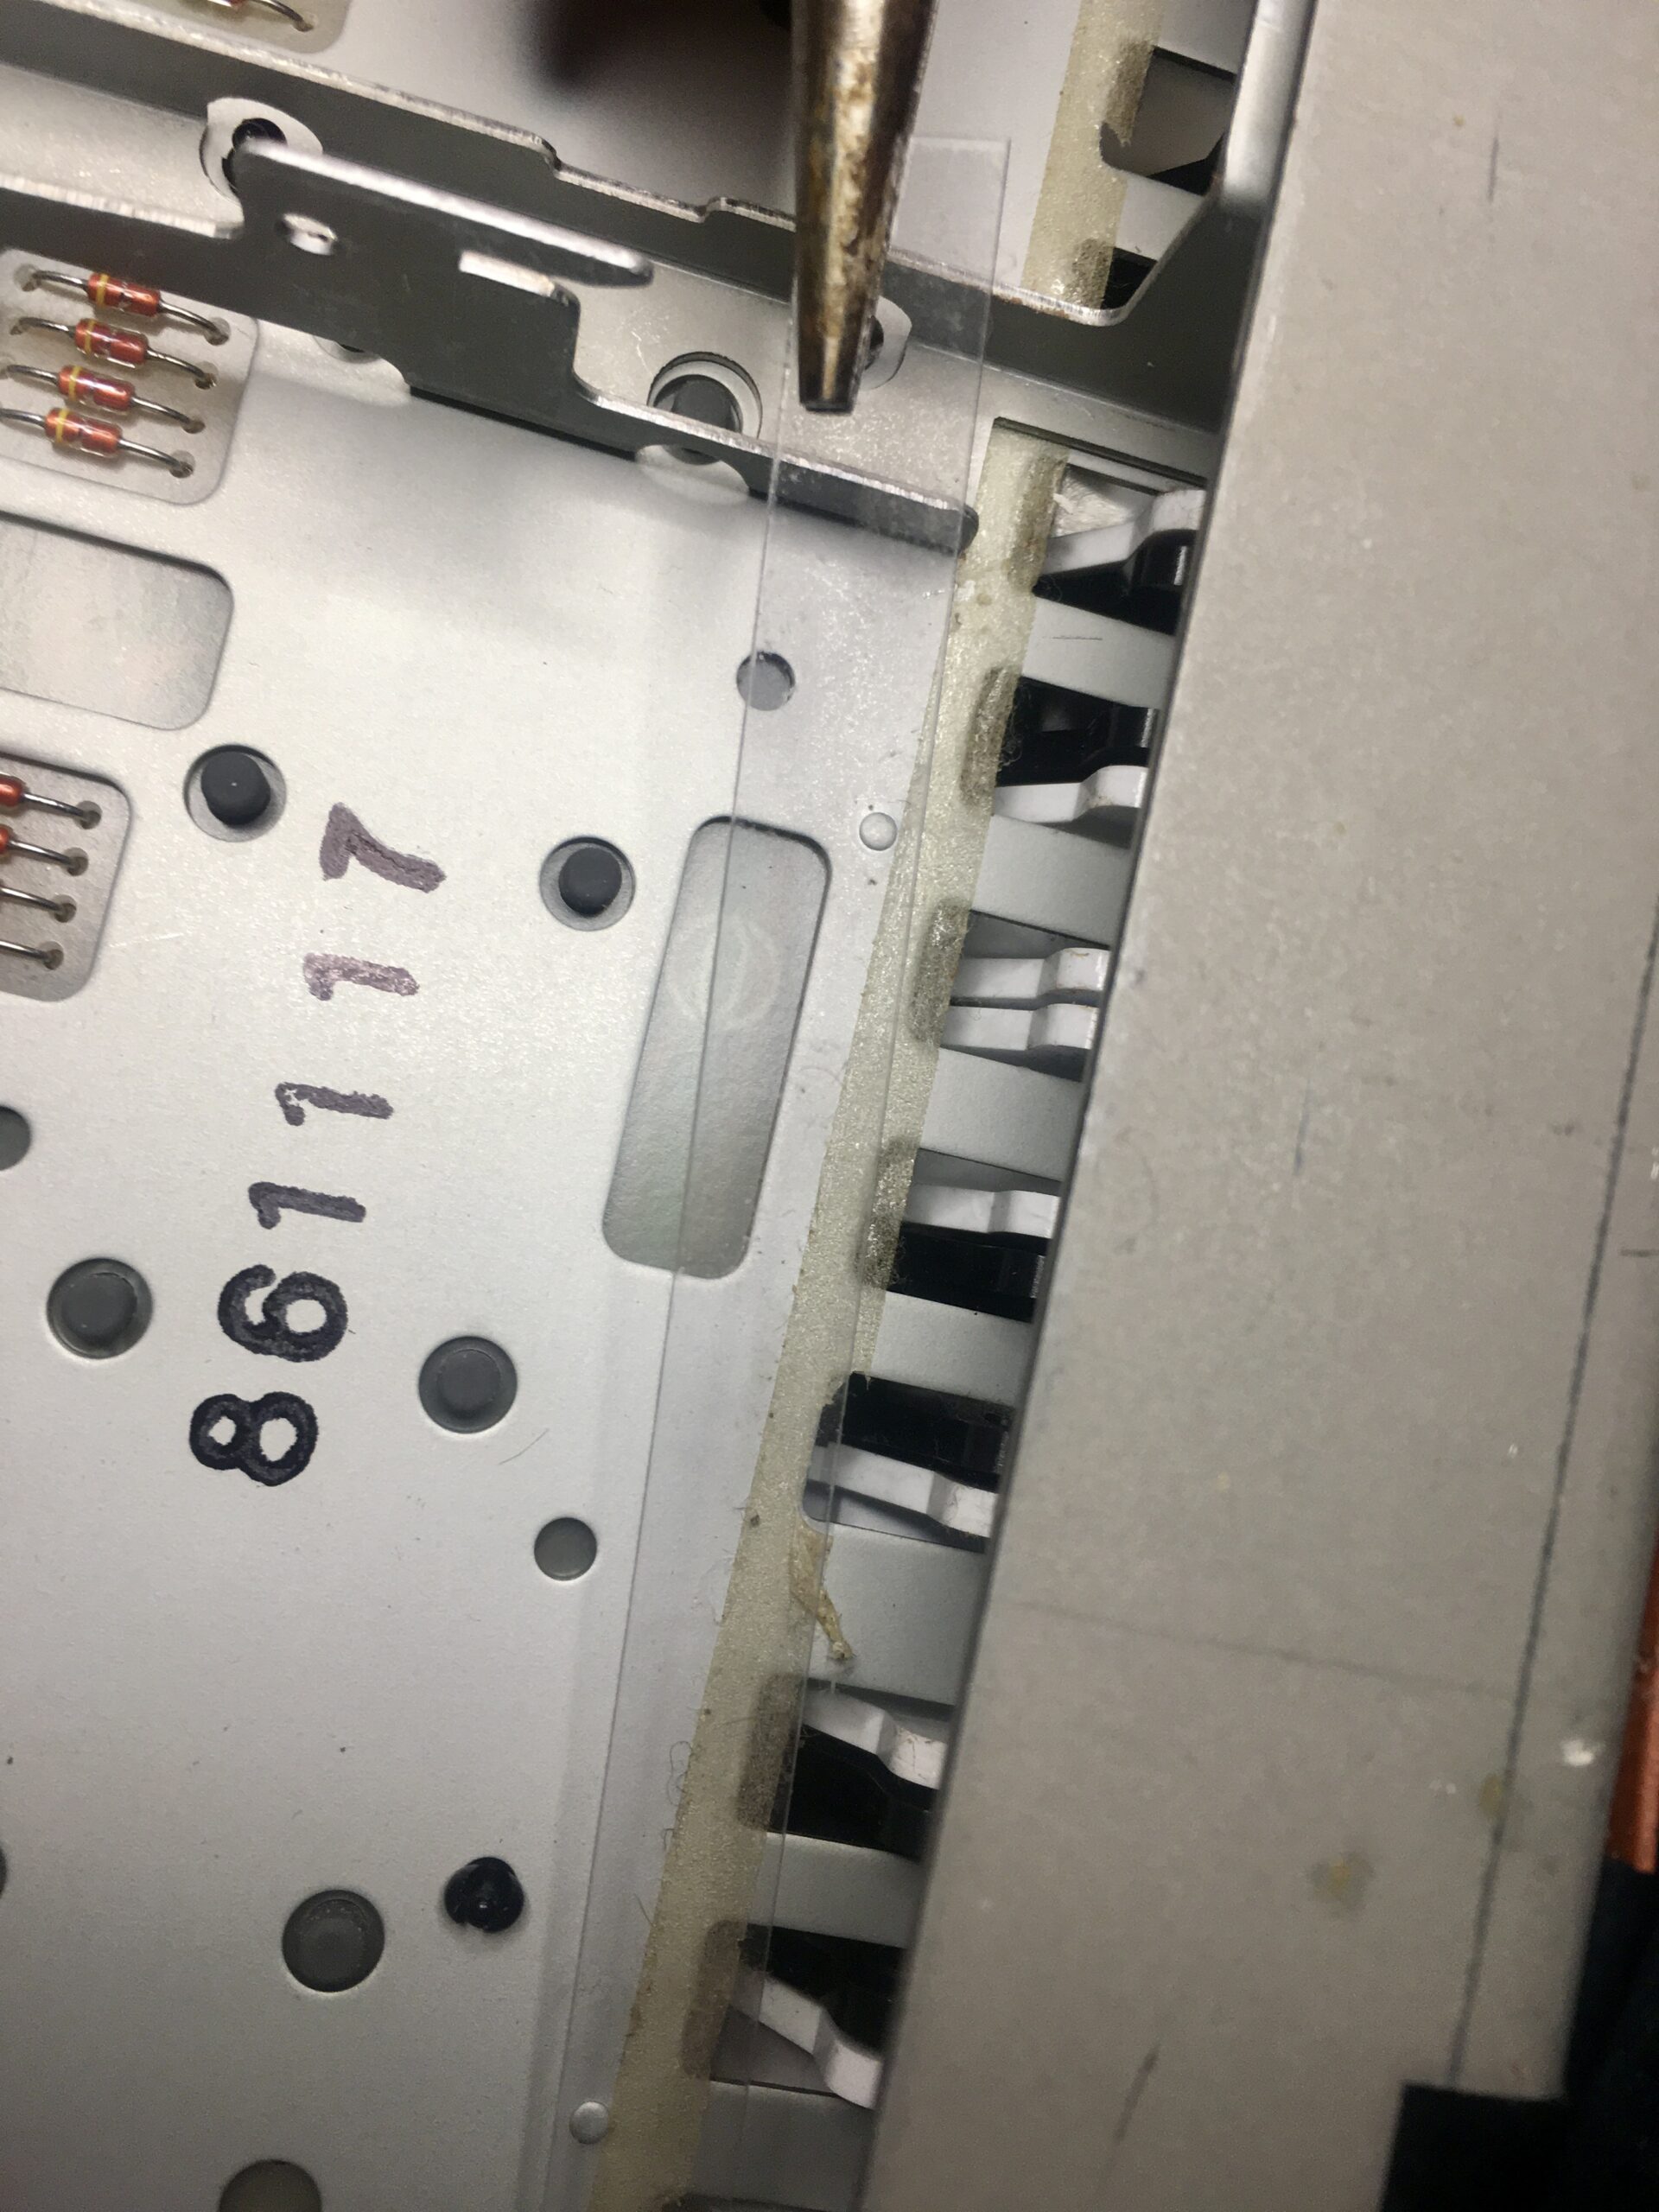
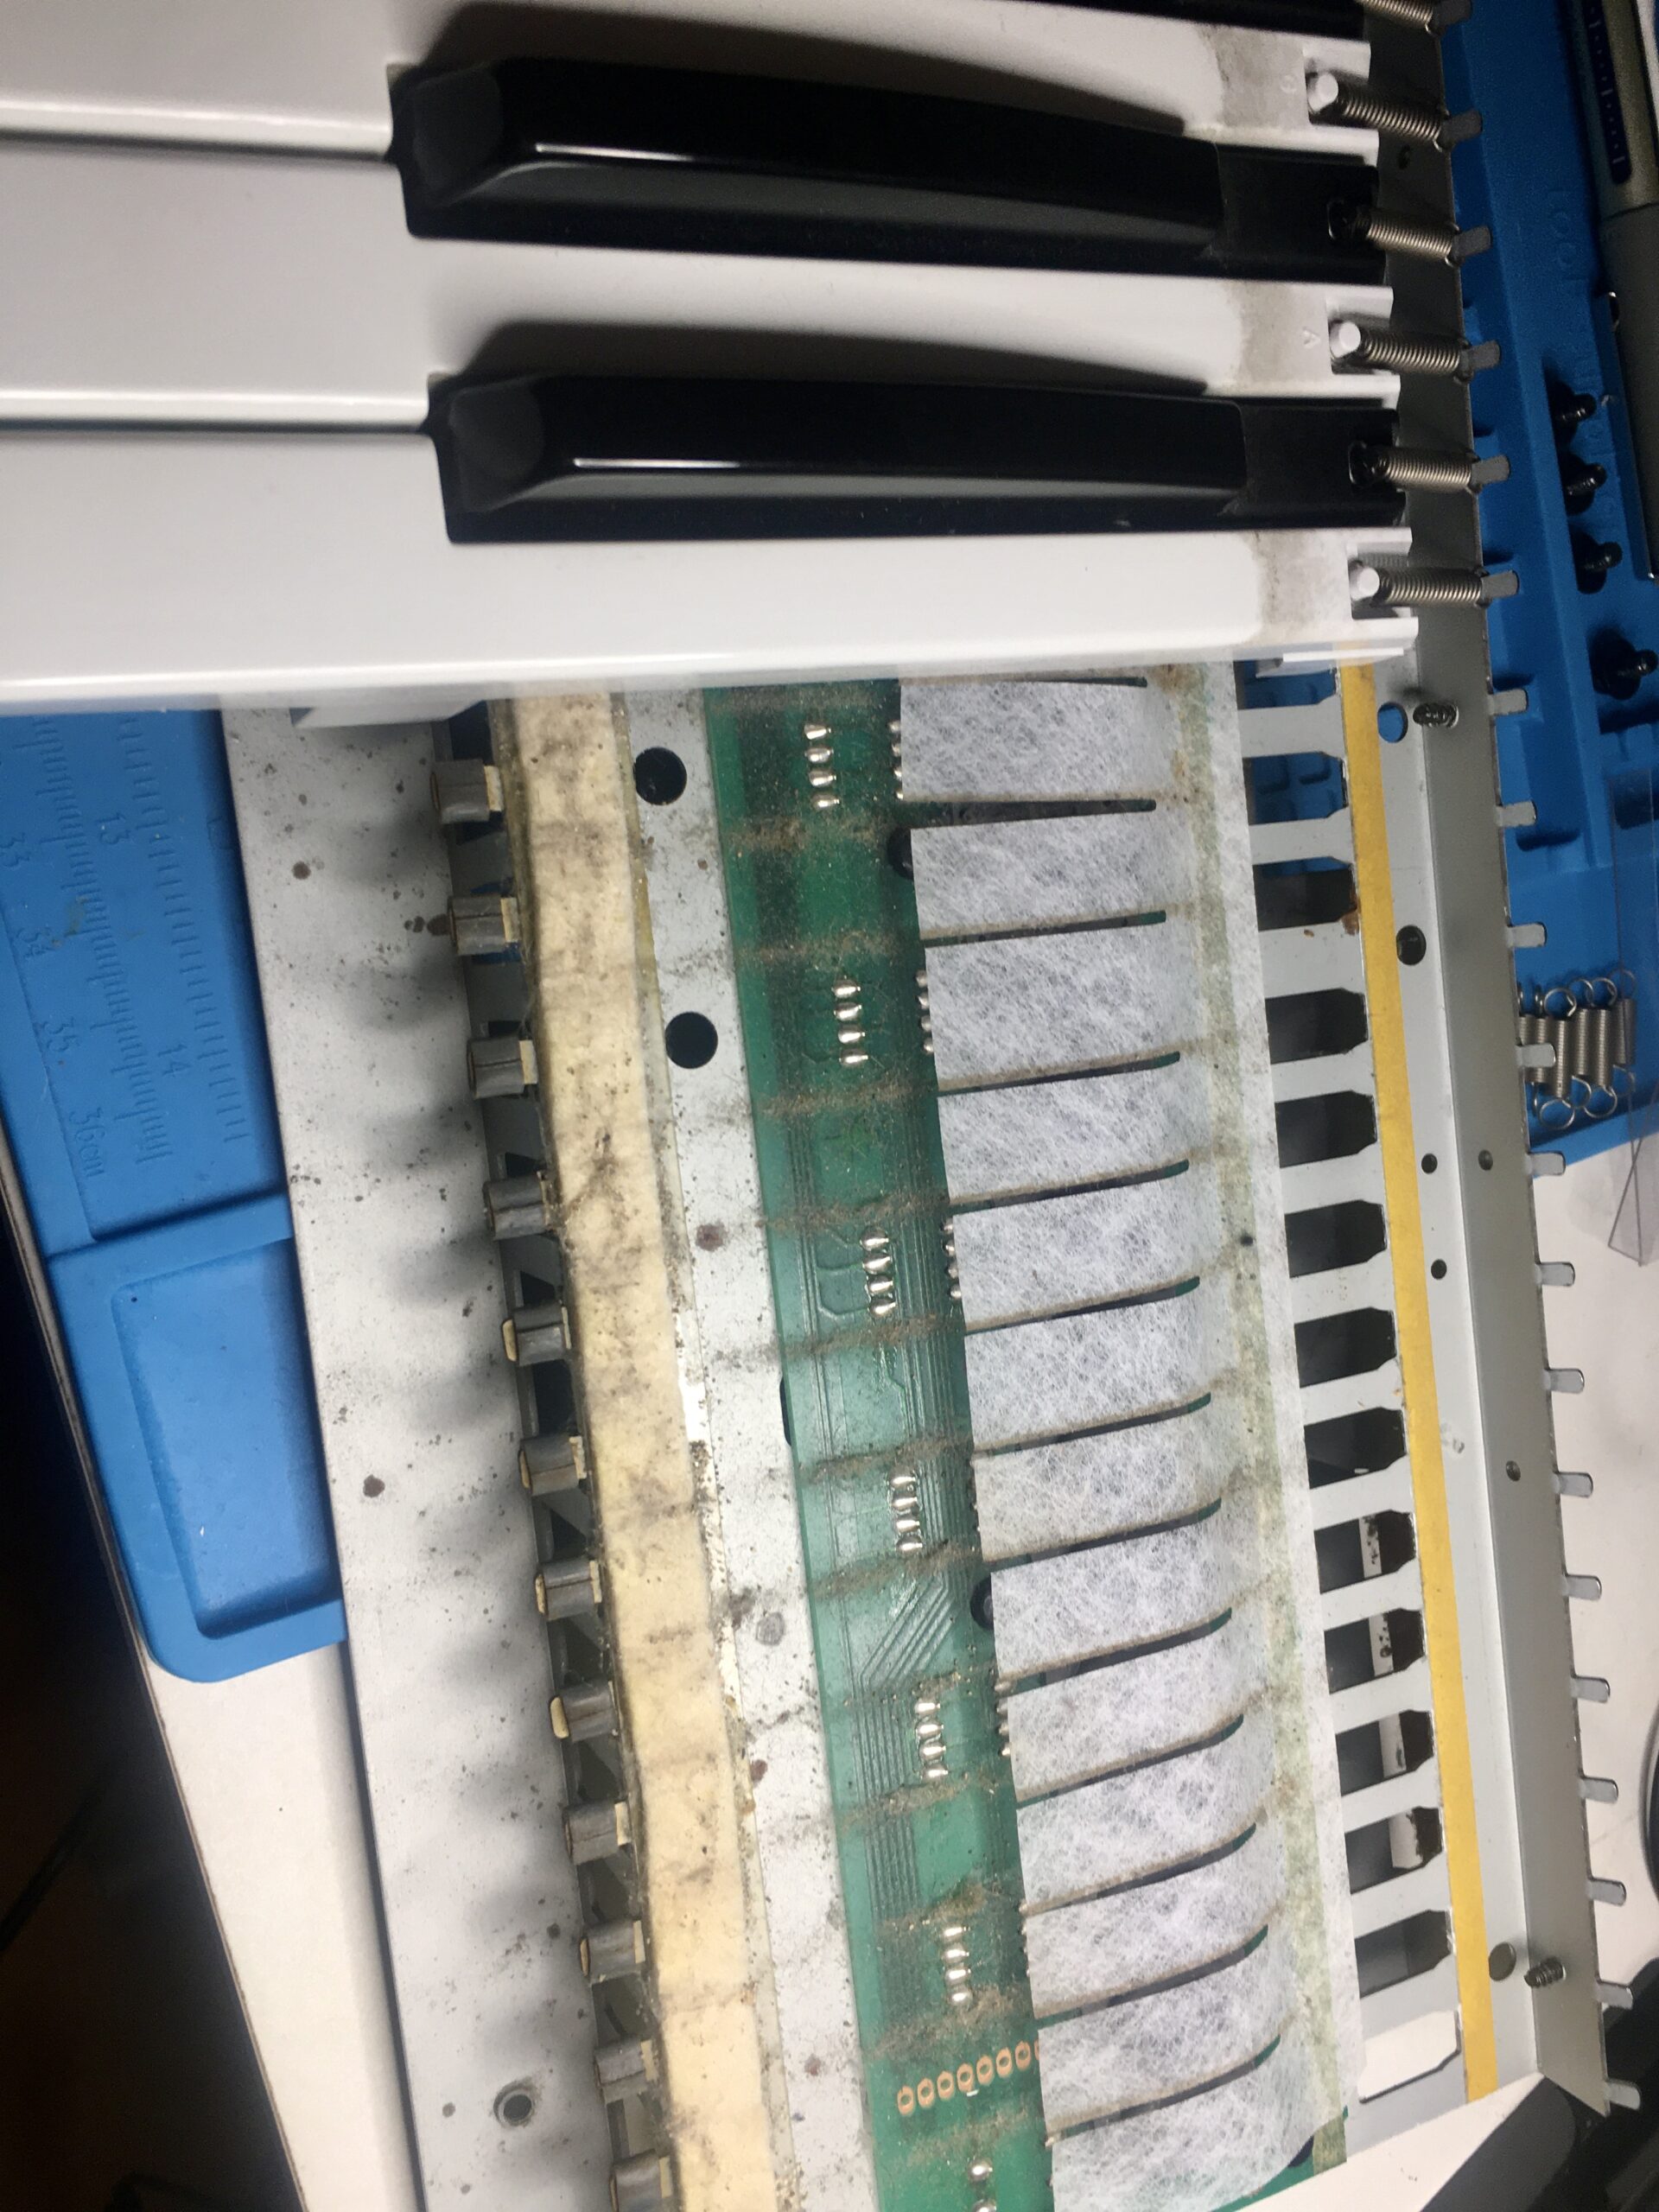
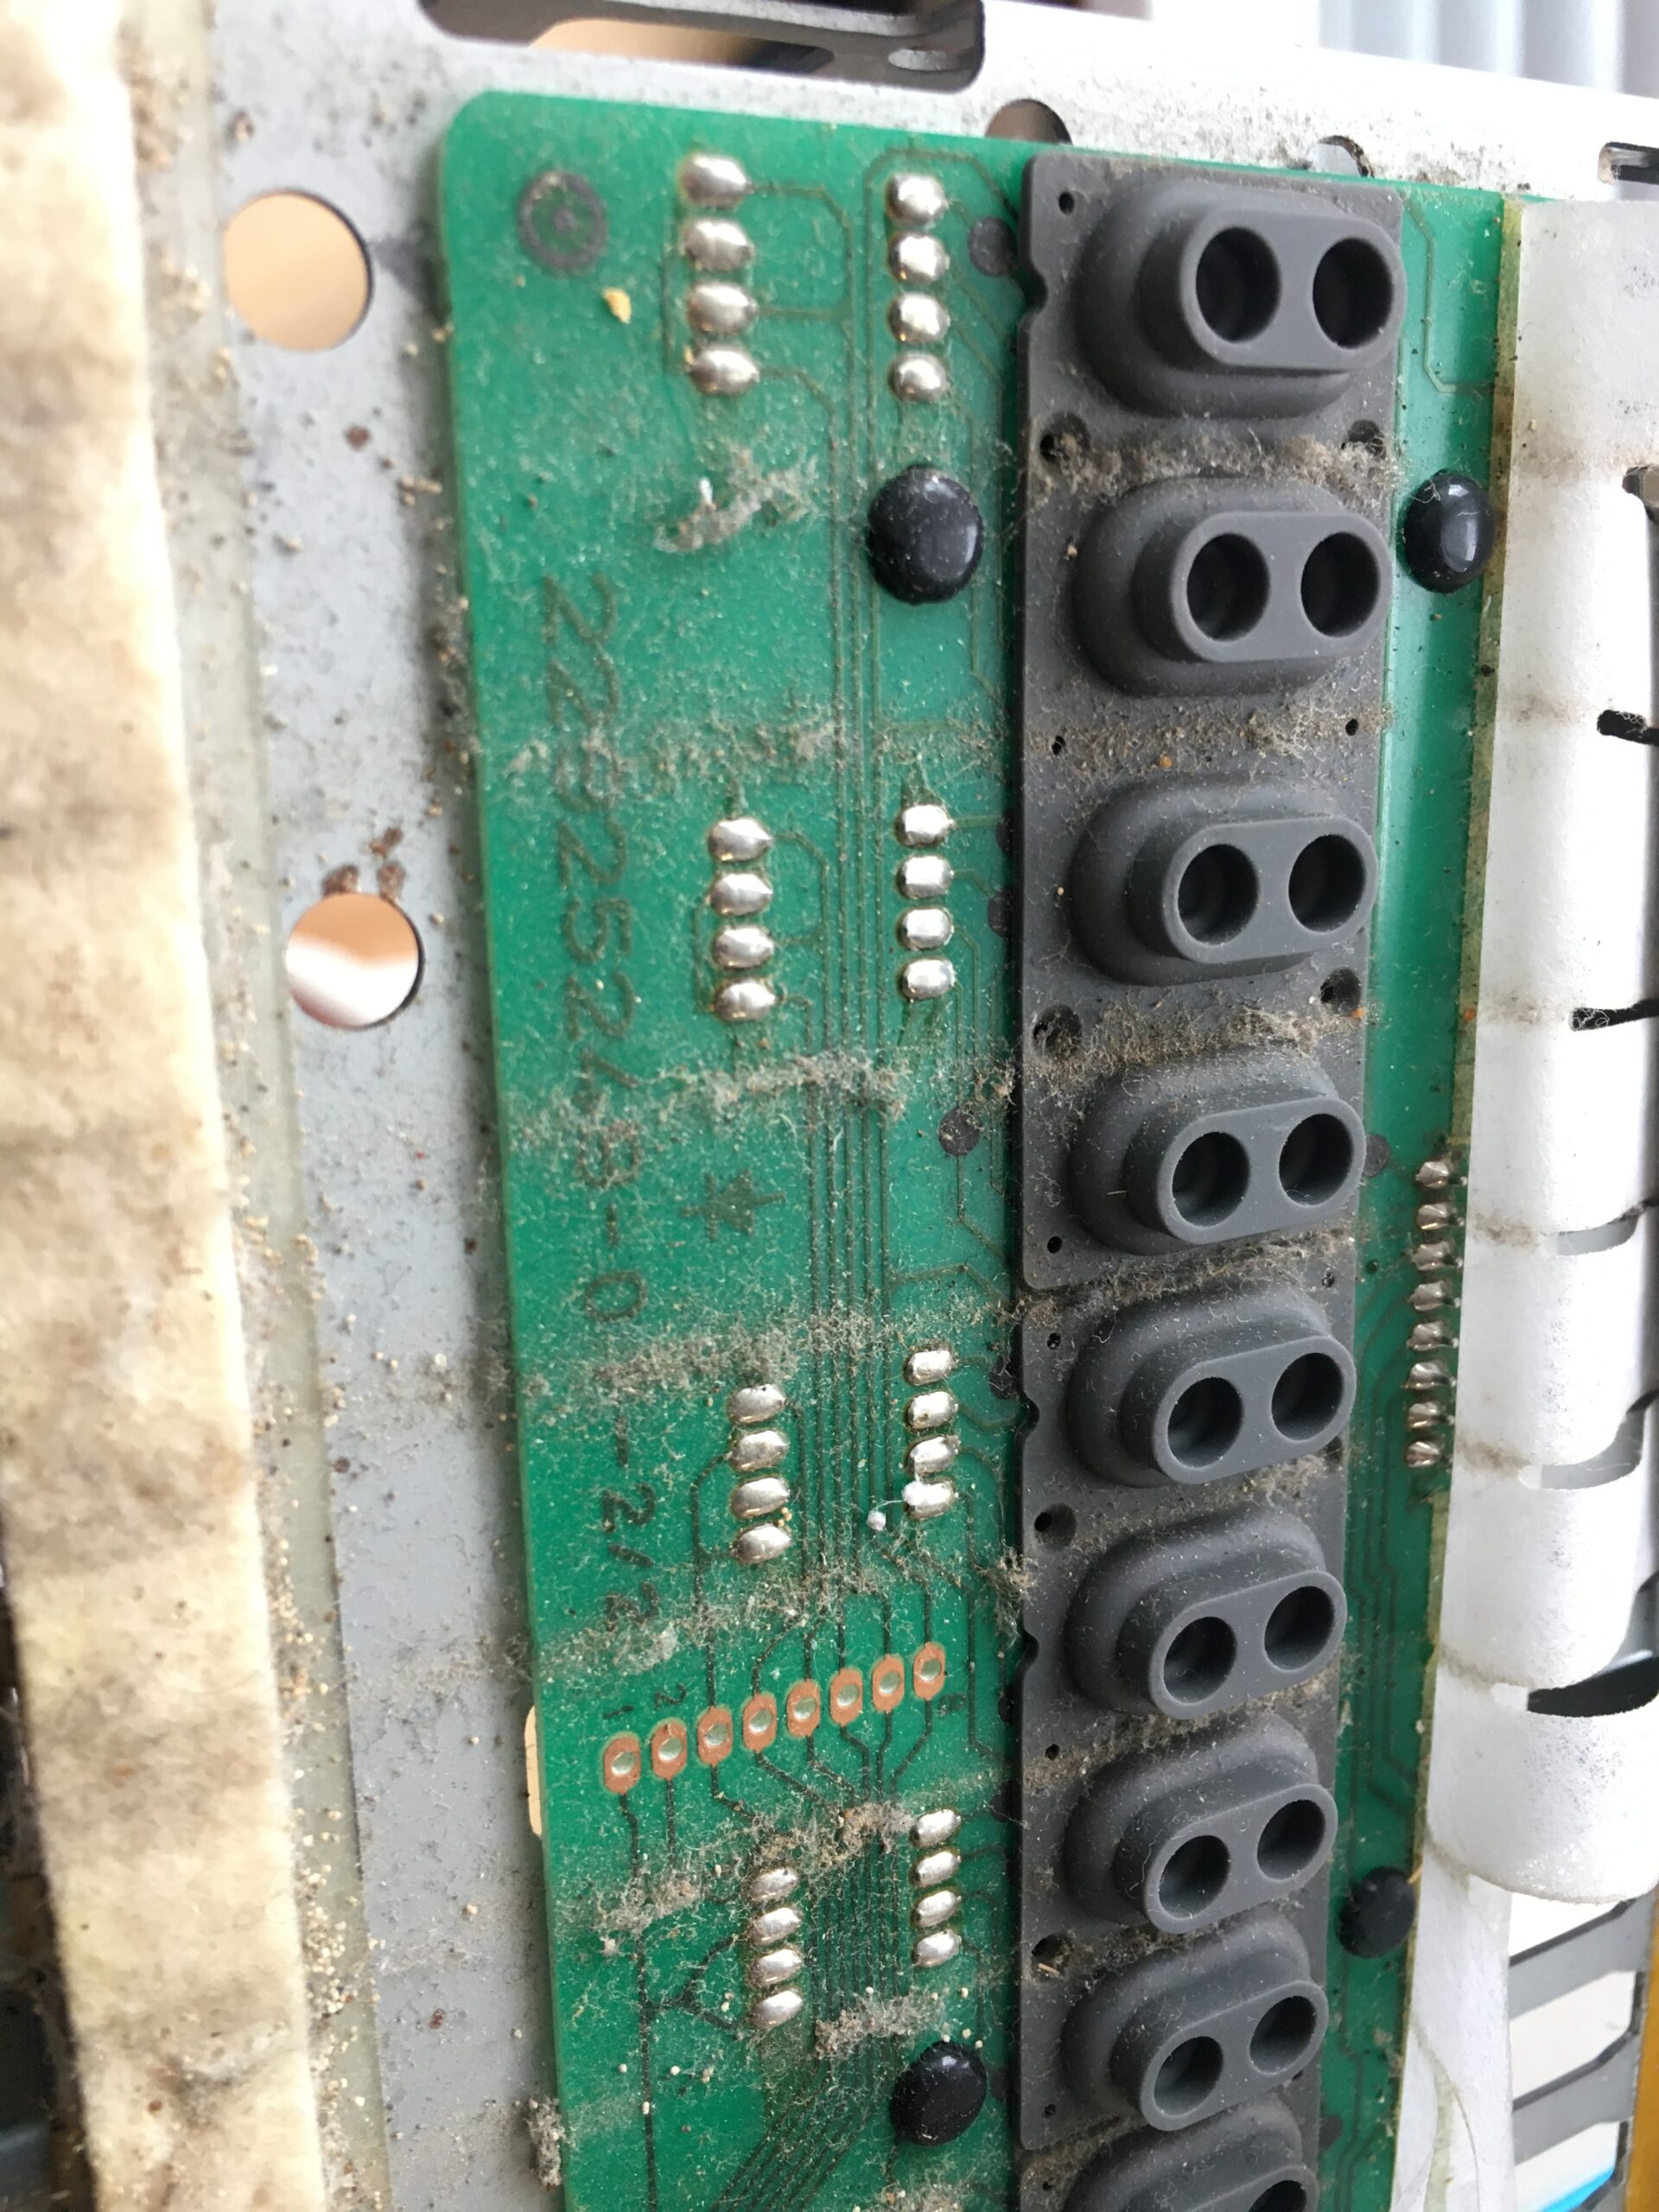
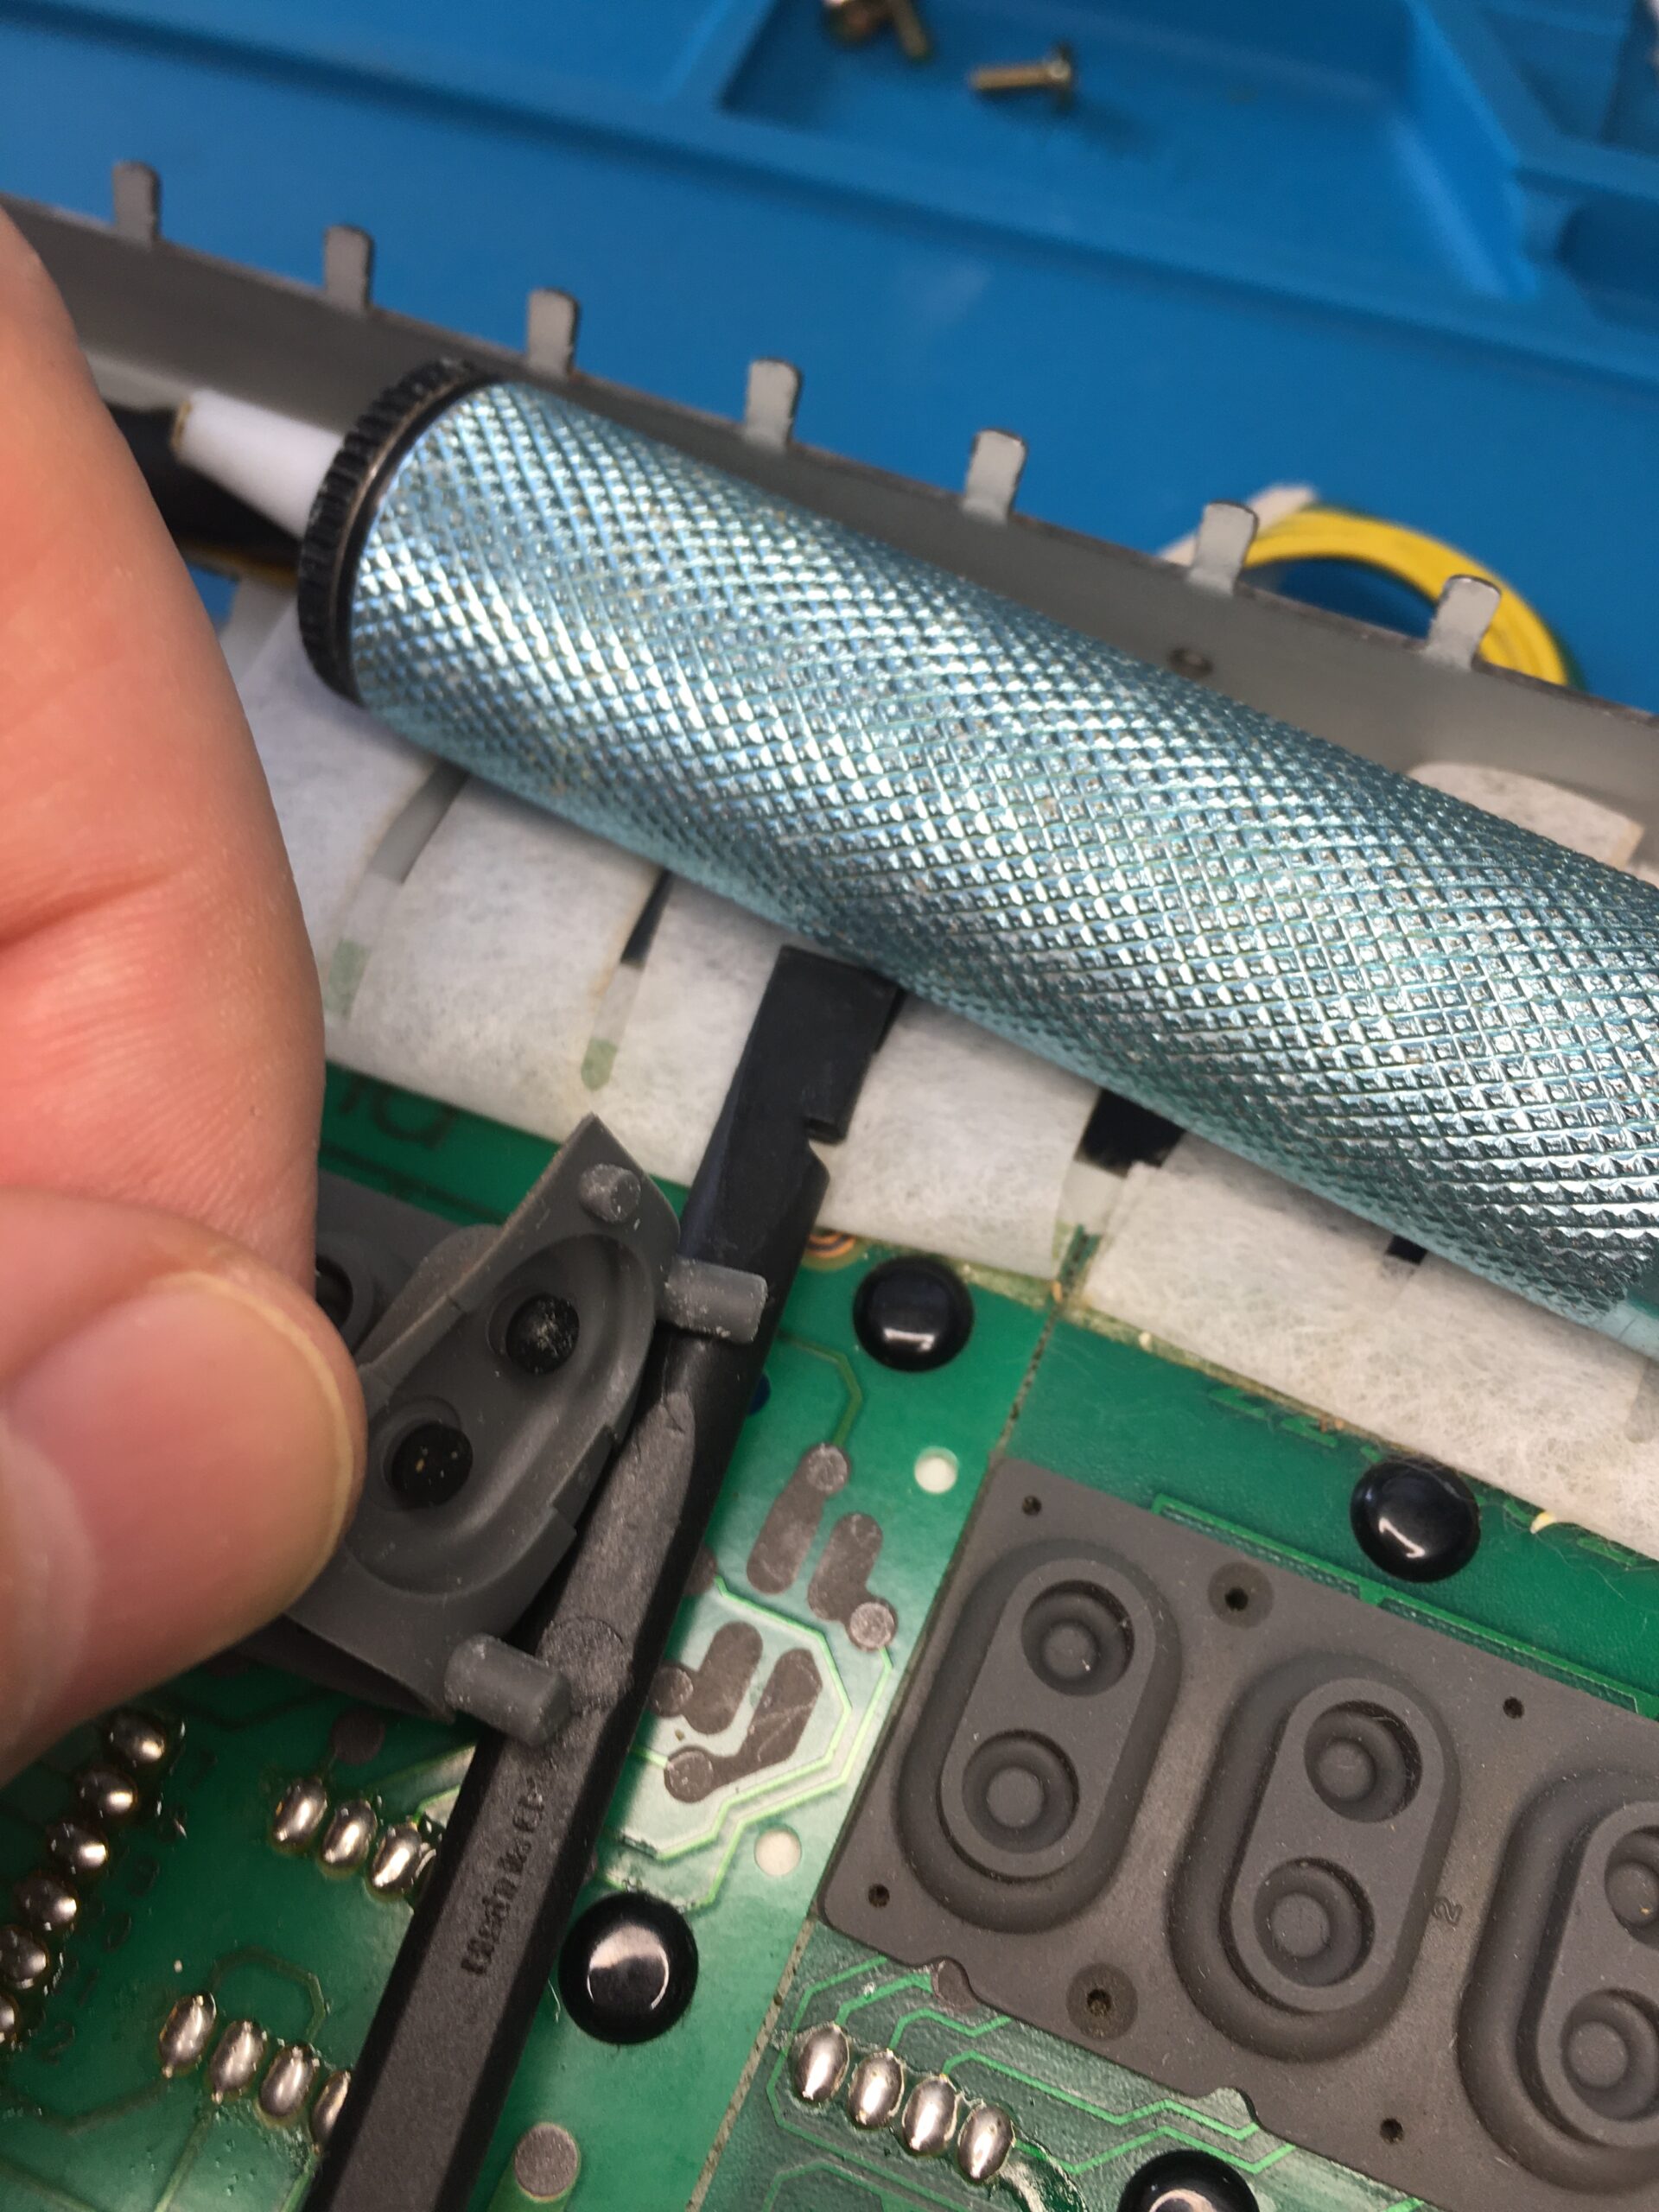
All the keys went into a bucket of mildly soapy (washing up liquid) water for gentle but thorough cleaning before reassembly.
Backlight
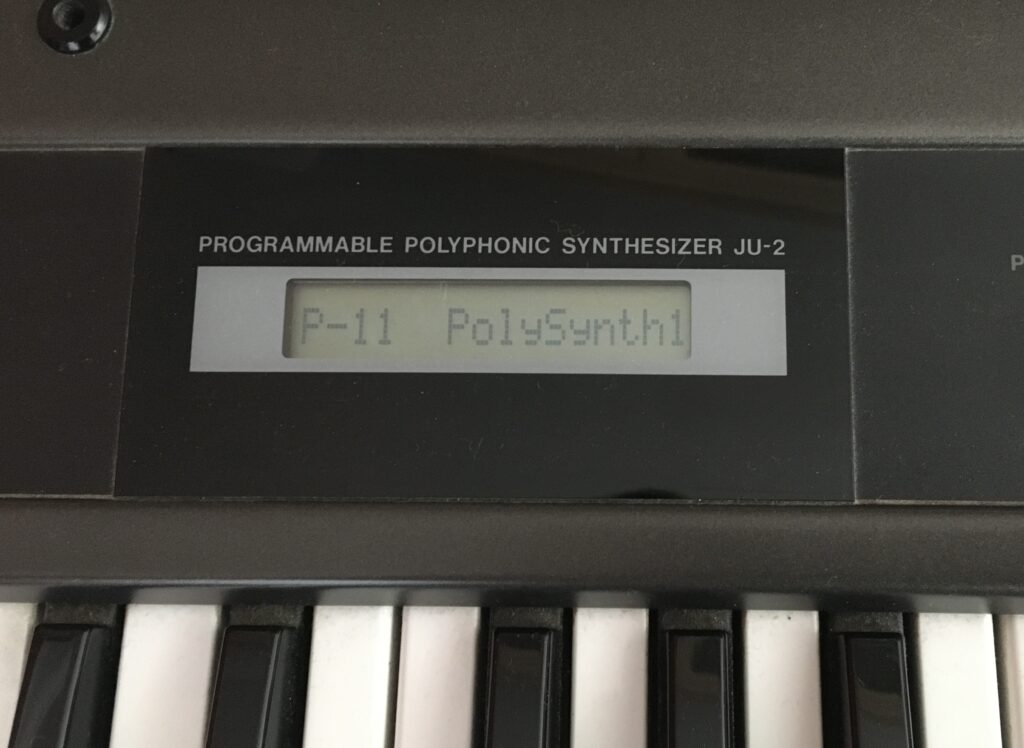
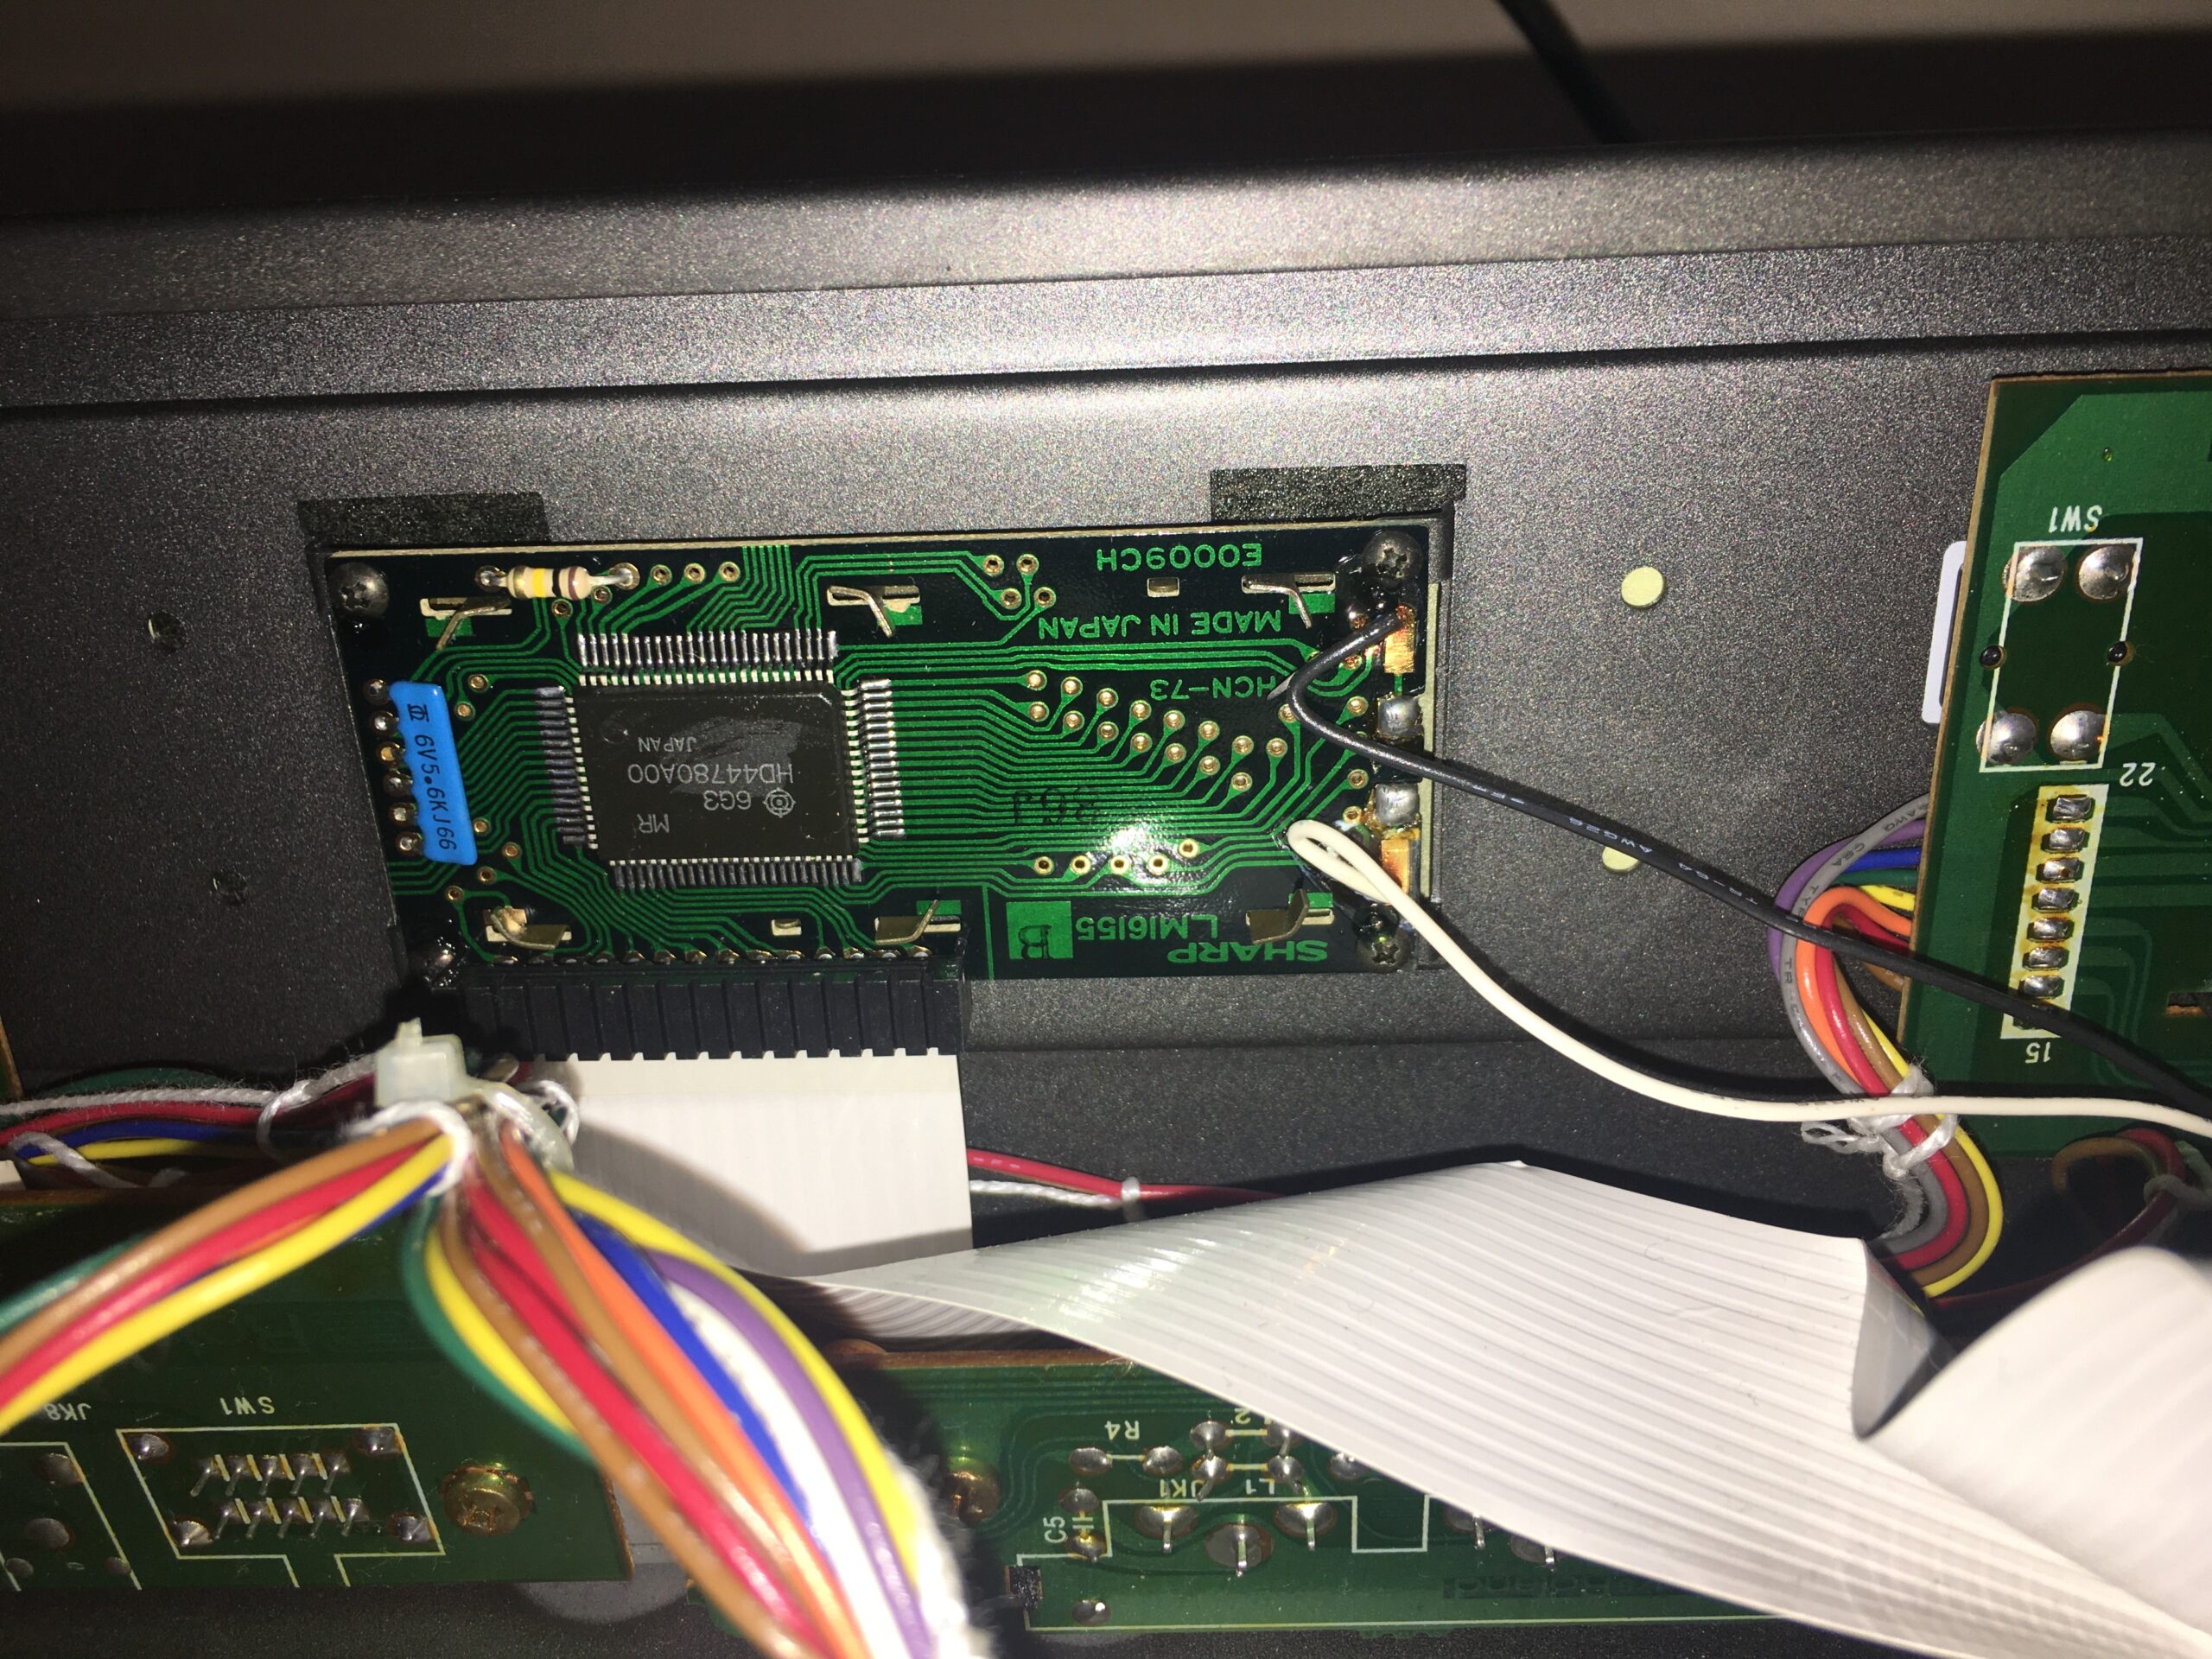
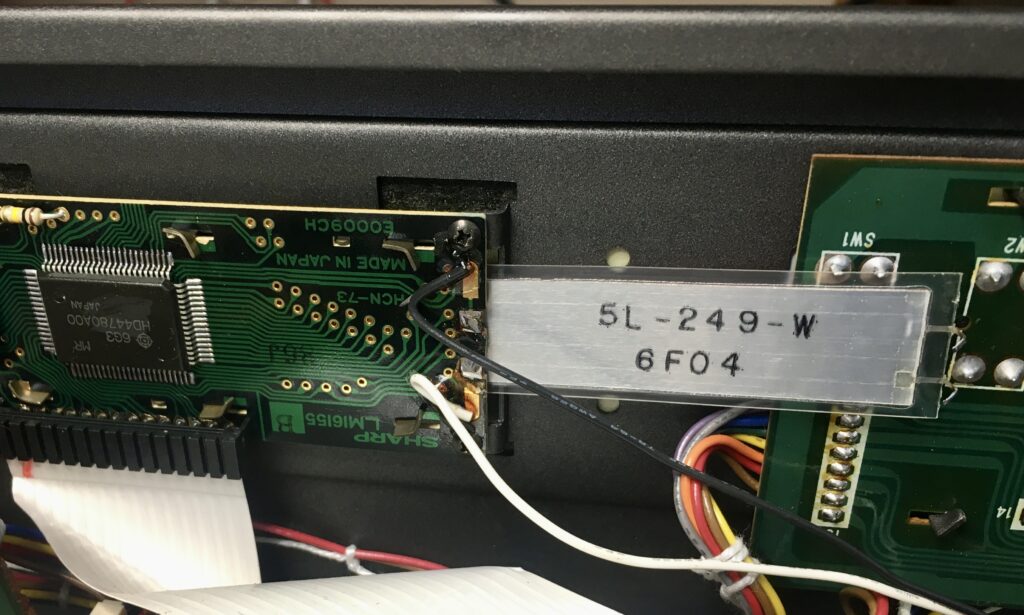
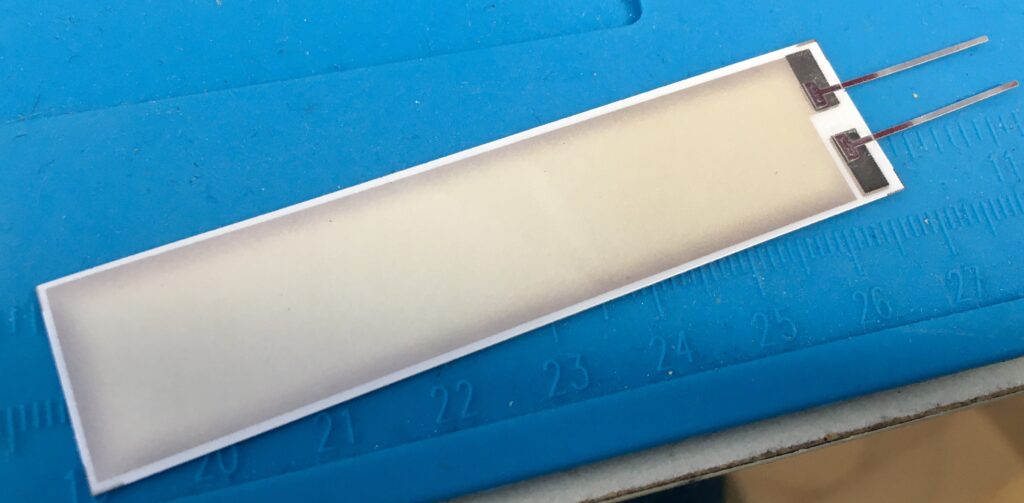
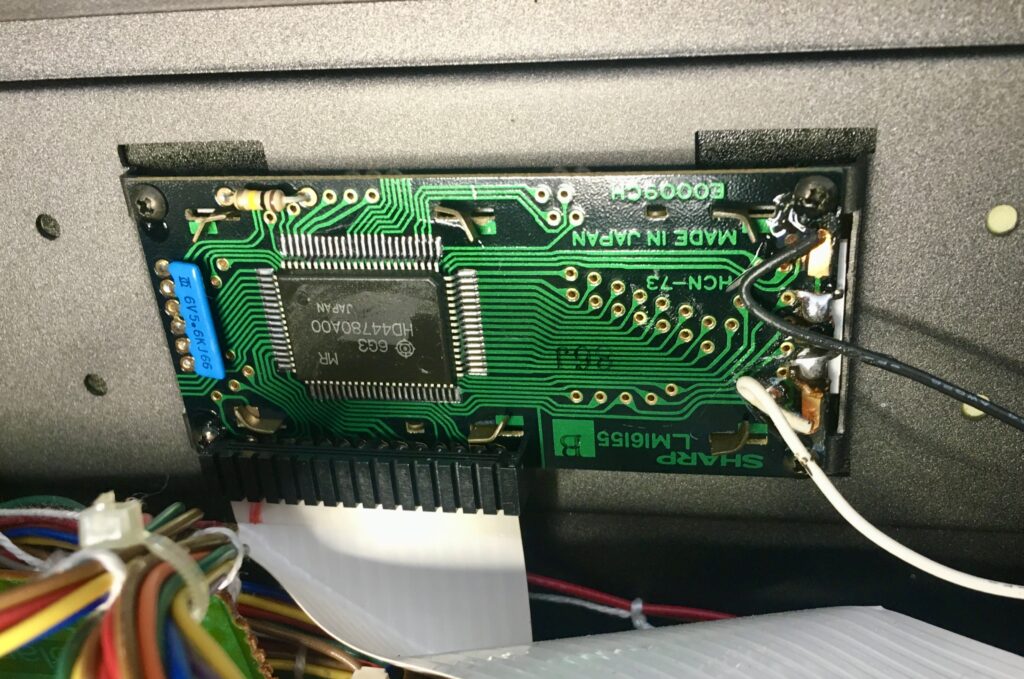
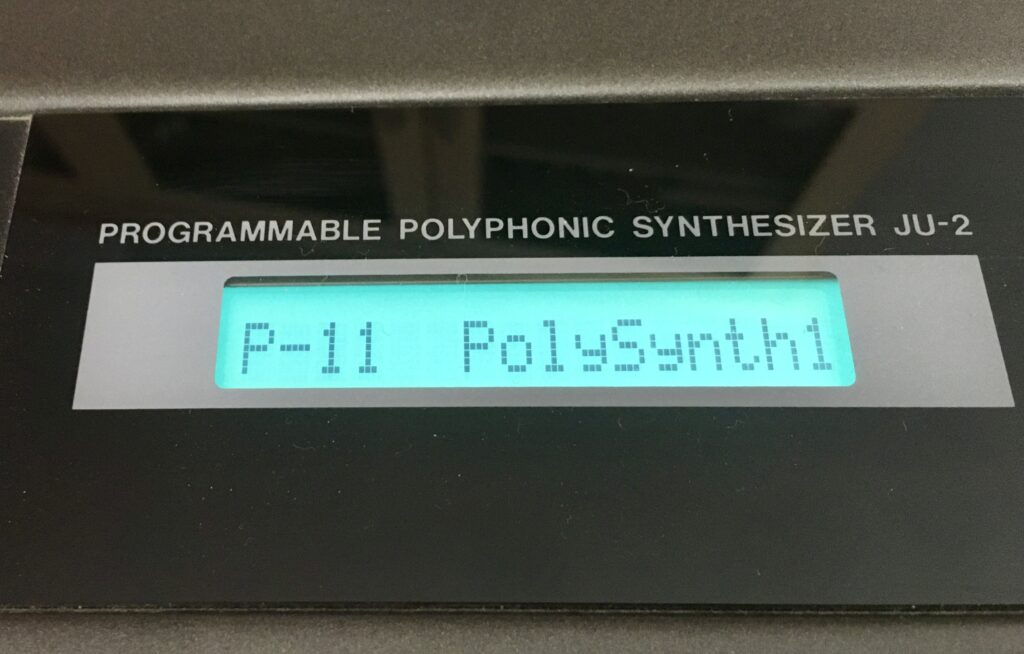
In many of the restoration videos the LCD display is replaced with an LED display. I opted for replacing the electroluminescent strip with a new one. I managed to do this simply by desoldering the two connectors and slipping the strip out – without detaching the display from the frame.
Battery replacement
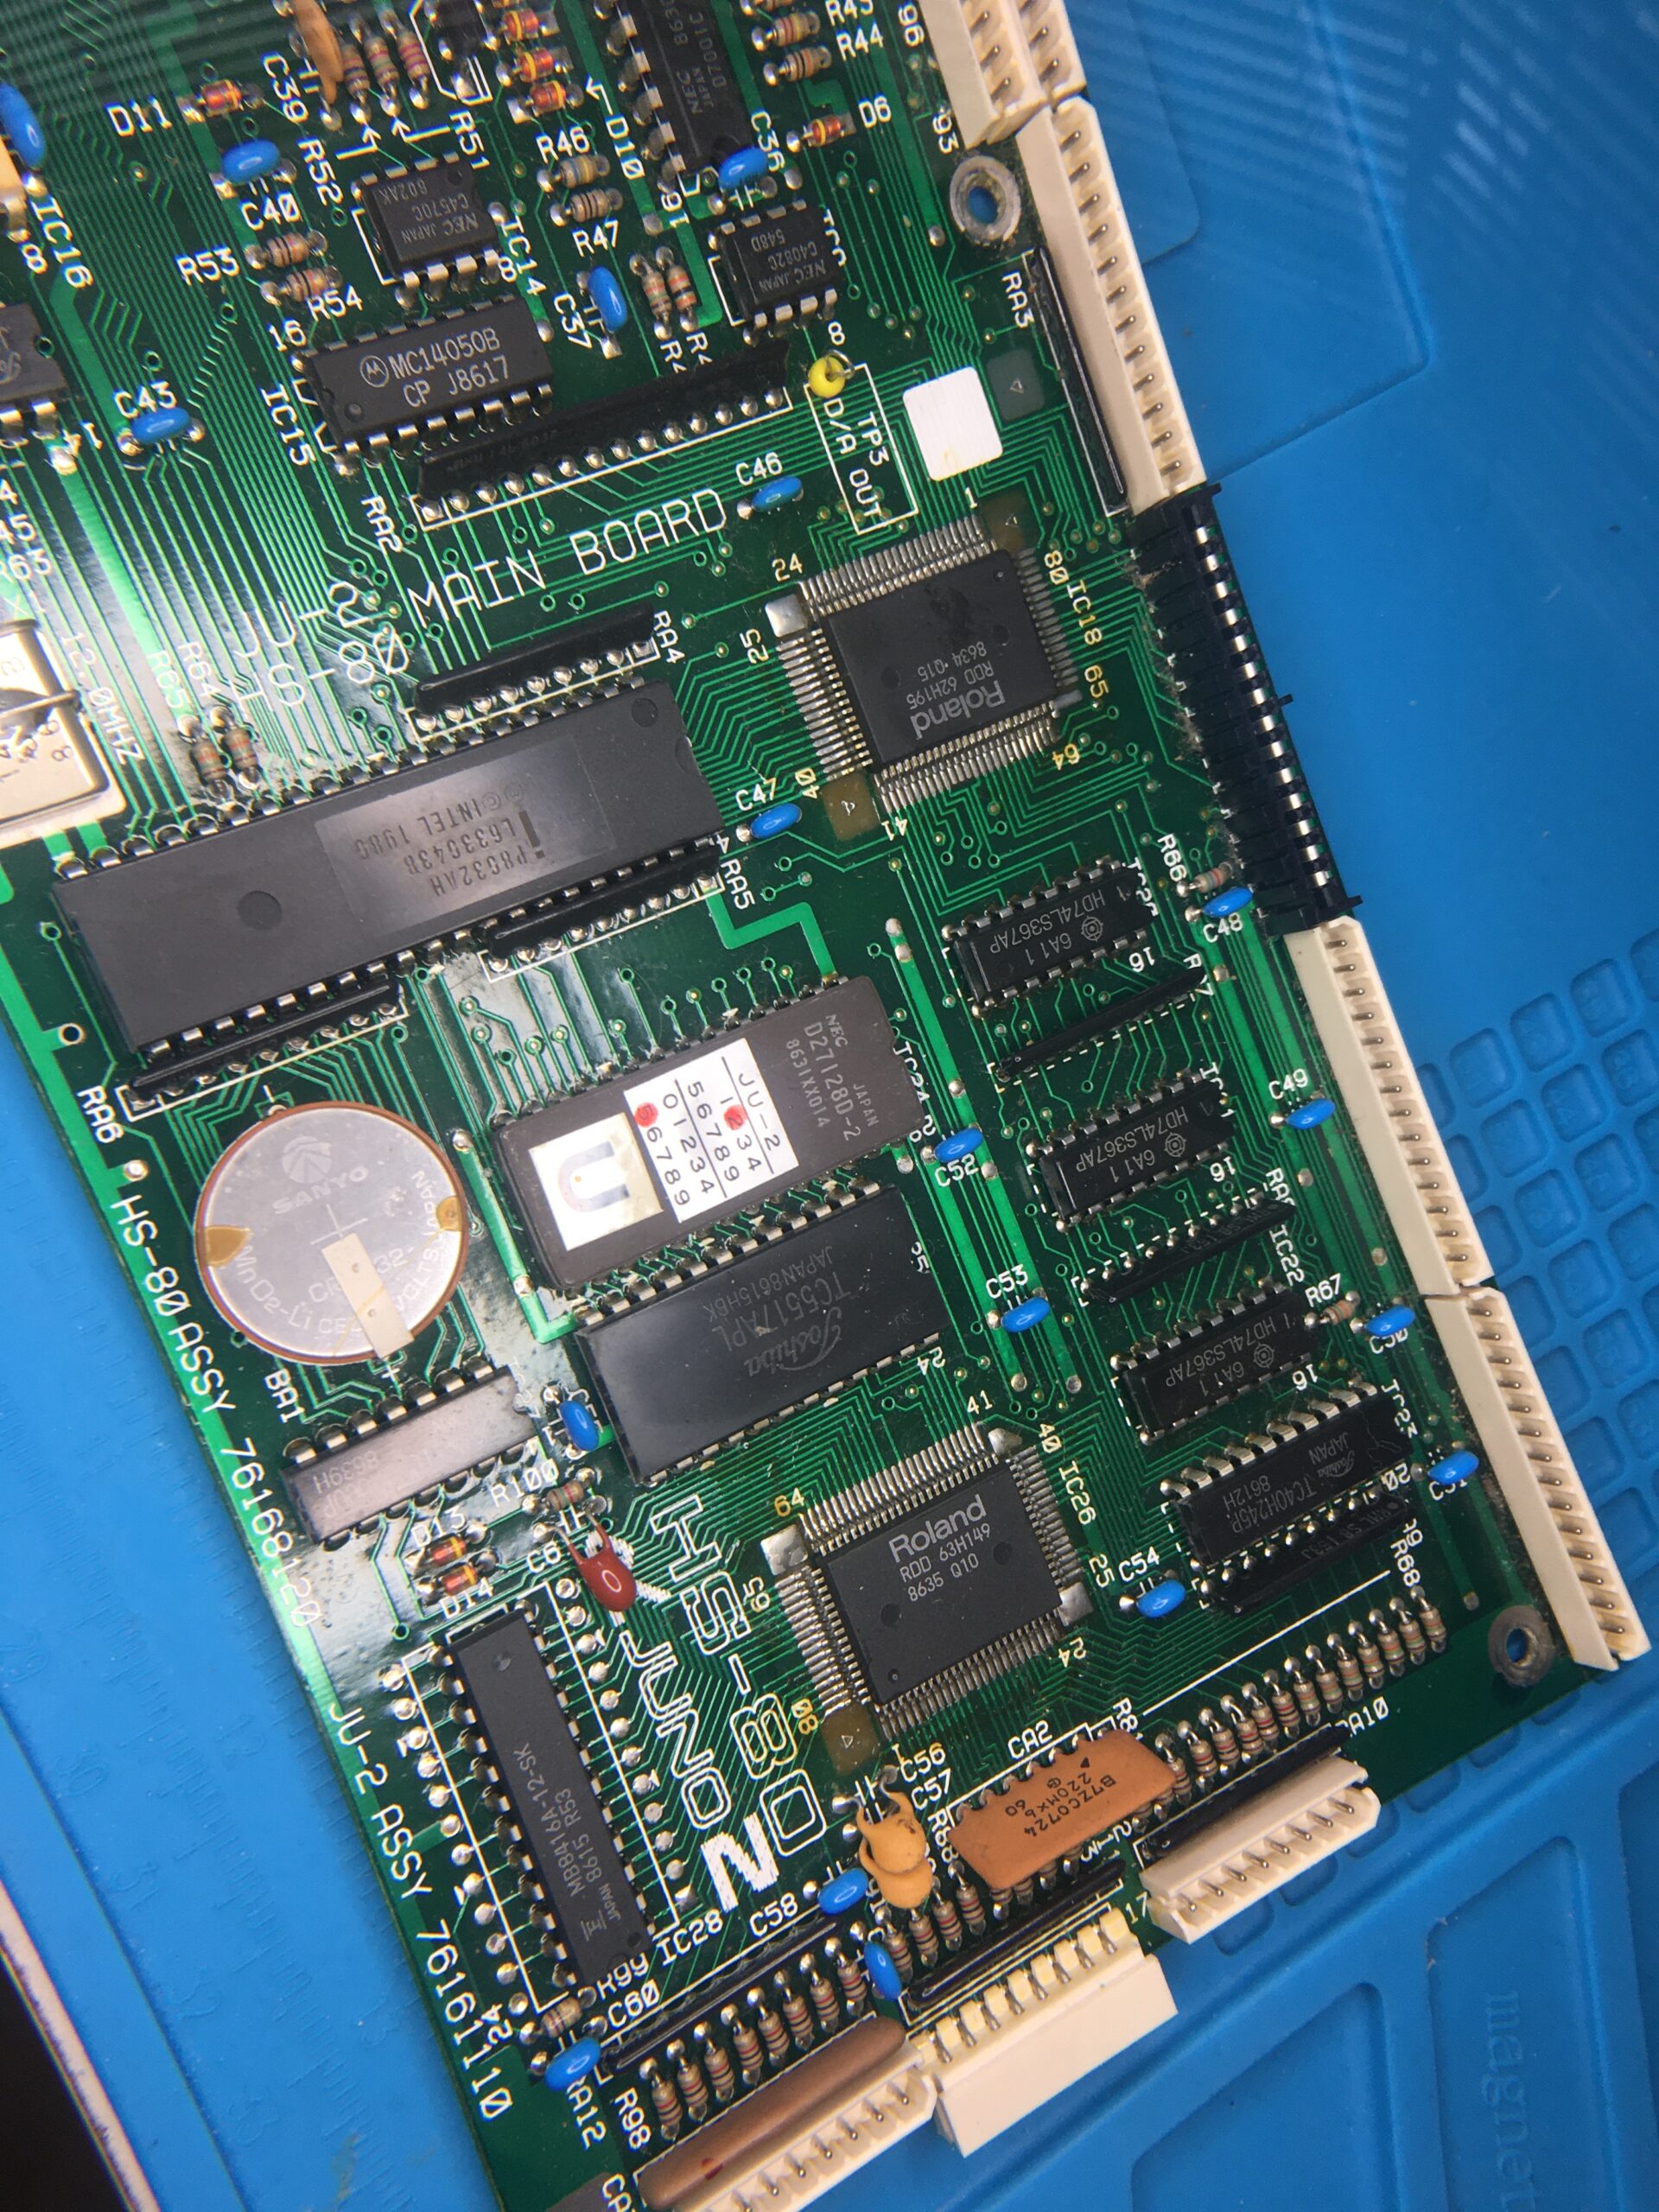
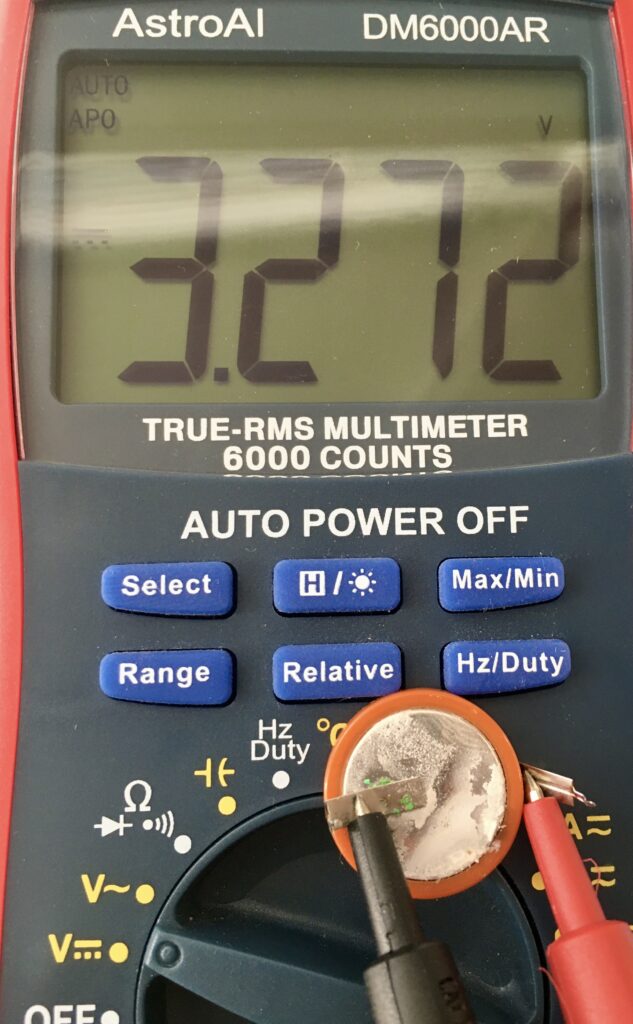
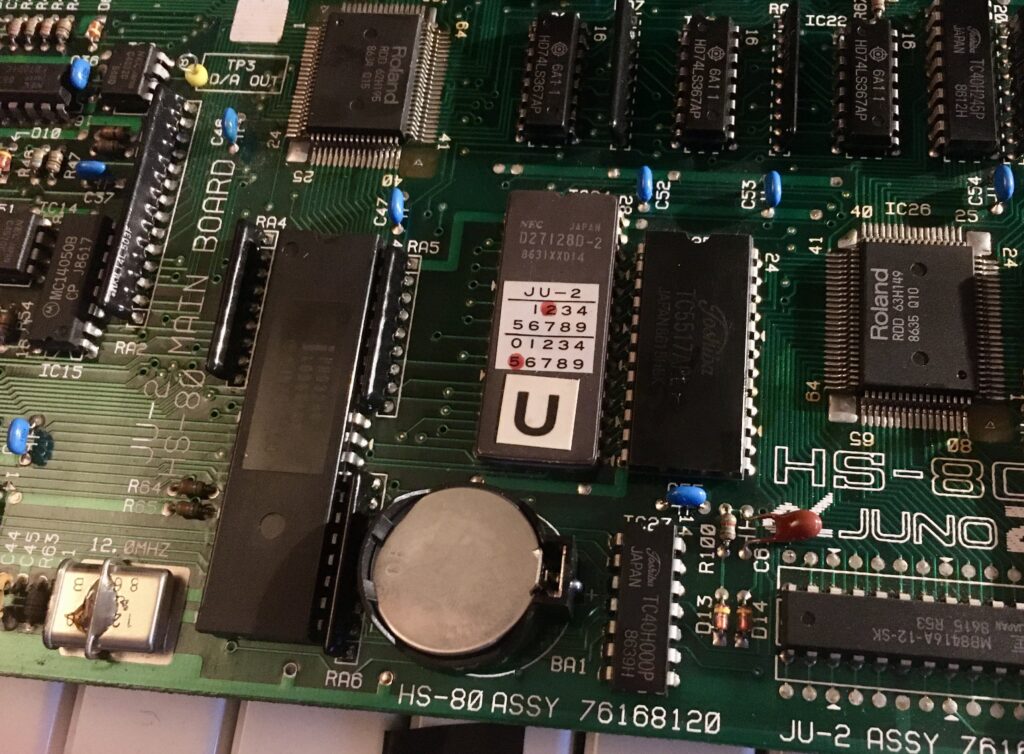
I opted to replace the soldered battery with a battery holder and standard CR3032. It was impressive that after over thirty years powering the memory for the user patches, the battery still held a good charge. Despite no liquid leakage, there was a white powdery coating building up on the battery.
Aftertouch
The remaining issue is that I have lost aftertouch. On testing the resistance of the aftertouch strip, I can see it changing with pressure. I hadn’t tested it before the disassembly, so this might have been an issue already rather than something I introduced. I may need to change the resistance range, but I haven’t yet worked out what that should be. One for the next project.
Conclusion
Aftertouch aside, I now have a clean, working Roland Alpha Juno 2. It makes a great MIDI controller for working with any DAW. But in some ways that is a waste for what is actually a decent synth from the late 80’s