iphone

iPhone 6s Glass Replaced

My iPhone 6s now good for a few more years before adding to the e-waste pile thanks to a replacement screen from iFixit.

So, it took me more than twice the time the article suggests, but I was going very carefully – and had a load of trouble fiddling with the screen connector. Other than that, all went smoothly, and the new screen appears slightly more rich in colour and somehow feels faster in response.

The official guide is here: https://www.ifixit.com/Device/iPhone_6s

How it went for me…

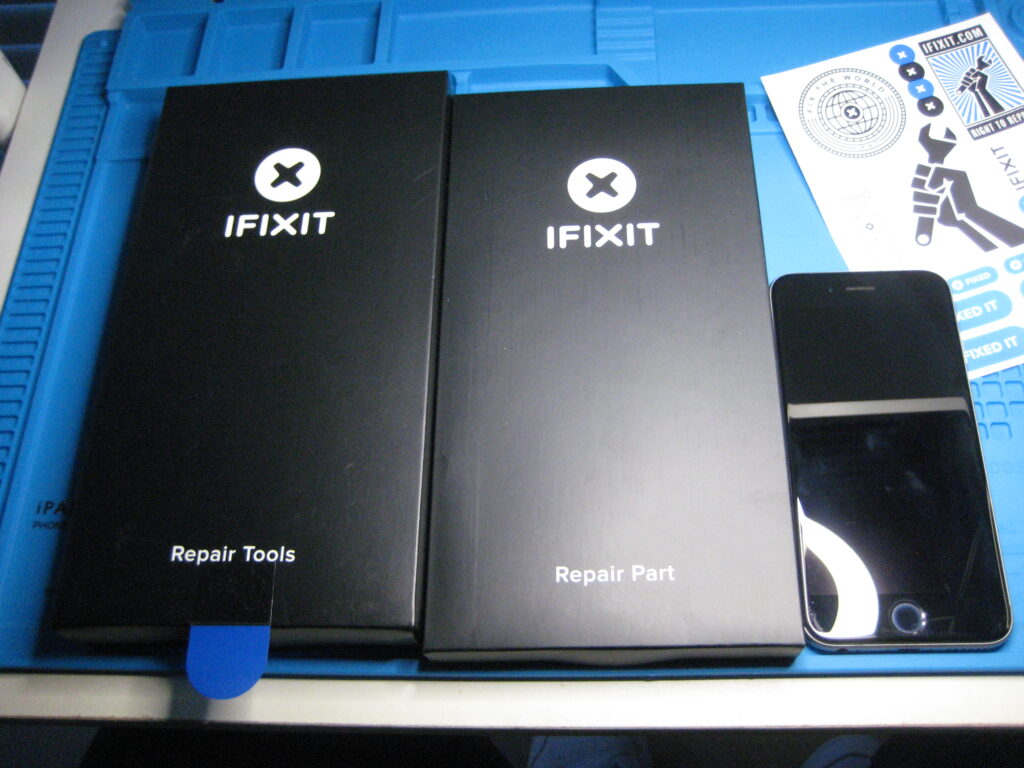
IFixit iPhone 6s tools and new part, nicely packaged - outer box
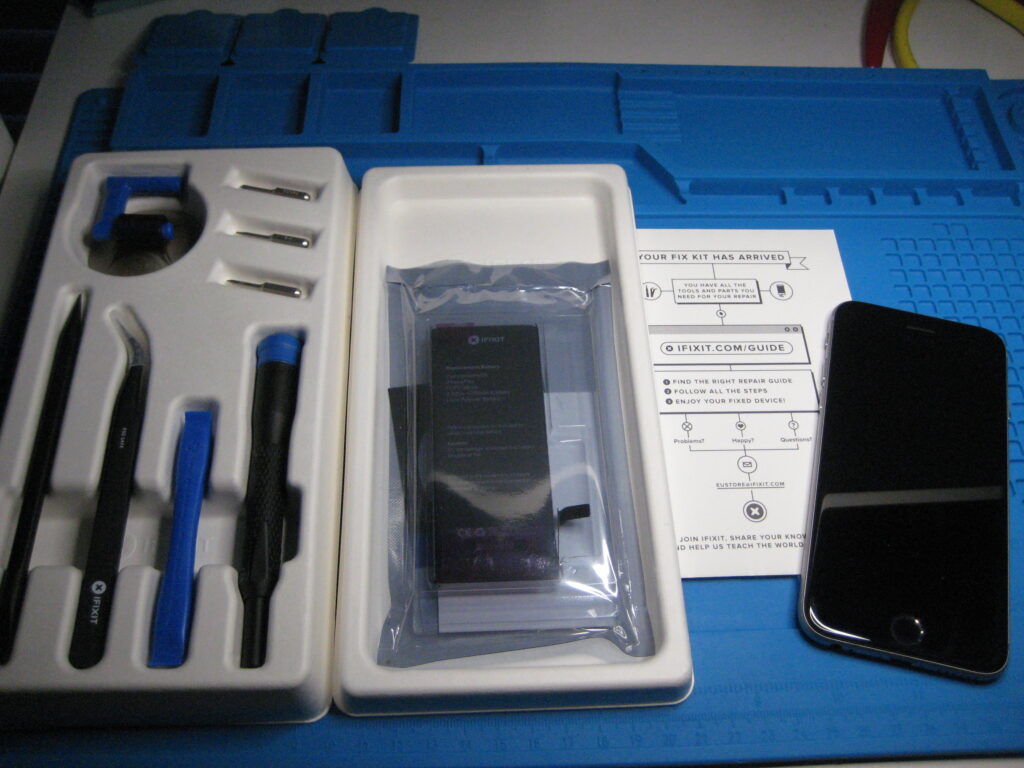
IFixit iPhone 6s tools and new part, nicely packaged - package contents
Broken screen before repair

I had been surprised how well the old screen continued to perform, with parts of it held in place by scotch tape, and that the finger print recognition continued to work through the tape.

I had turned on the on-screen home button just in case.

Although the really smashed area was around the home button, cracks extended in long arcs across the whole screen.

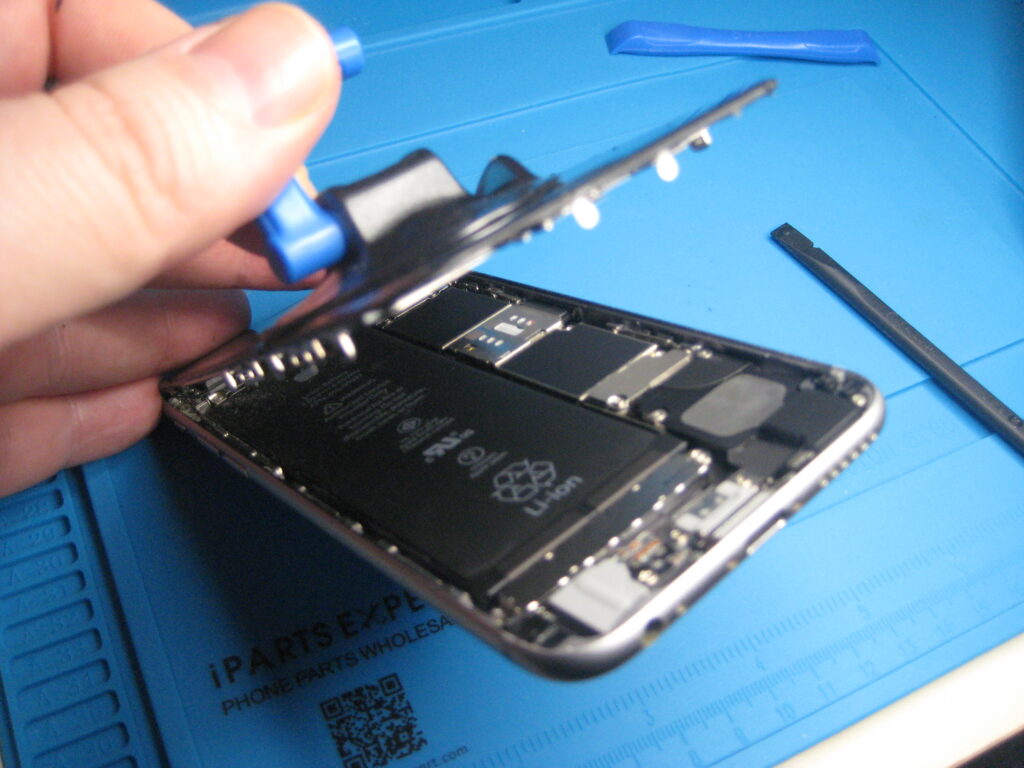
To get purchase on the screen with the sucker, I used a wide strip of packing tape. Although with some heating from a hair dryer, the glue strips seem to have melted easy enough.

Opening iPhone 6s, broken screen, sucker with packing tape and a pick after hot air

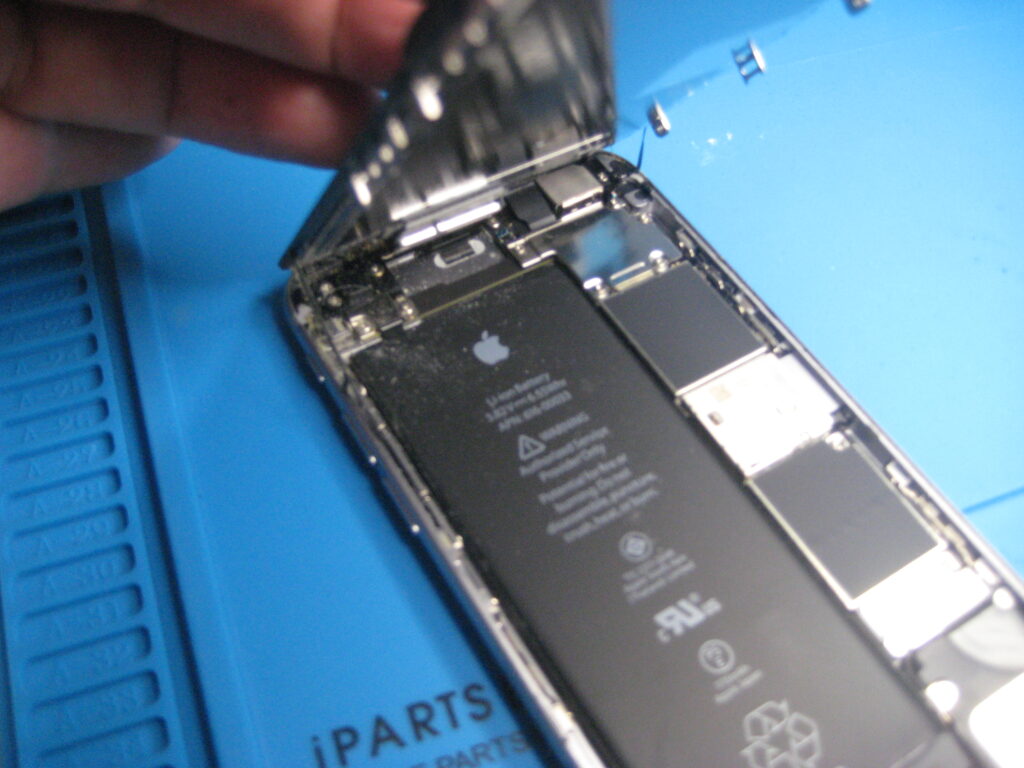
Vital step was to disconnect battery and not have it any way connected while disconnecting or connection the screen ribbons. Prior to the repair, charge had been reduced to less than 10%.

iPhone 6s Disconnected battery

A phone of two halfs. We need to keep the home button from the old screen, but the new one already has a front facing camera, so no need to mess about with that.

Two halves of iPhone 6 separated

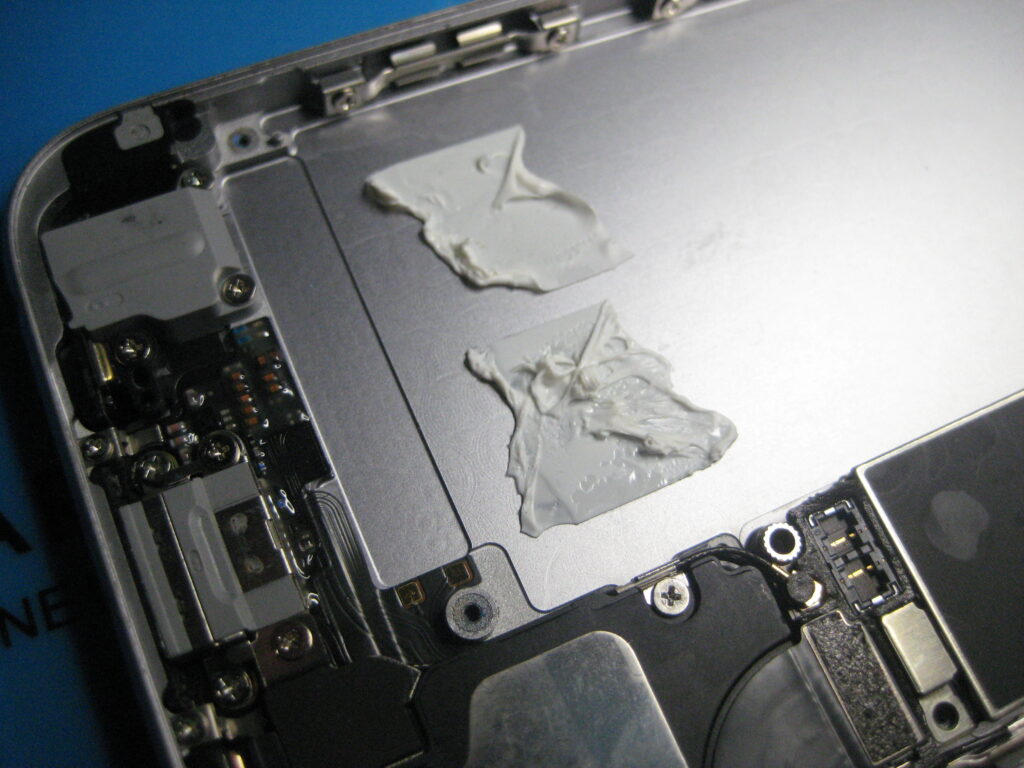
Transfer the home button assembly to the new screen, and clean the back half of the phone of all the glue – transferring the new glue template.

Removing the home button assembly from the old iPhone 6s screen

Fresh glue in place, screen re-connected. Quick battery on test of the screen before closing and gluing back together.

iPhone 6s, reconnected, but open - for a test before sealing

Sealed and back in action

iPhone 6s, resealed, power off
iPhone 6s, new screen reading about the old screen
Posted by creacog, 0 comments

iPhone 6s Glass smashed

I was doing well with this phone from October 2015. Major iOS versions stopped with 15. But it still receives security updates and runs at a decent speed, capable of streaming all the popular services. It had barely a scratch on it, then I go and drop a glass bottle of Quink on it, striking the edge of the home button followed by a delightful pattern of cracks through the glass.

iPhone 6s Glass Smash
iPhone 6s glass broken

While this feels like a sign to finally update to a more current model, with iPhone 16 announcements expected in a few weeks, it is the worst time. Besides there feels to be life in this old phone yet – not ready to add to the electronic waste yet. Although there are repair shops that can do this slightly less expensively, I am going for an the iPhone 6s Screen Replacement – ordered. The battery health remains at 96% since using an iFixit battery replacement kit in December 2021, otherwise I would swap battery too.

Posted by creacog, 0 comments

My iPhone 6s battery replacement

My iPhone 6s is starting to show its age, with the battery barely lasting a day, and much less if actually used, it is time for a new phone or battery. The original plan being to do this ahead of my Christmas travels. A positive Covid test put paid to the Christmas travels, the kit was already on its way.

I opted for the iPhone 6s Battery kit from iFixit, containing the new battery and all the tools needed to make the replacement. Then followed their iPhone 6s Battery Replacement guide.

Possibly the most important instruction, and one that I think saved me from some trouble, is to discharge the existing battery before commencing the work. I then spent considerably longer than the suggested 45 minutes making this change. Reasons for spending so long:

  1. I only have this kit and no spare parts. Unlike a repair shop, if I break something I’d then have to order replacement parts and be without a phone over that period. I was particularly fearful of breaking the screen and spent an age gently warming with a hair dryer before gently releasing it from the frame.
  2. A surprising amount of dirt had found its way into the phone and needed a good clean up, along with the old glue strips from the screen on which I used a good amount of isopropyl alcohol to clear them up.
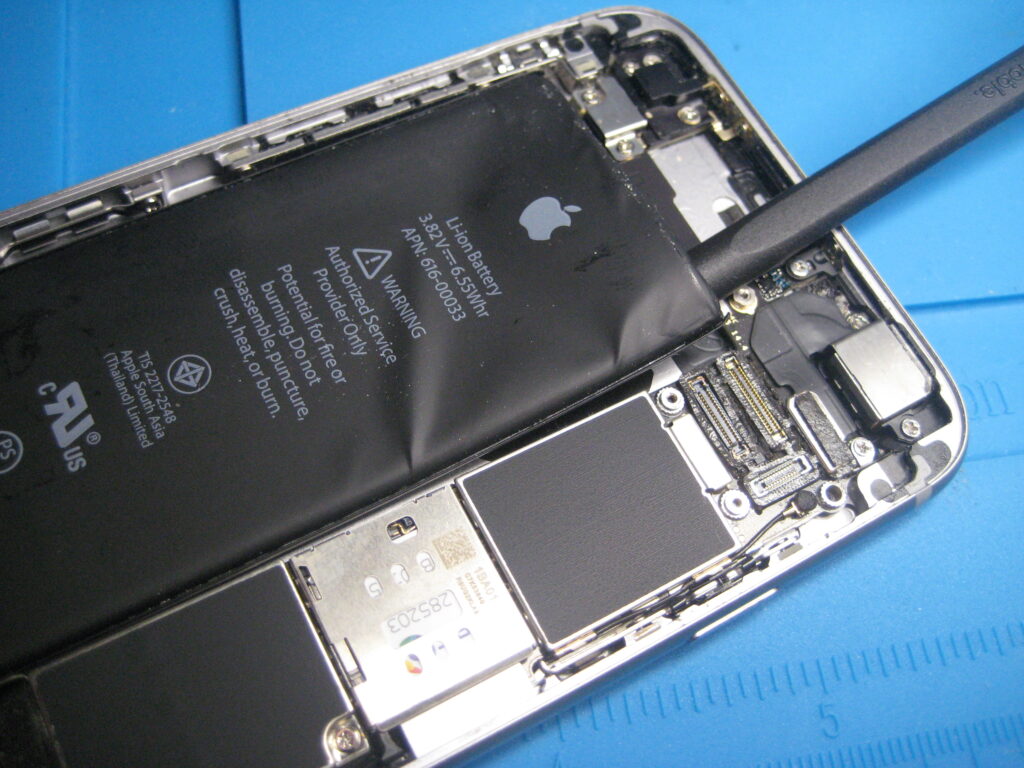
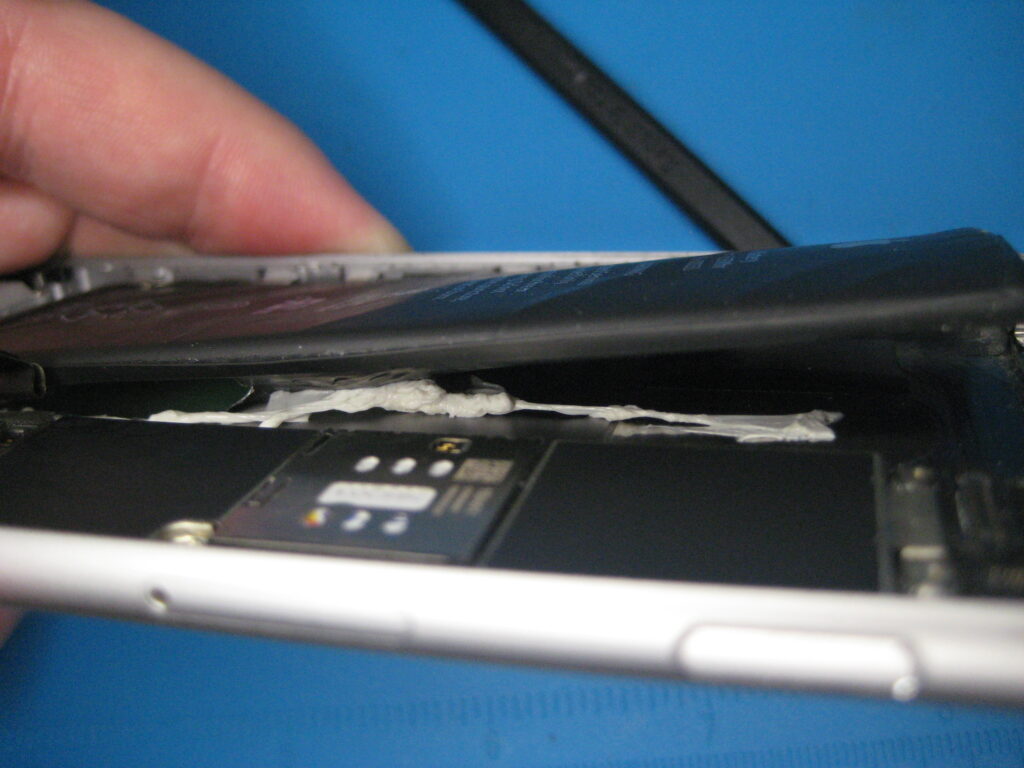
  3. The old battery peel-back strips both immediately tore, leaving the battery firmly fixed in place
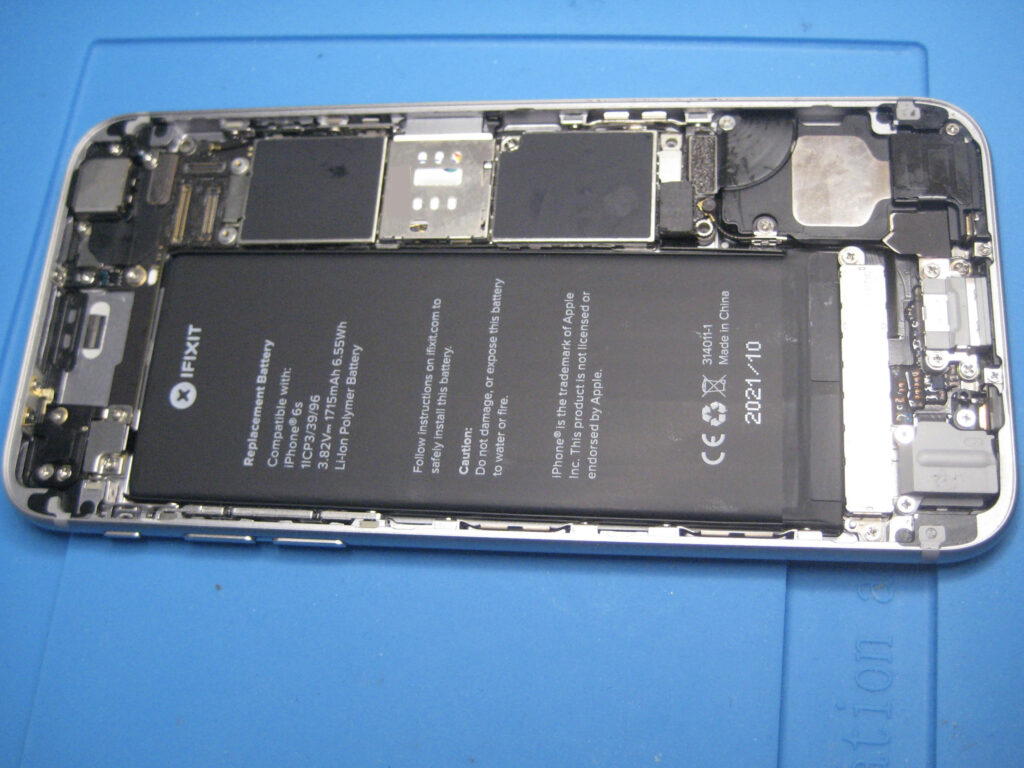
I realised I had pierced the battery when it emitted a sweet pear-drop kind of smell. Fortunately it had little or no charge, and I think only the outer skin was pierced. Moving more quickly I finally pulled it out, sealed the tear in the battery skin with electrical tape, and placed it in an unsealed tin box for a number of days. Later taking it to a recycling facility and advising that the skin had been pierced as it was handed over.

The new battery lasts well and gives the phone a new lease of life.

Posted by creacog, 0 comments