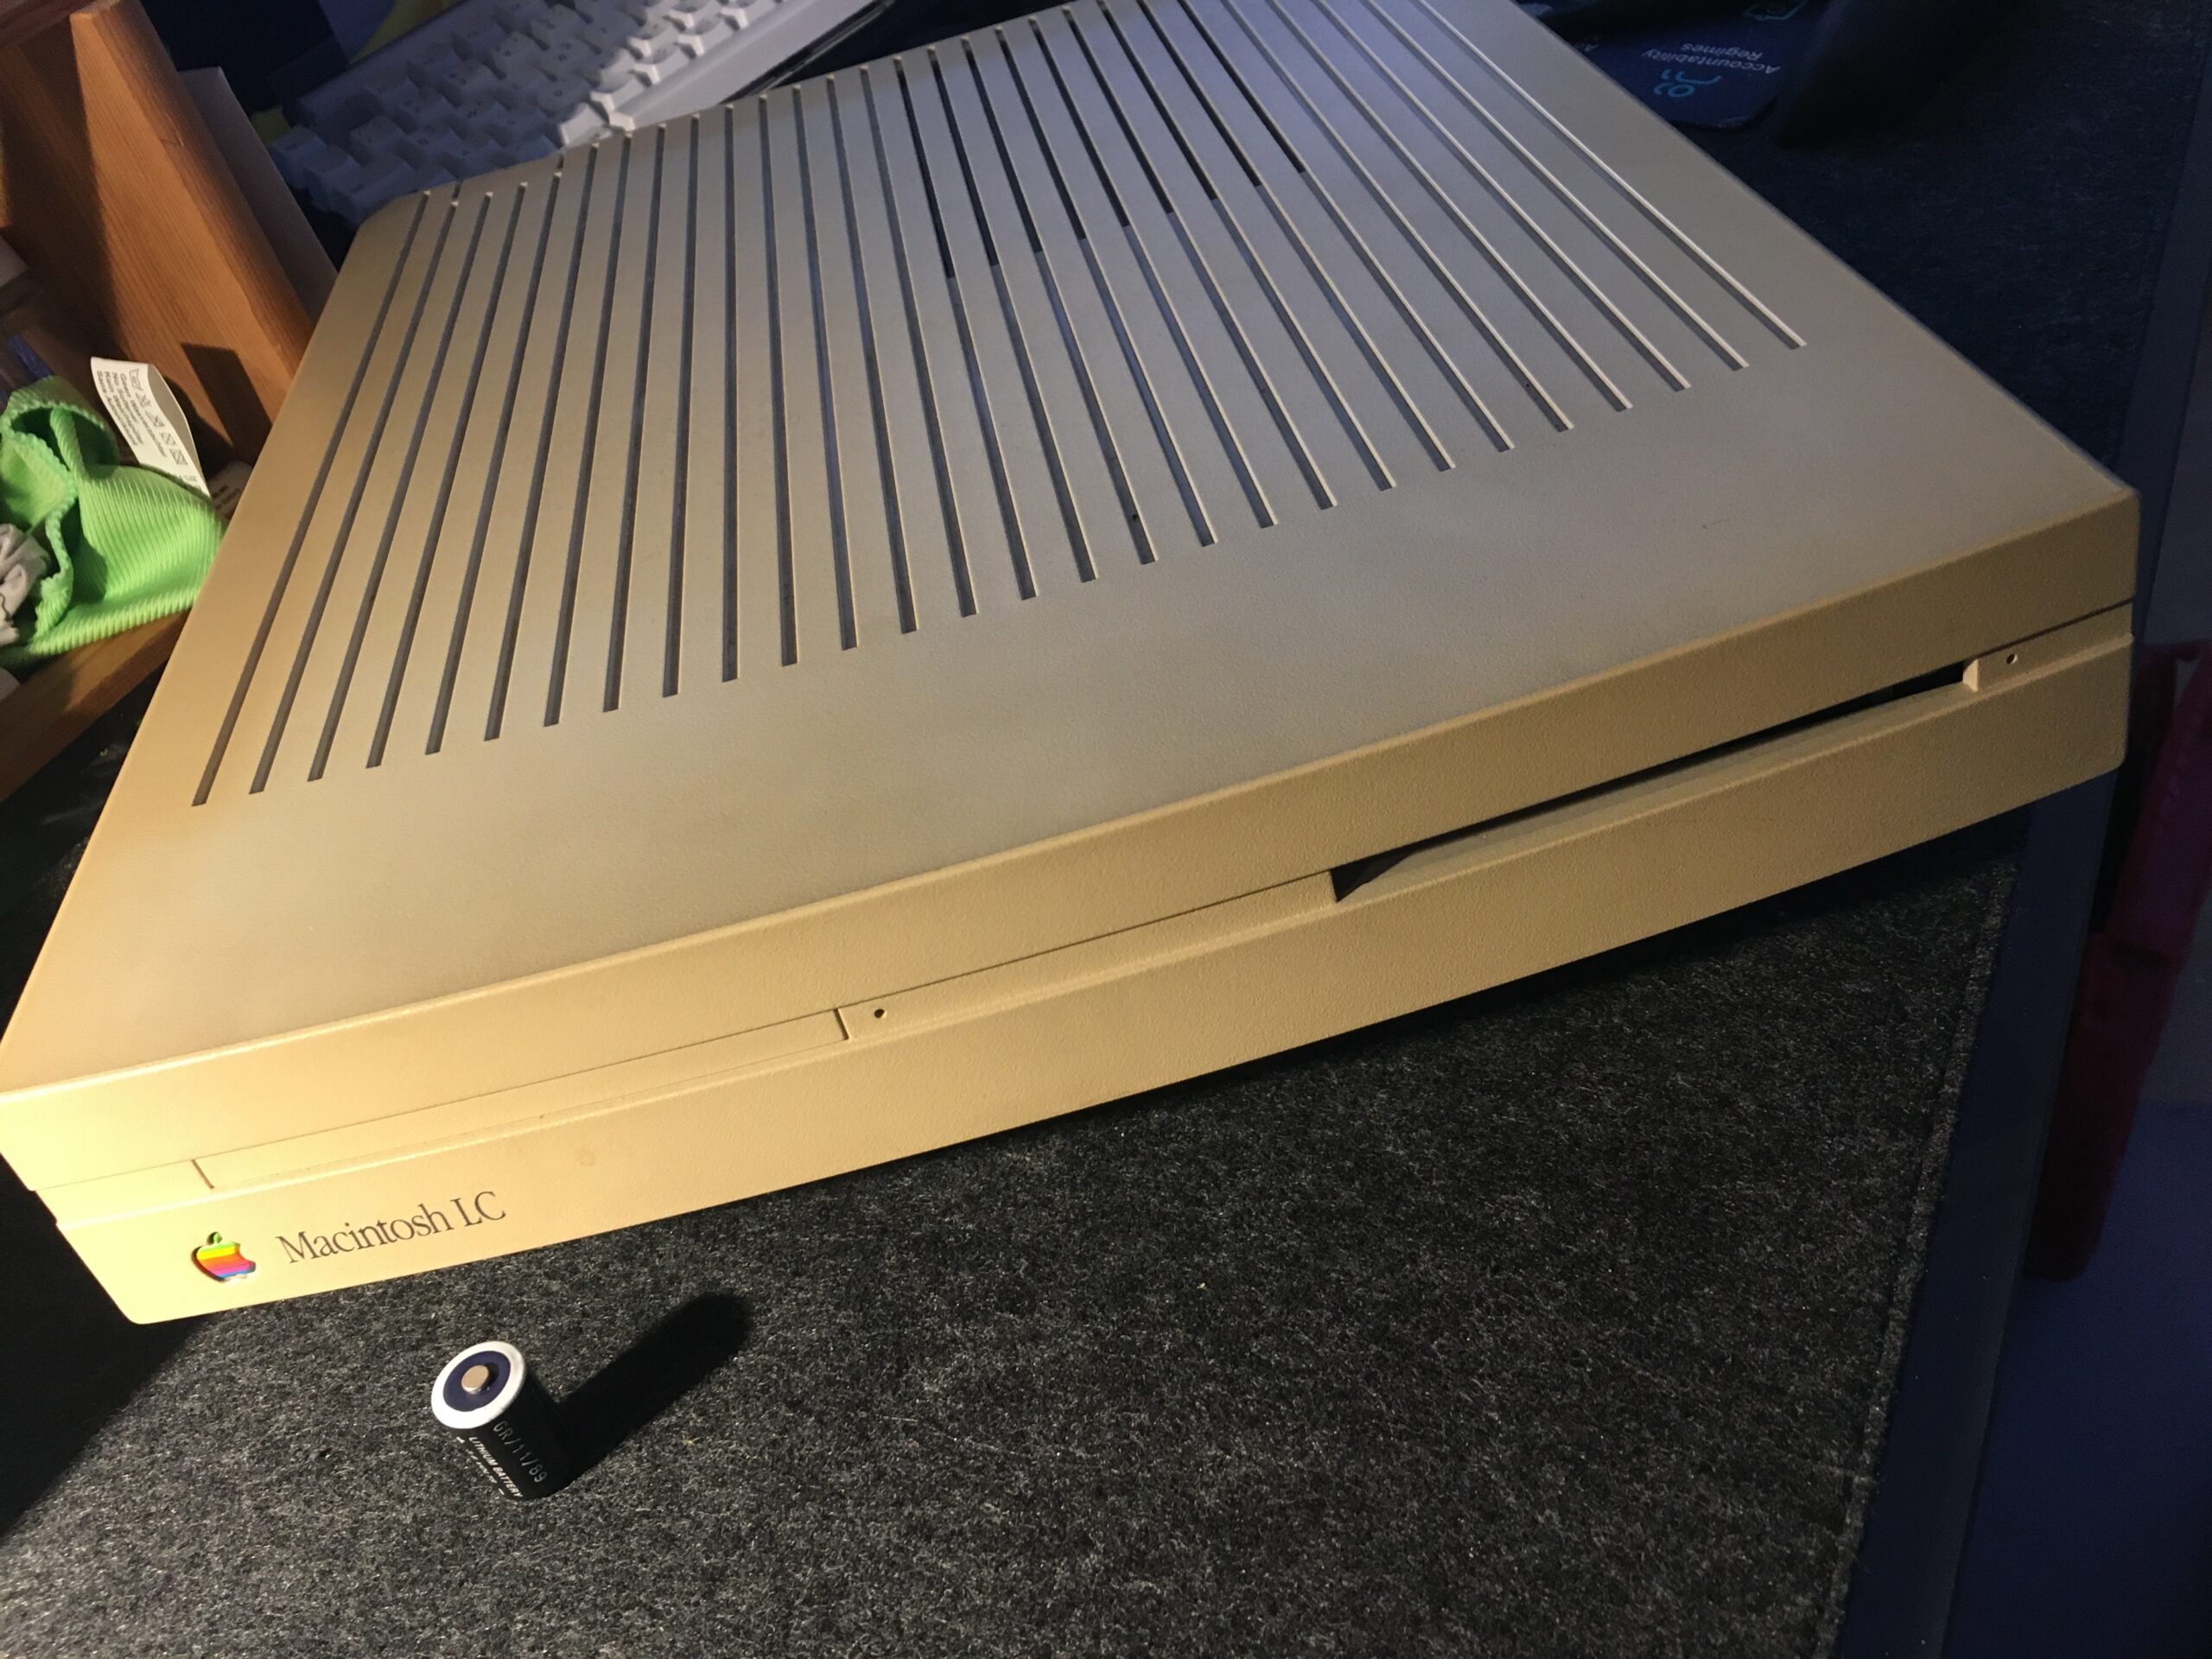
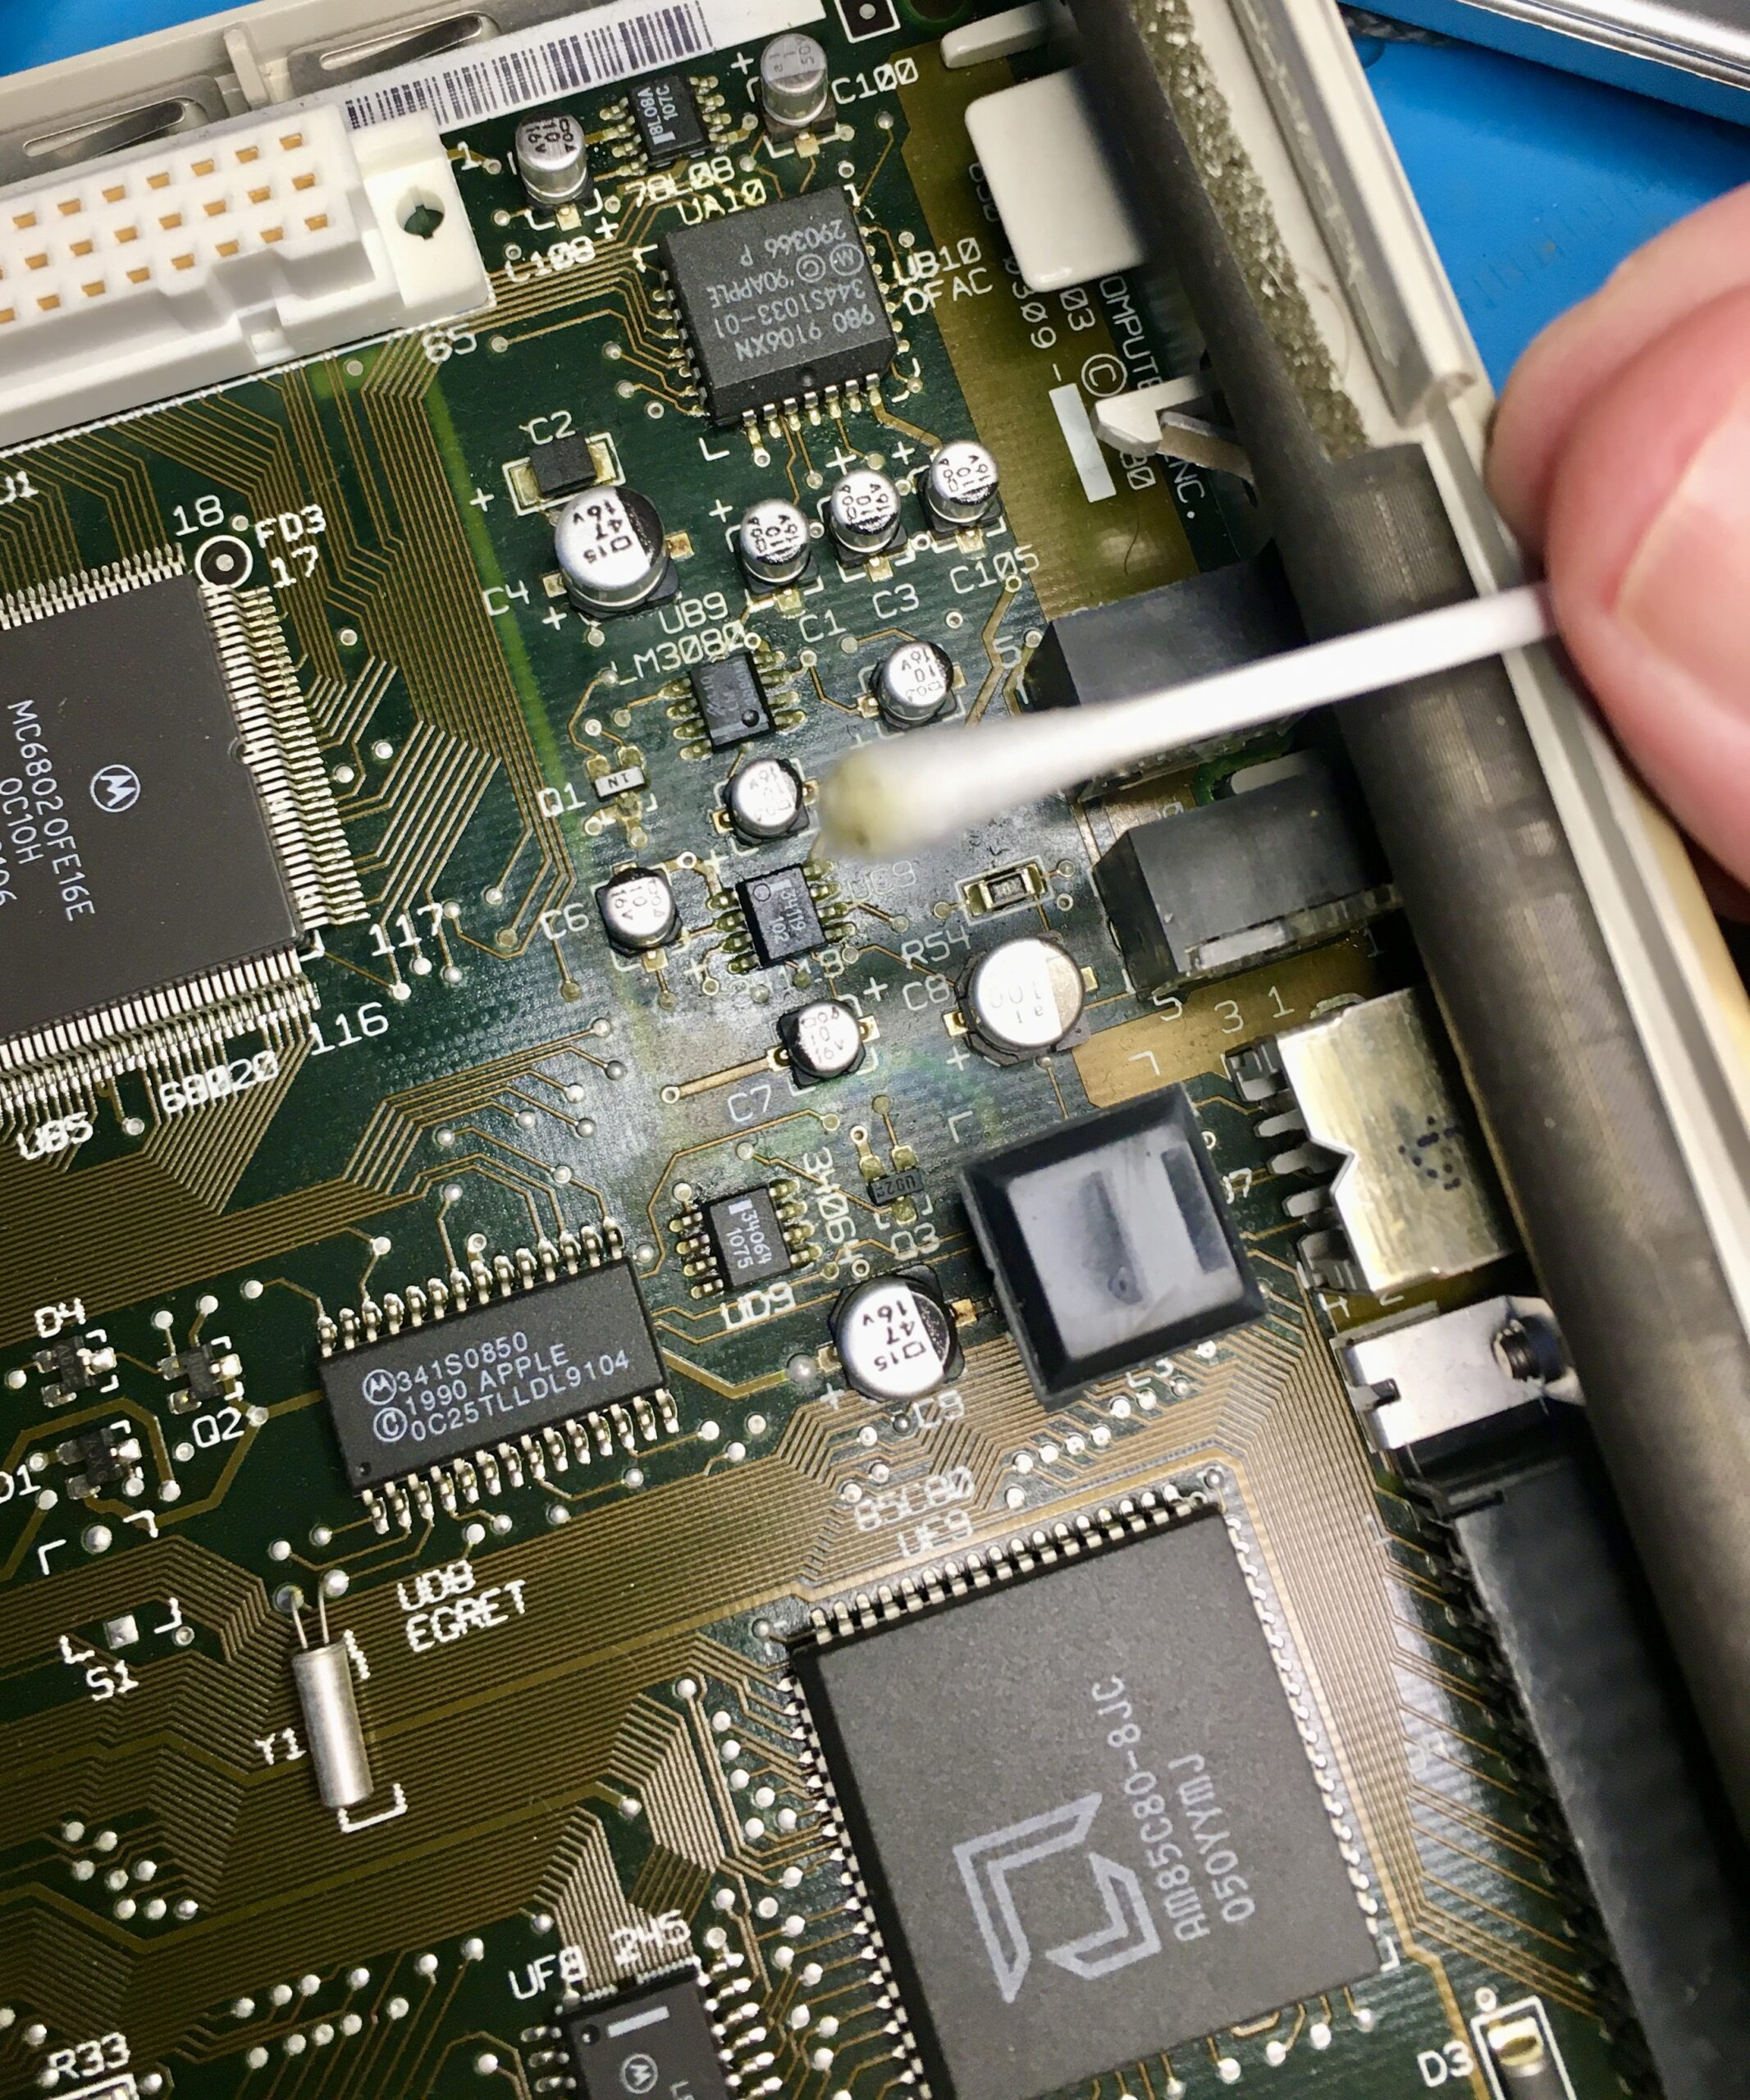
So, nearly a year passed since finding leaky capacitors inside my old LC. Finally getting around to sorting it out. The plan:
- Don’t power up until leaking capacitors have been replaced and the power supply checked
- Get replacement capacitors for the power supply
- This should be easy – replacing like with like – but a decision to be made is whether to replace them irrespective of testing – on the basis that they are around 34 years old
- Get replacement capacitors for the logic board
- Get a Blue SCSI II card, with wifi and internal mounting
- Opted for an assembled version – reducing the risk of my bad soldering affecting the main board.
I had put a larger hard disk in the Mac LC than the original 40Mb one. Unsure what size it is from the labelling but I am guessing it was probably 512Mb as they were pretty expensive at the time. The plan with the Blue SCSI is to copy all the data from the hard disk at the first opportunity after power-up, and replacing with the Blue SCSI for then onwards. Additionally, the old CD-ROMs I had for the LC will be copied to disk images on the Blue SCSI SD card.

For my research I watched a number of YouTube videos. In particular:
- https://www.youtube.com/watch?v=CbXvRBcWa6E&t=3335s (Like for like)
- https://www.youtube.com/watch?v=nAABI2IW_Lk (Fastest in the world? and using Tantalum caps)
- https://www.youtube.com/watch?v=o8SMatU3xTg&t=1593s (More leisurely, also using Tantalum caps)
Order in to Mouser, and mistake number 1. On Mouser, they use the nice large yellow package size for the tantalum caps as you see on the videos above – but this is a generic image they use for all Tantalums and I had not taken into account the various package sizes. To be fair to me, the experts in the videos above don’t mention the package sizes. I ended up with some of these…

At 3mm, these were smaller than I expected, and gave pause for thought. I then watched this video which takes a different view on using tantalum caps. In short, Tantalum tends to fail by short circuiting with flames. Additionally, it is recommended to use a larger derating to minimise the likelihood of a fail. So I either need to replace these with ones derated further from 16V to around 25V, or use an alternative type: tantalum polymer caps, which do not burn when they fail and should be ok on the original derating.
In short, I have ordered tantalum polymer cap replacements for the main board, and sticking with electrolytic for the power supply.