Sounds

Musical / Audio interest

Roland Alpha Juno 2 repair time

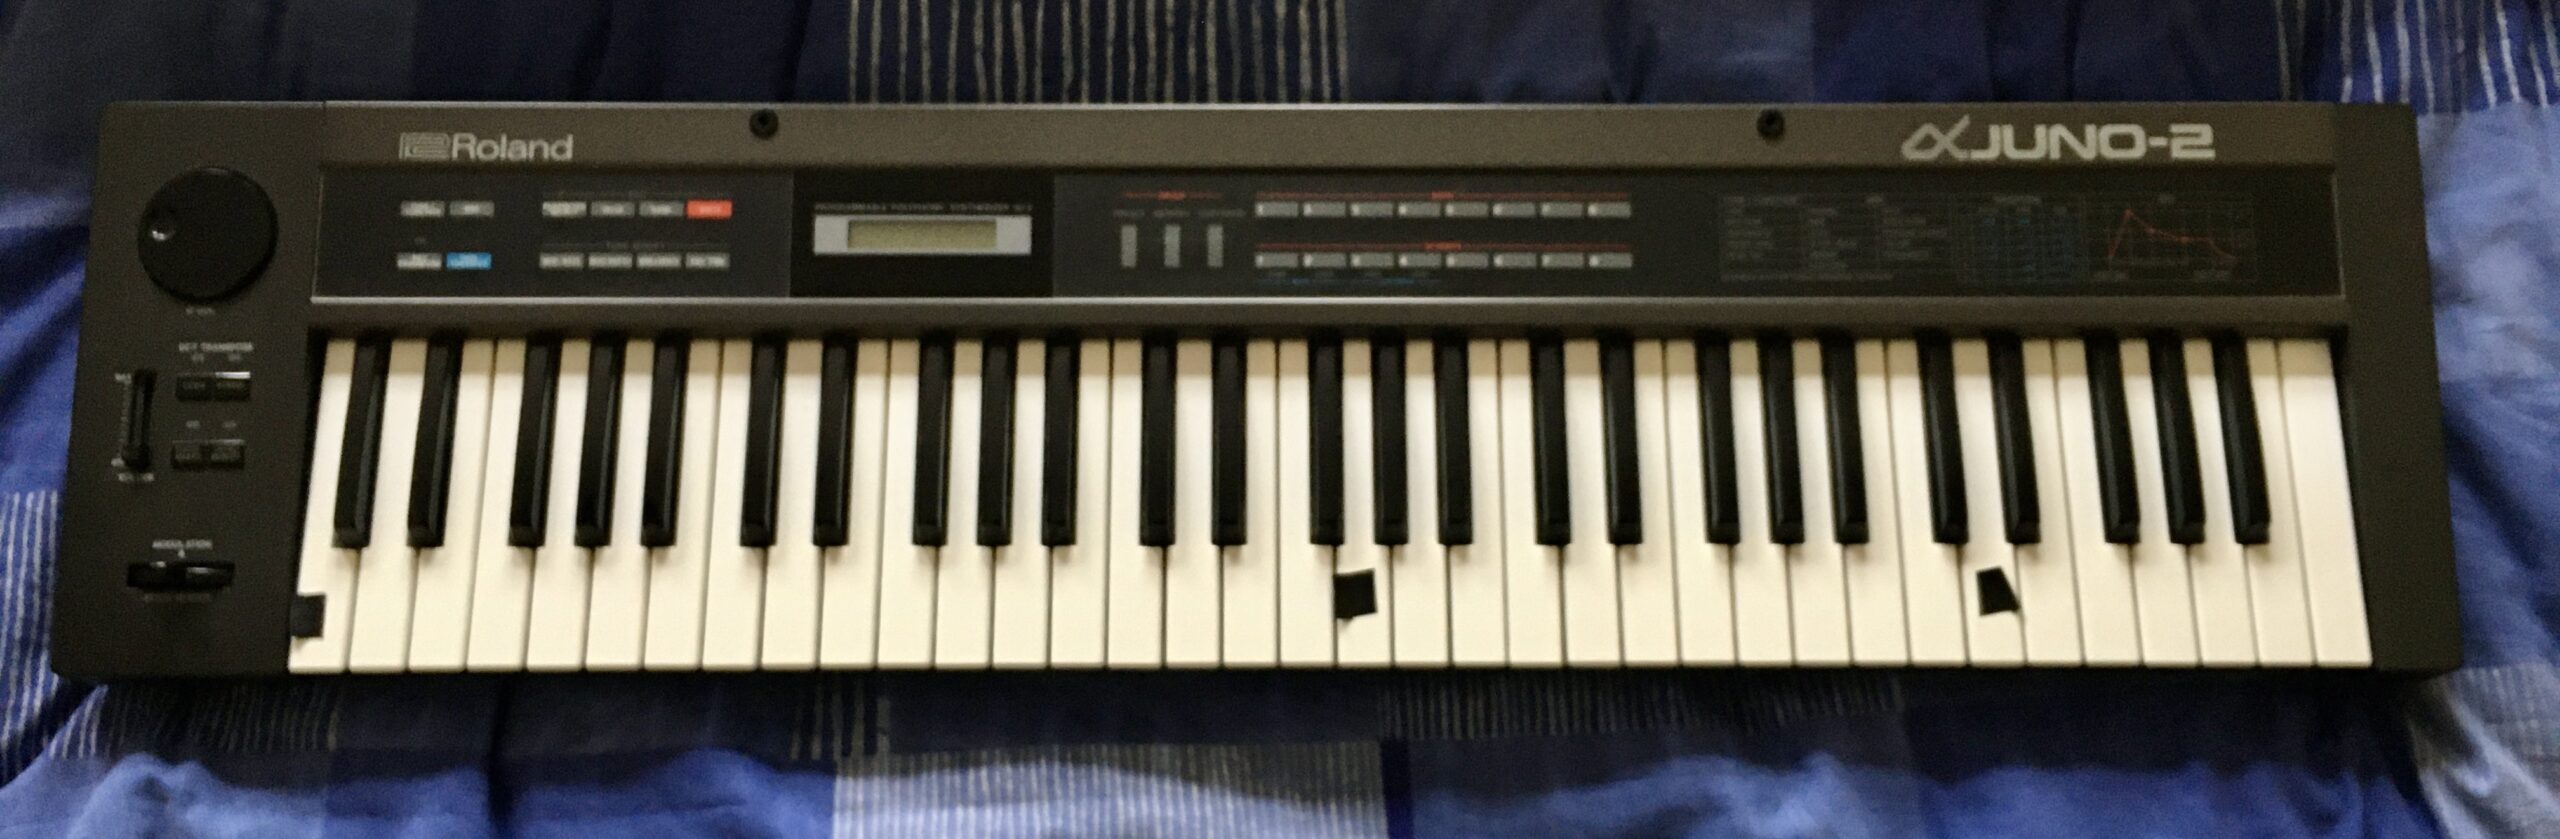
TLDR: I need to make the following repairs to my Roland Alpha Juno 2

  • Fix the touch sensitivity of one of the keys
  • Fix the non-sounding keys
  • Replace the back light
  • Replace the battery
  • Give it a good clean, inside and out

Using online articles and YouTube videos, I get into the repairs after sharing my history with this synth.

I saved up and bought it new in around 1986. I originally had a couple of small Casio keyboards PT-50 and MT-400V, and got my hands on a Roland SH-101 but wanted to step up to a polyphonic synth.

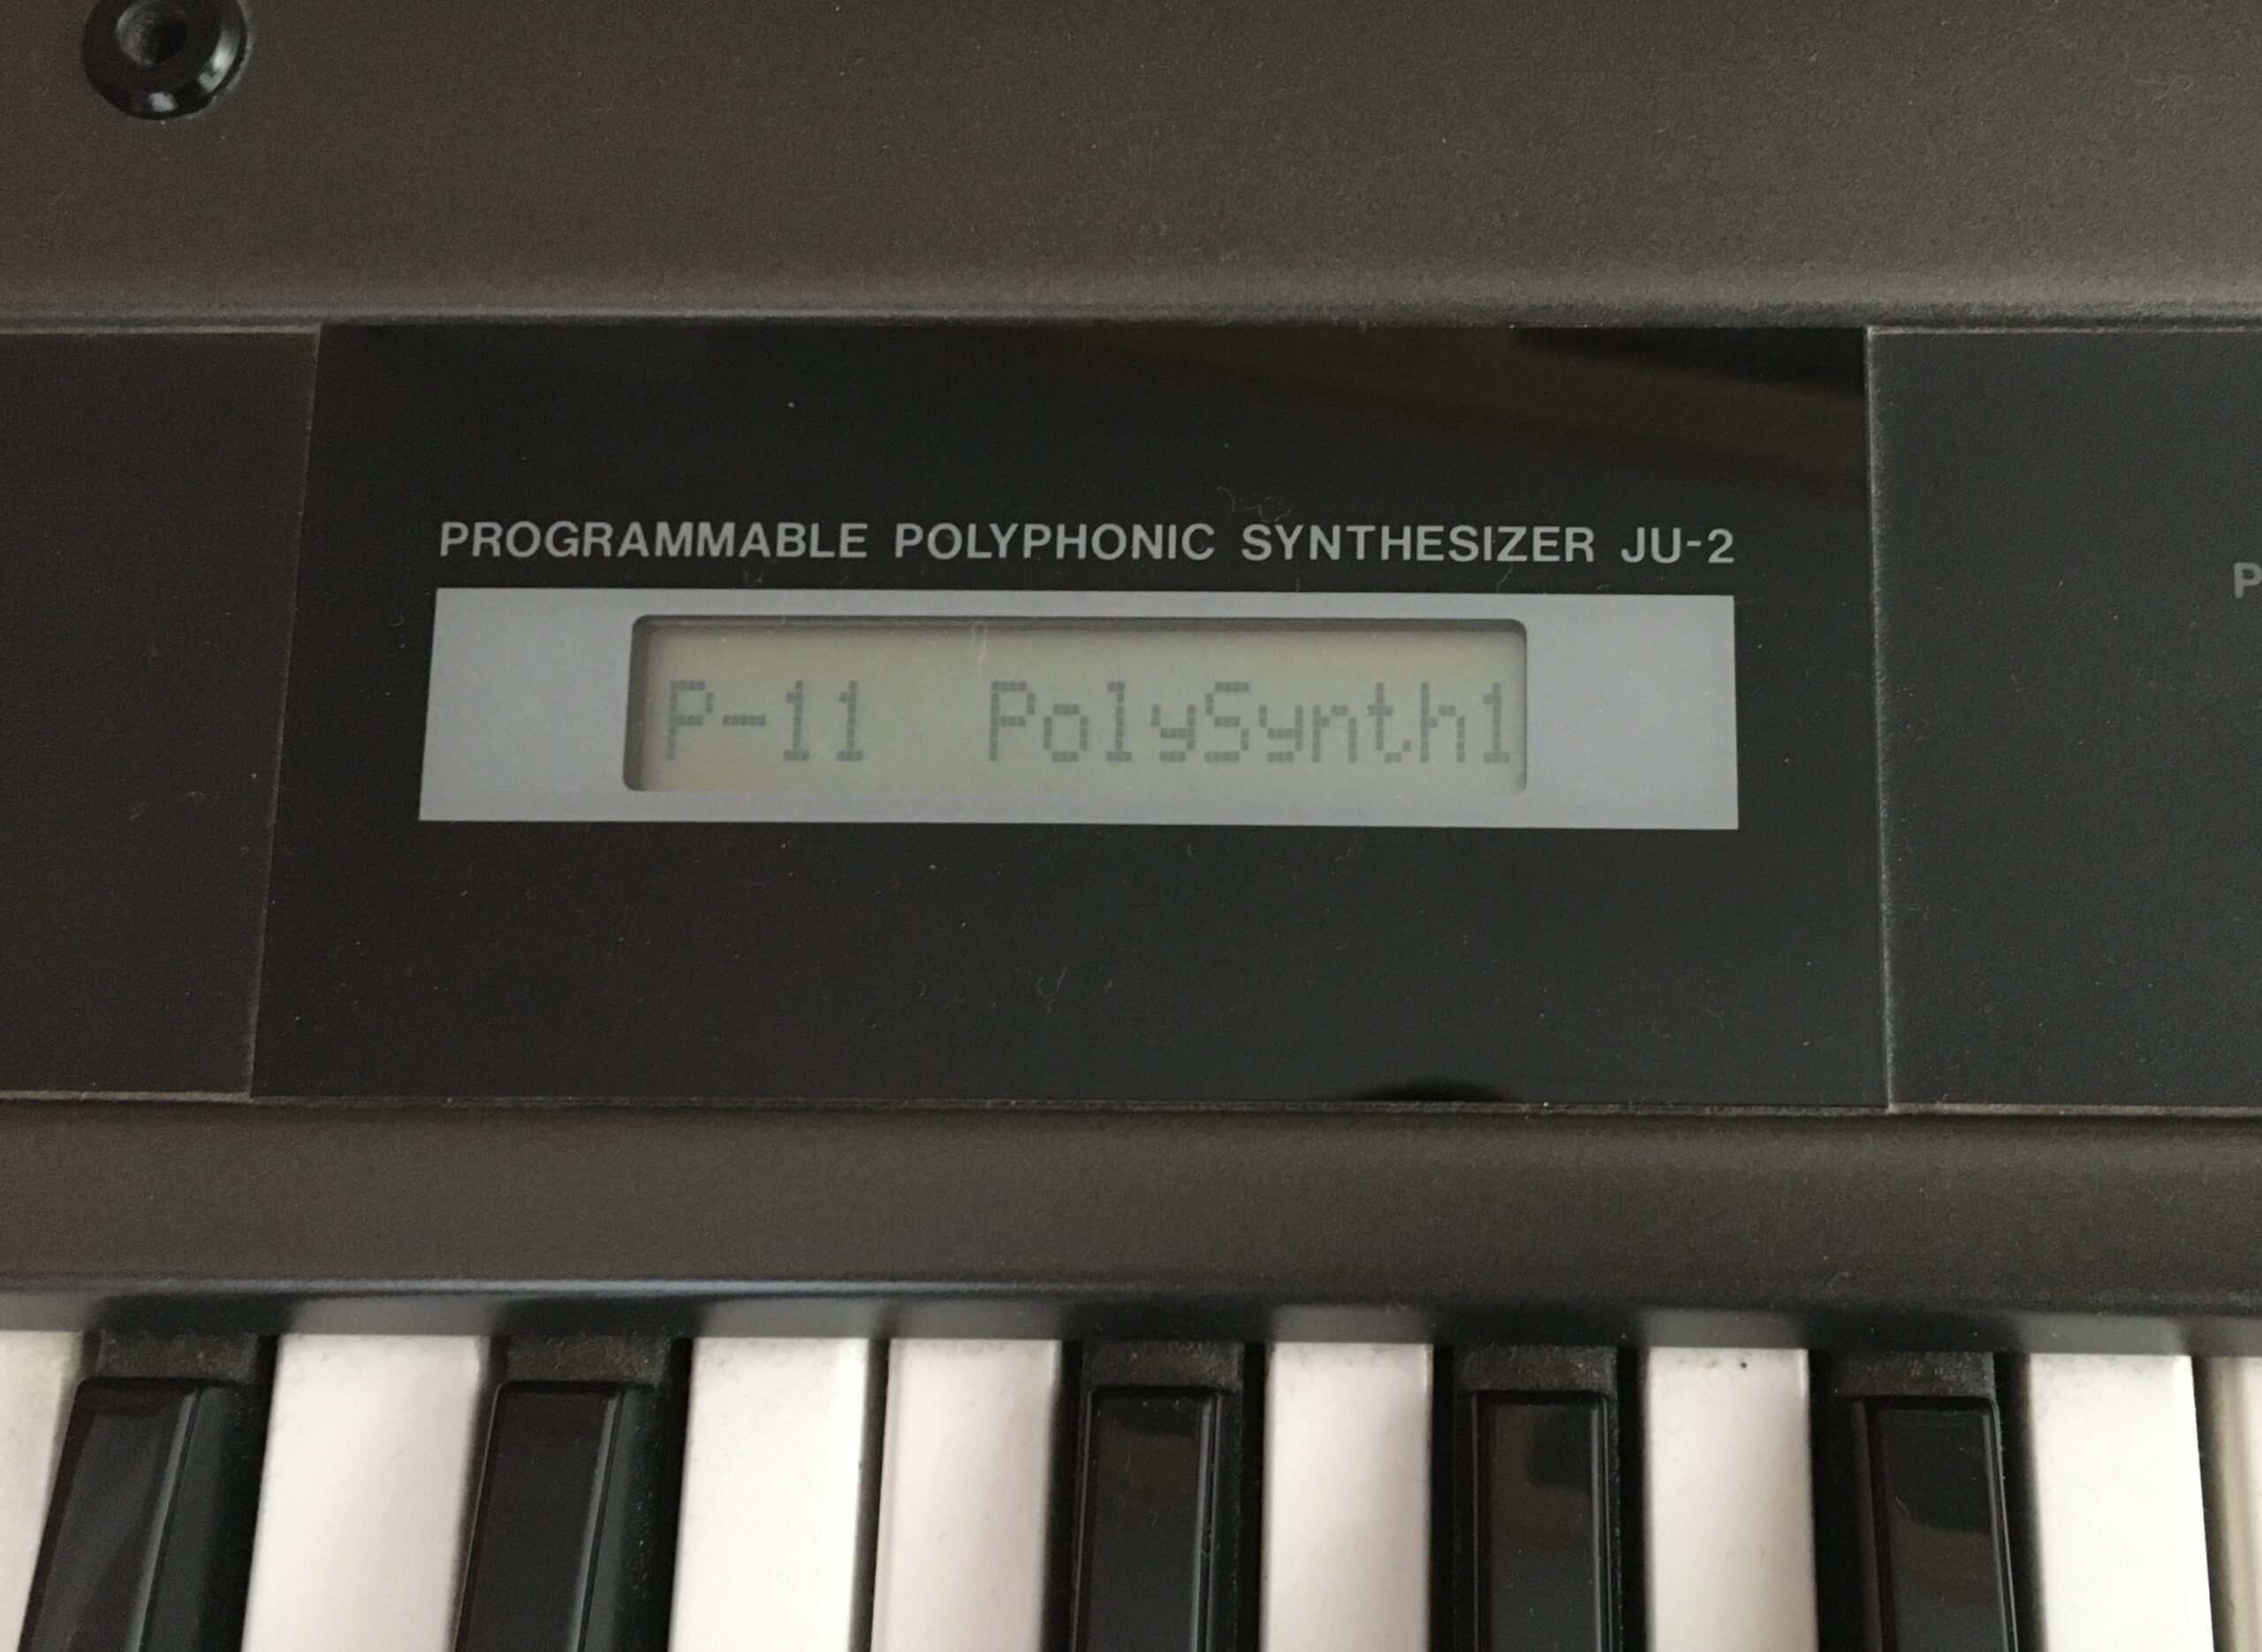
I was on a year out after my A-Levels, and earning, so a bus ride to into Manchester to hand over some cash (around £700 if i recall) and pick up my new Roland Alpha Juno 2. I’d never call myself a musician – I just enjoyed playing with the synthesis and trying to emulate the sounds of my favourite artists and bands of that time: Jean Michelle Jarre, Gary Numan, Ultravox, Human League, OMD and Pink Floyd.

I have always liked this synth and the feel of its semi-weighted keyboard and it seems to have lately found some popularity as a retro synth used by artists such as Kebu.

The synth (and home made amp) came with, as I left home in 1988 to study for my Computer Science degree. It survived the halls of residence and two student houses despite a near constant fear of being burgled.

In my first year however, it started behaving erratically and needed a repair. Rock city in Middlesborough did the repair job, which included replacement of the memory backup battery and some fuses. It hadn’t been again since. I’m amazed that the patches programmed over 30 years ago remain intact. Having owned it from new, I attach a lot of sentimental value to this synth and I don’t want to ruin it while I attempt to repair it.

I was able to find the reference materials on manualslib. Additionally I searched and found a number of repair videos on YouTube:

Saving the patches

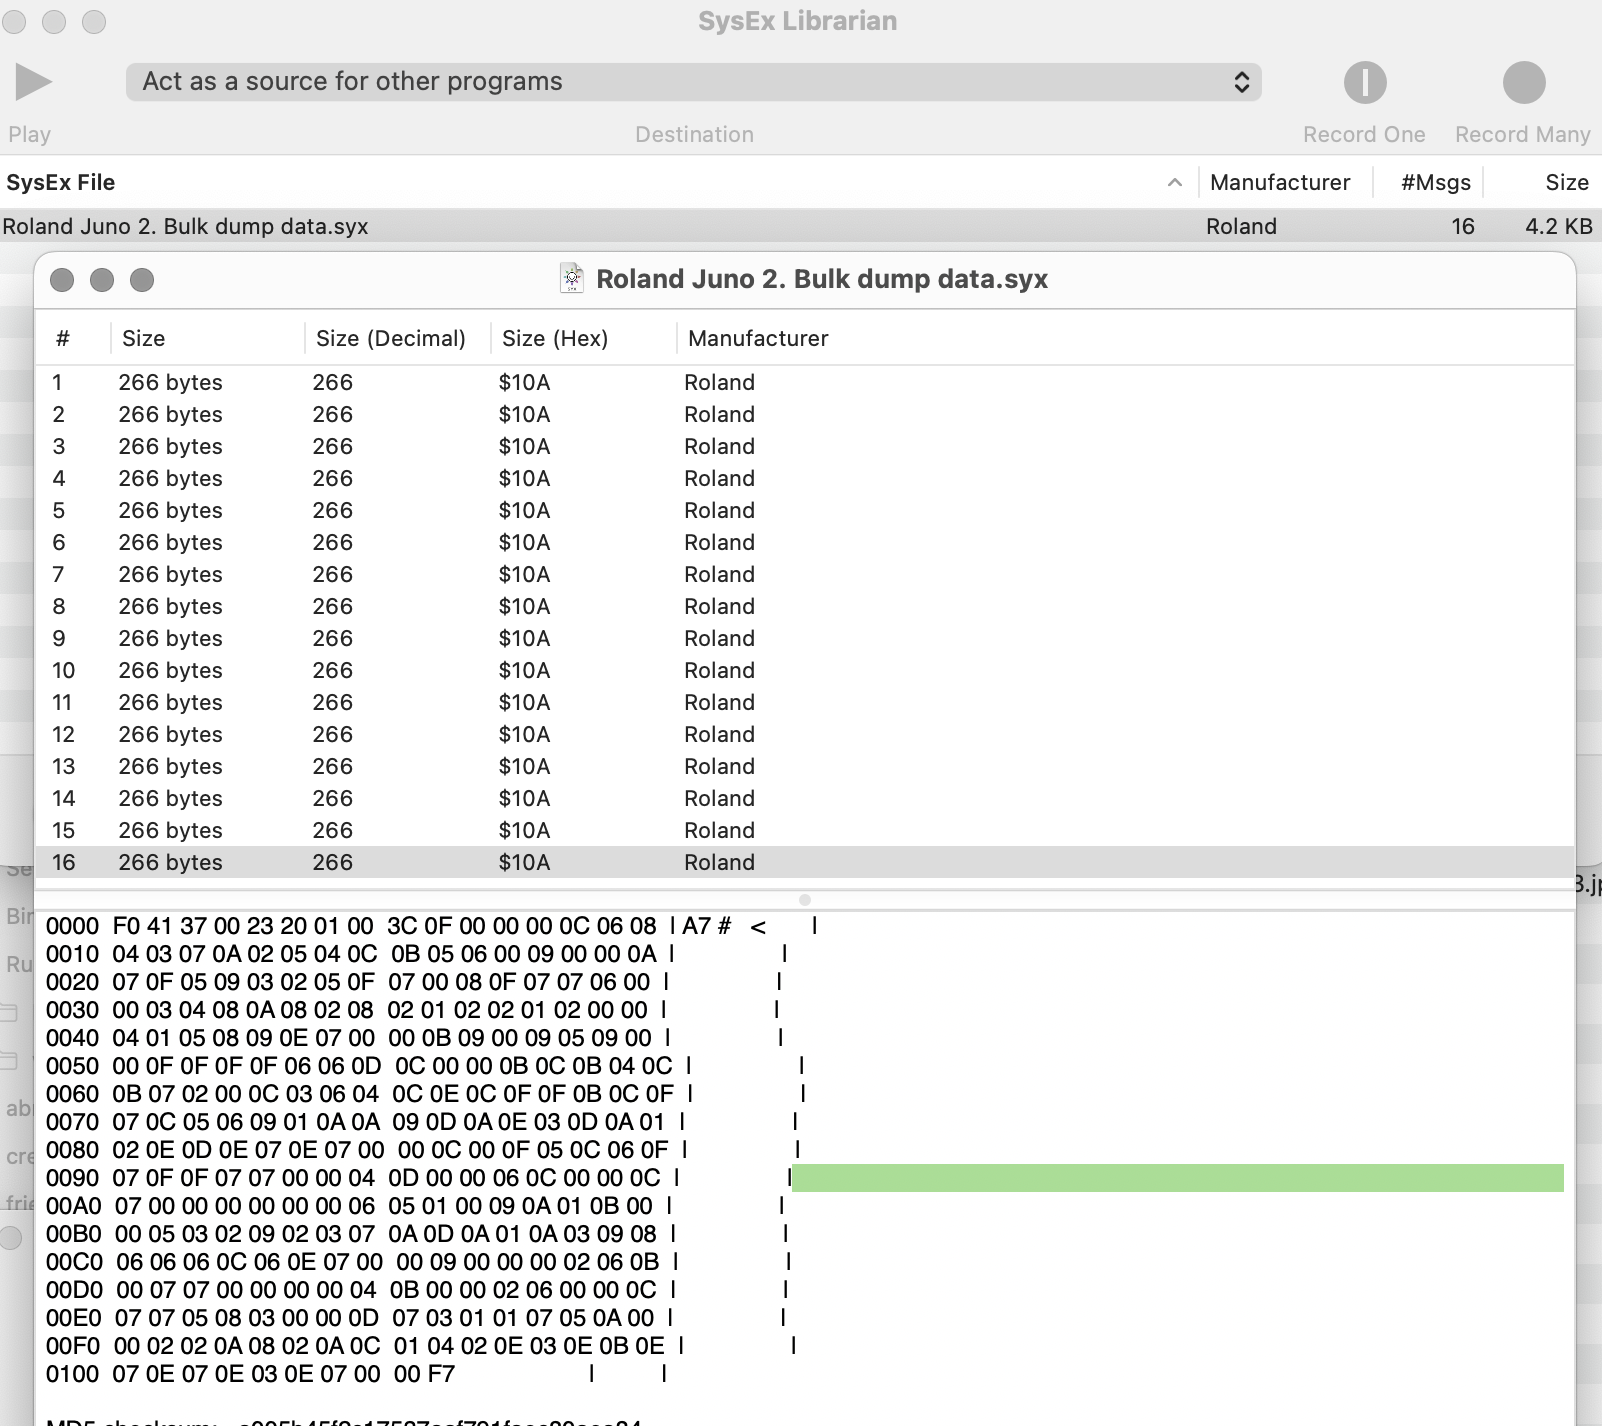
Since I am going to change the battery, I need to dave the patch memory. To do that I used SysEx library on my Mac, and on the Juno, pressed simultaneously:

  • Data transfer
  • WRITE
  • Bulk

This sent 16 messages (4.2 Kb) to SysEx Library, which seems tiny by todays standards, but represents the 64 user defined patches.

Sysex of my Juno 2 user patches

Bad keys

First I marked the affected keys with tape:

  • The bottom C key, always plays 20% louder than other keys
  • The top D key, always plays 100% velocity, no matter how softly played
  • The middle G key does not sound
Alpha Juno 2 - Faulty keys labelled

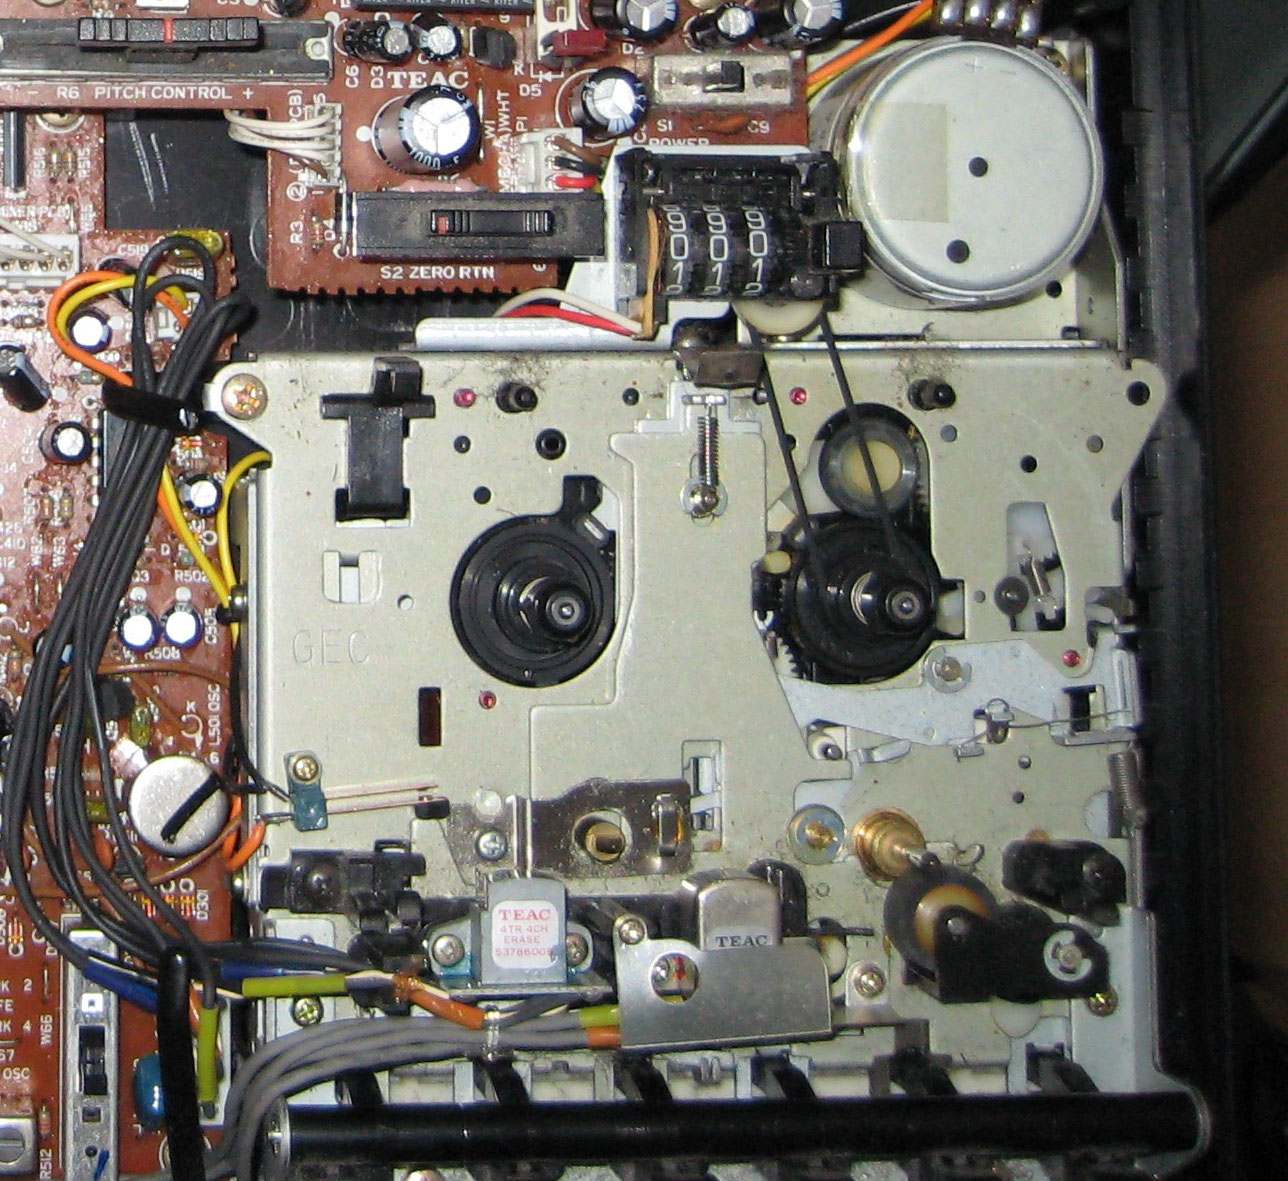
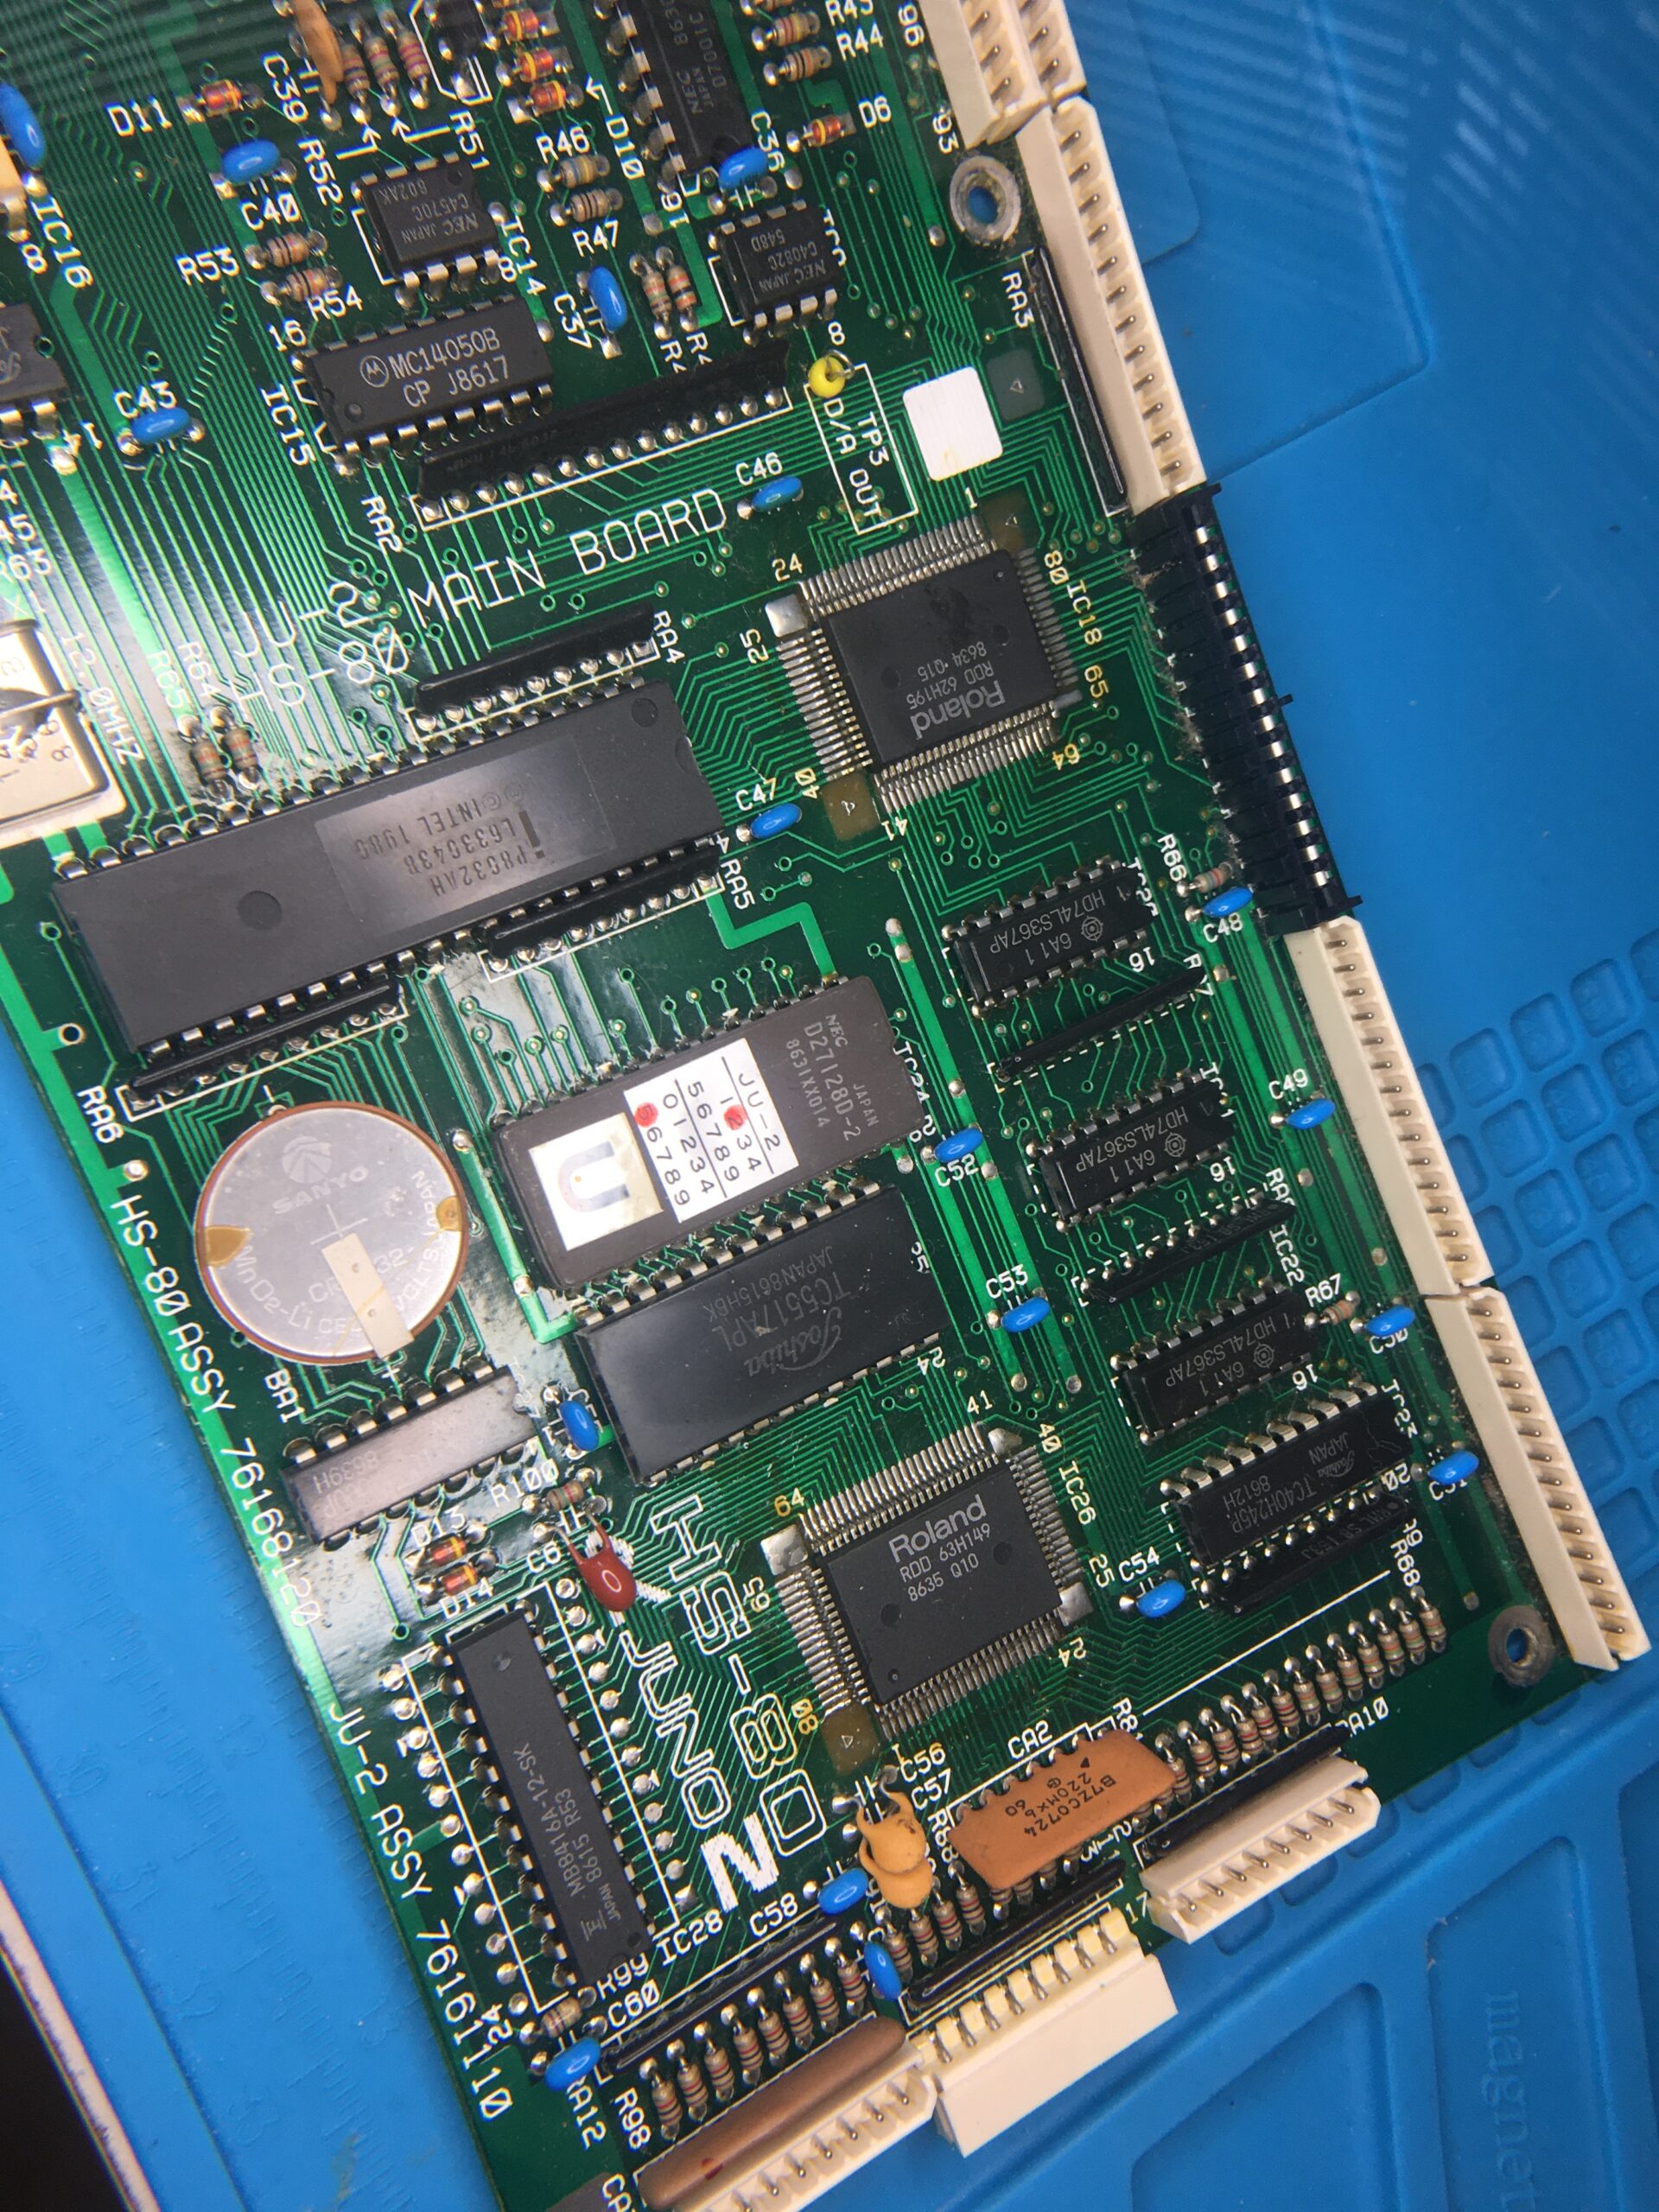
Once inside, removing the keybed is a delicate and fiddly process – since the main board is slotted into the keybed. A rough hand could easily cause damage to that board. Ever careful to take photos of all the connectors in place, to provide reference for reassembly.

Alpha Juno 2, Opened
The main board sitting under, and slotted into the keybed.

The approach I took unscrew the board from the frame and slide it out, disconnecting the many connectors. Once the main board was free, I unscrewed the keybed from outside of the case and worked on it separately, away from the delicate electronics.

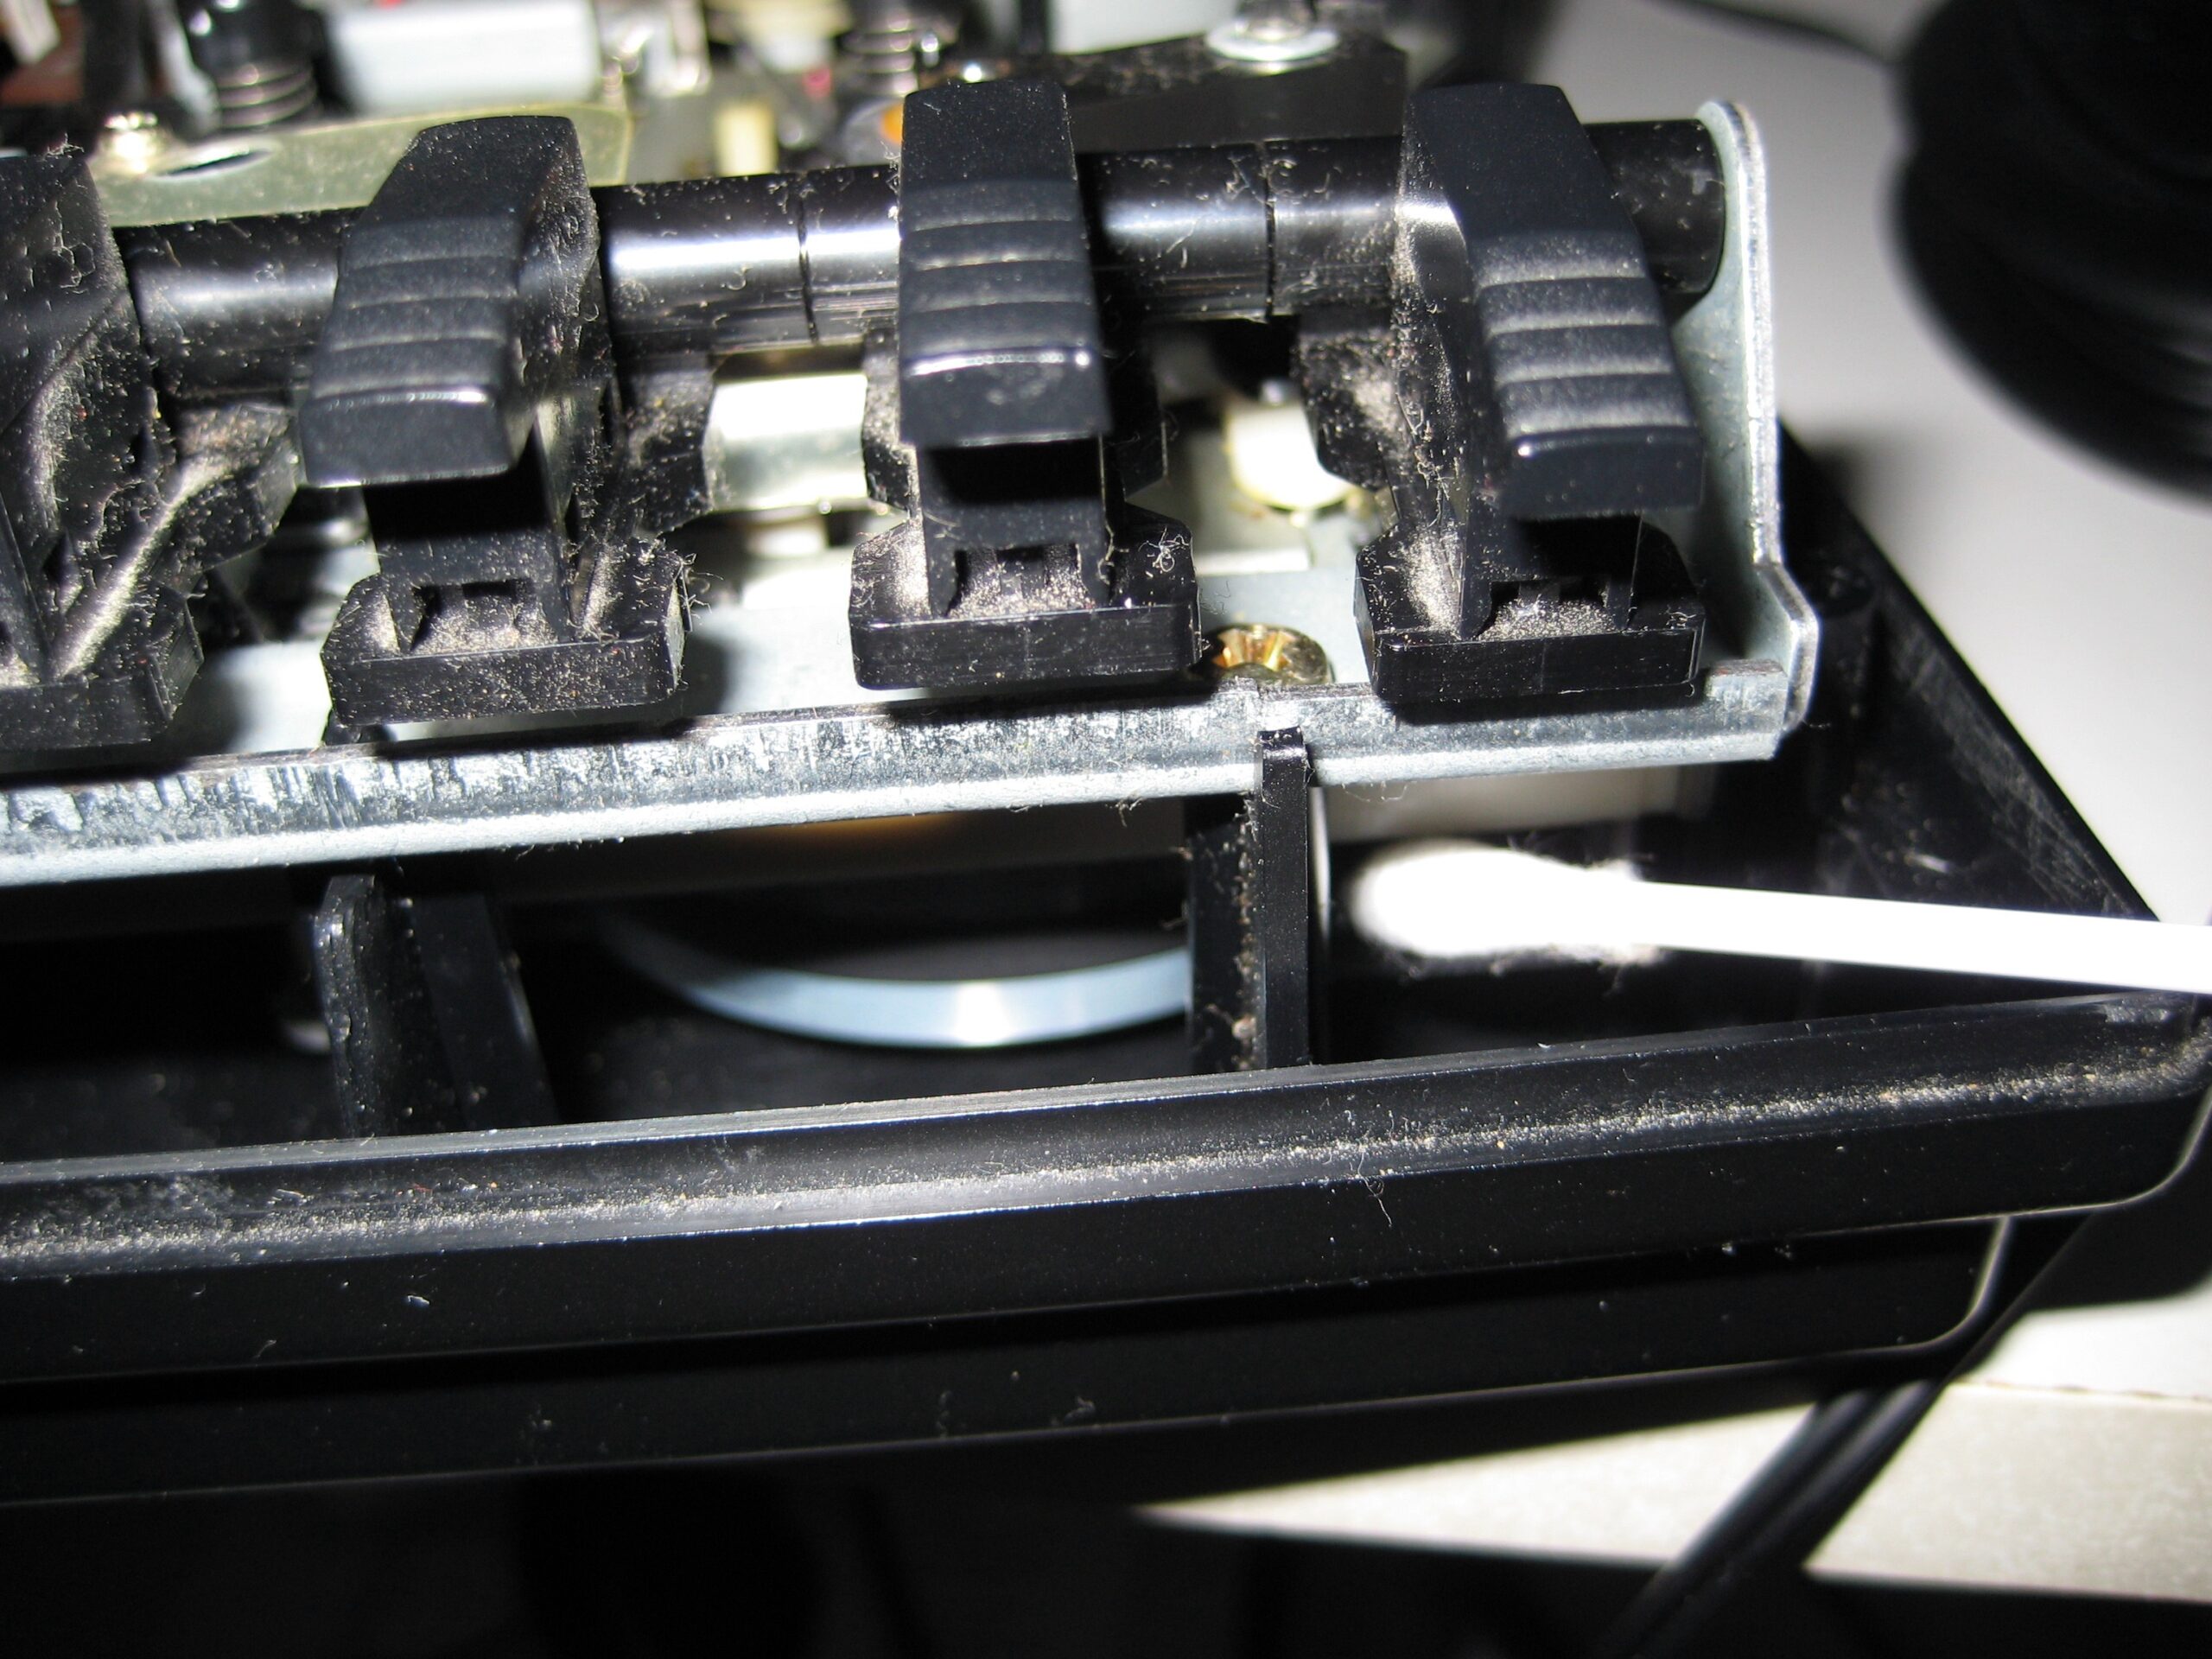
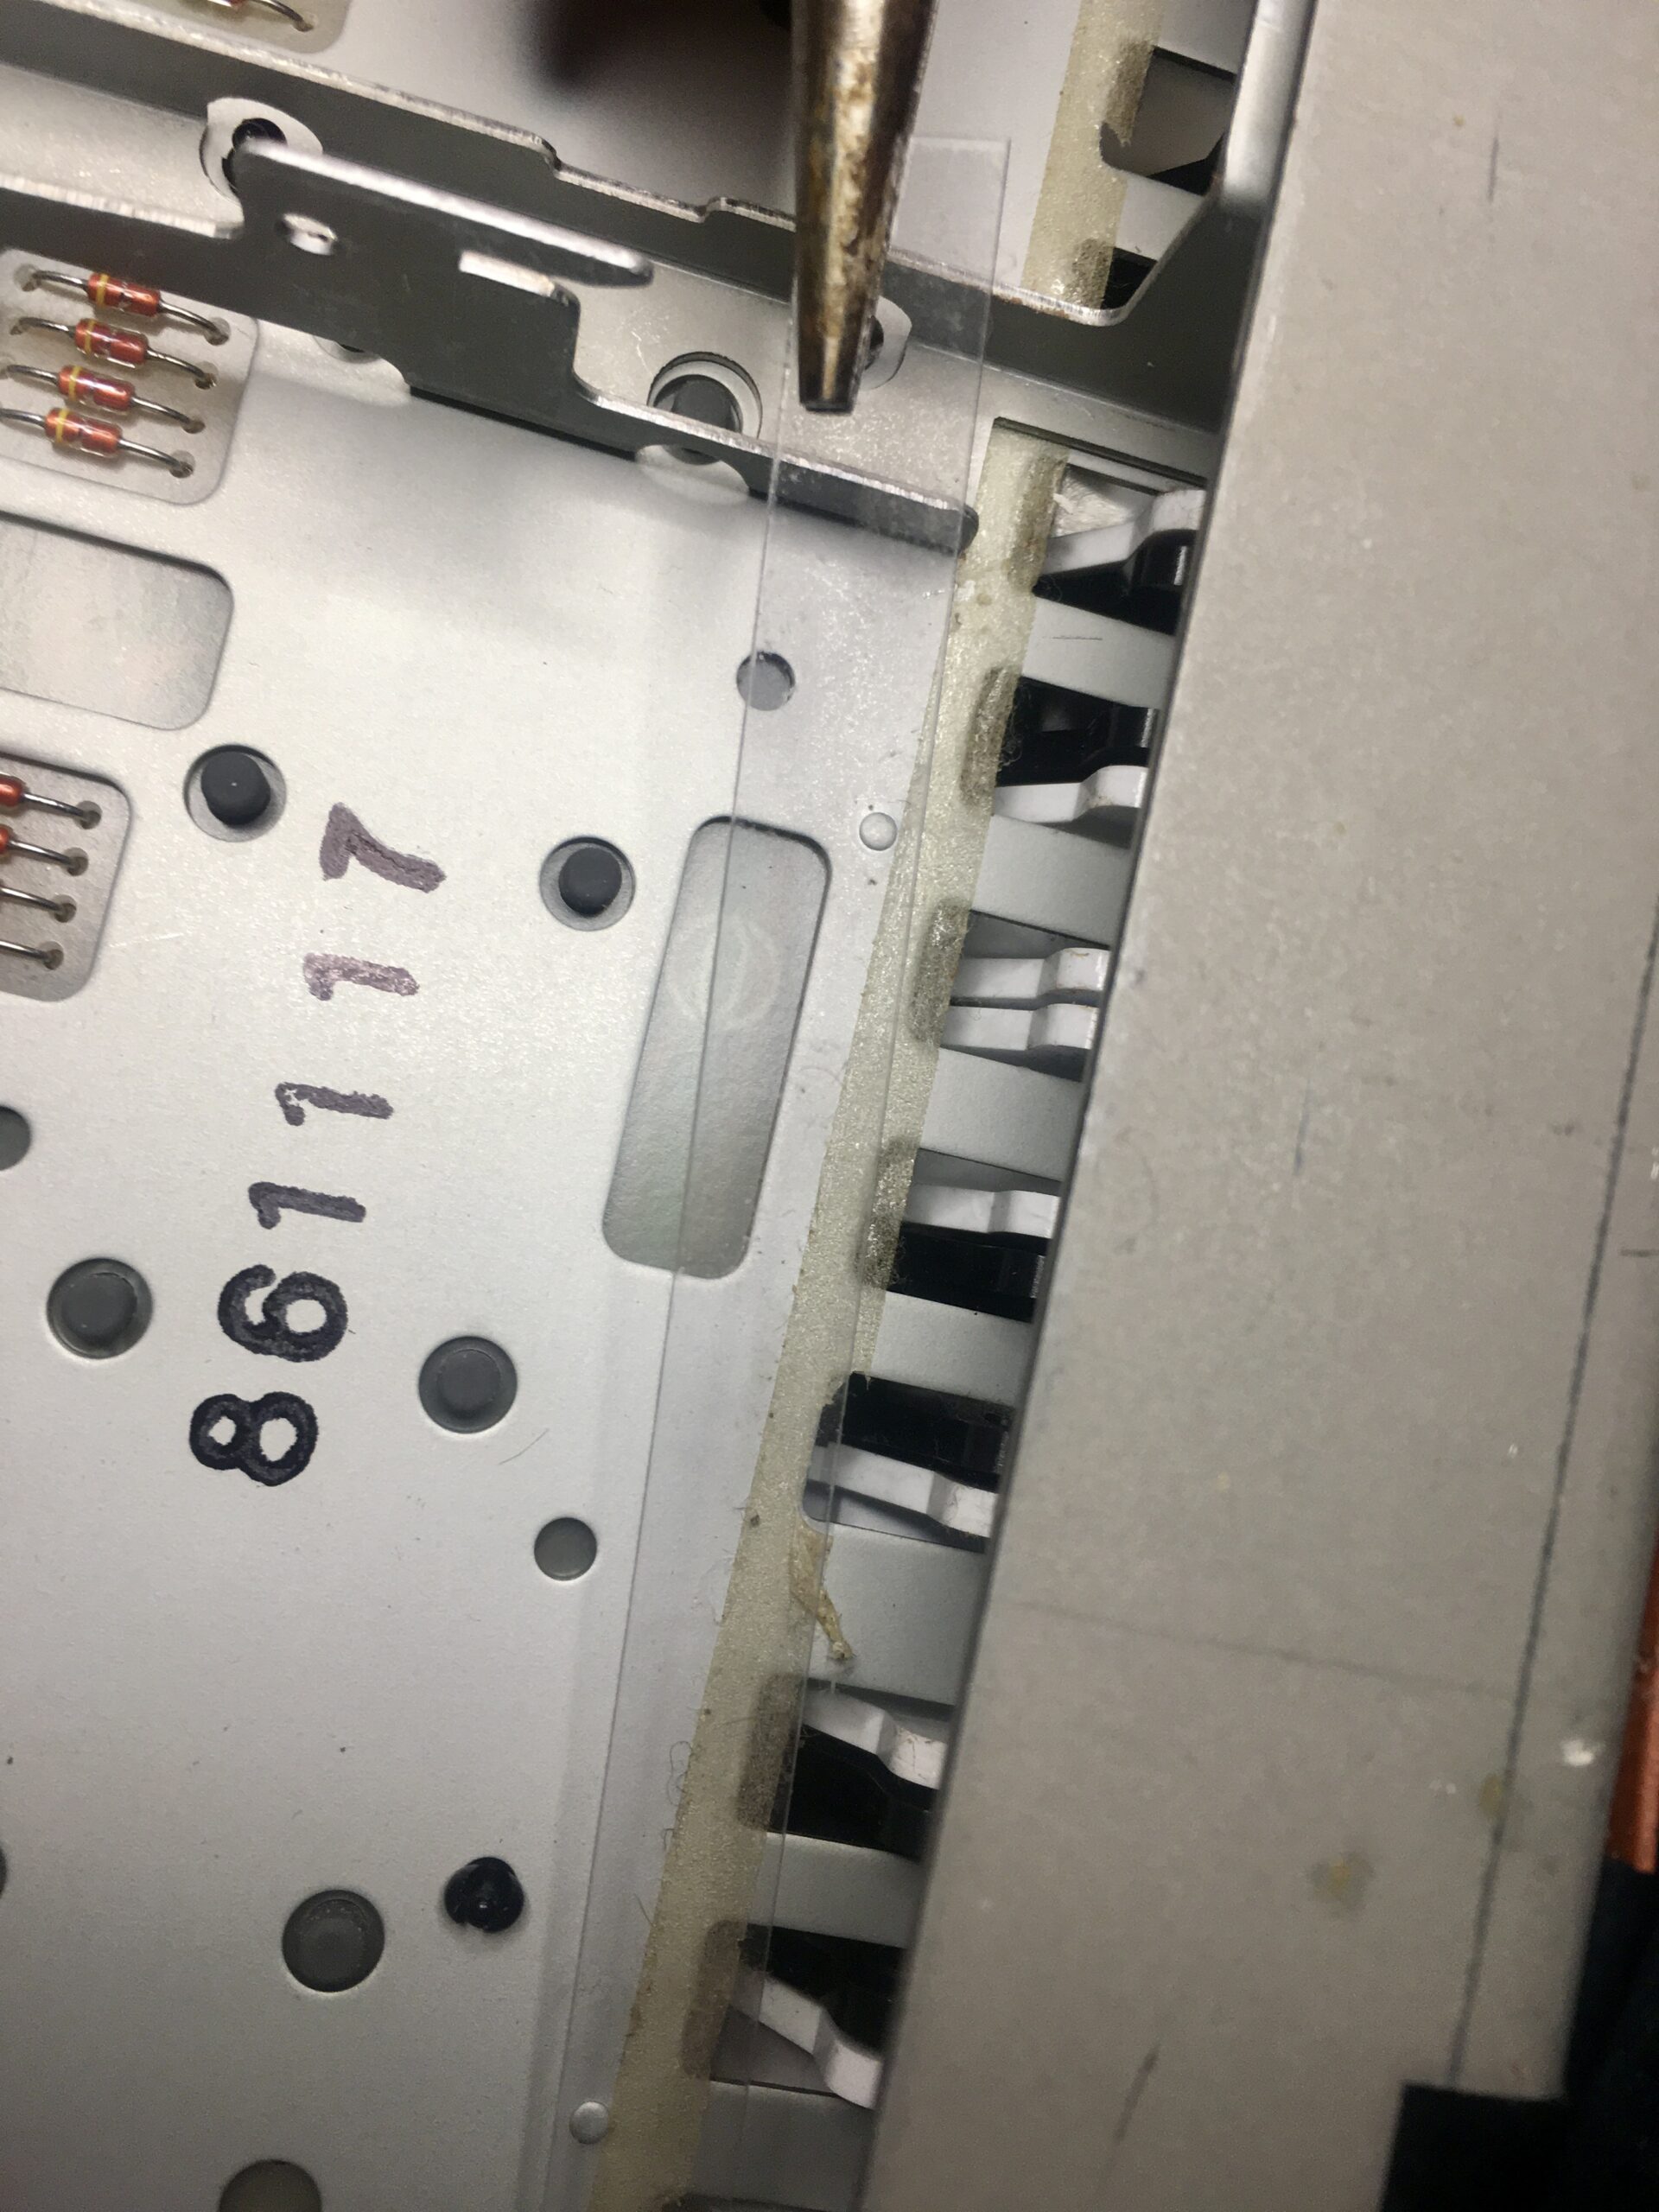
To get to the contacts we need to first remove the keys to which there are 3 stages:

  1. Remove the springs, keeping the shorter springs of the black keys separate from the larger springs for the white keys
  2. Underneath the keys, unstick and put aside the ‘Key Stoppers’ (clear plastic strips) that prevent the keys from slipping forwards.
  3. The keys will now pull forward and can be removed

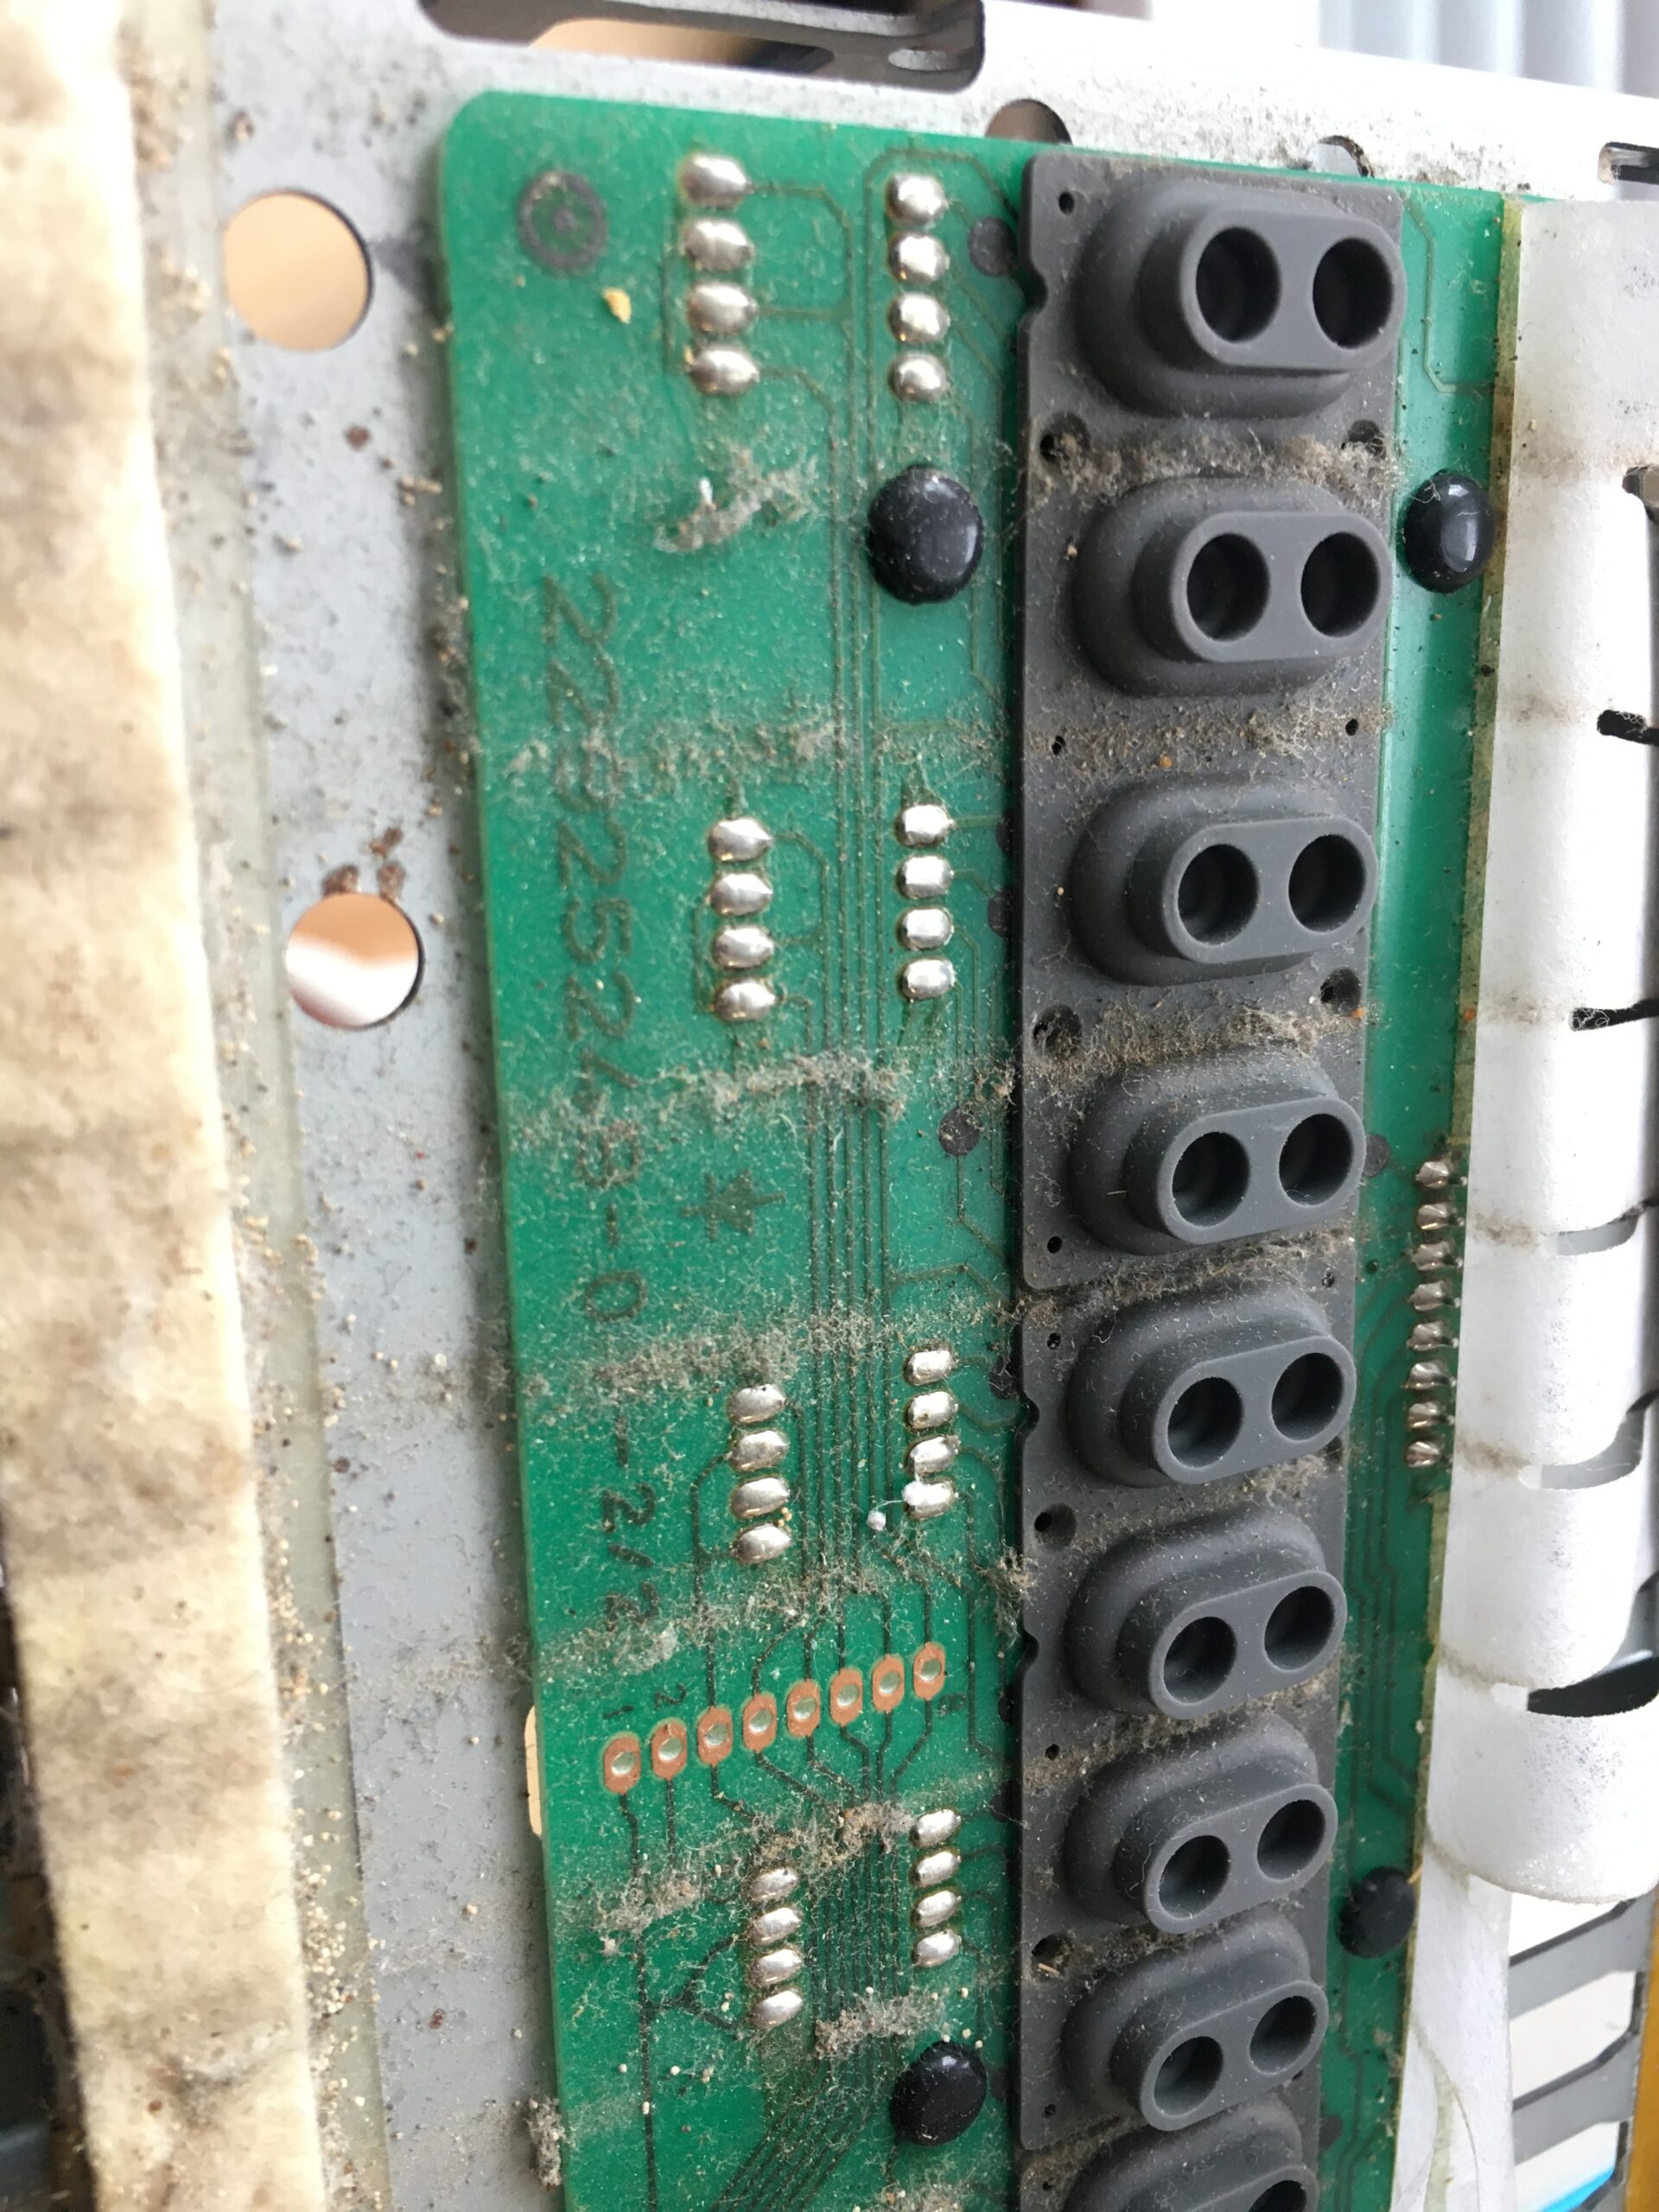
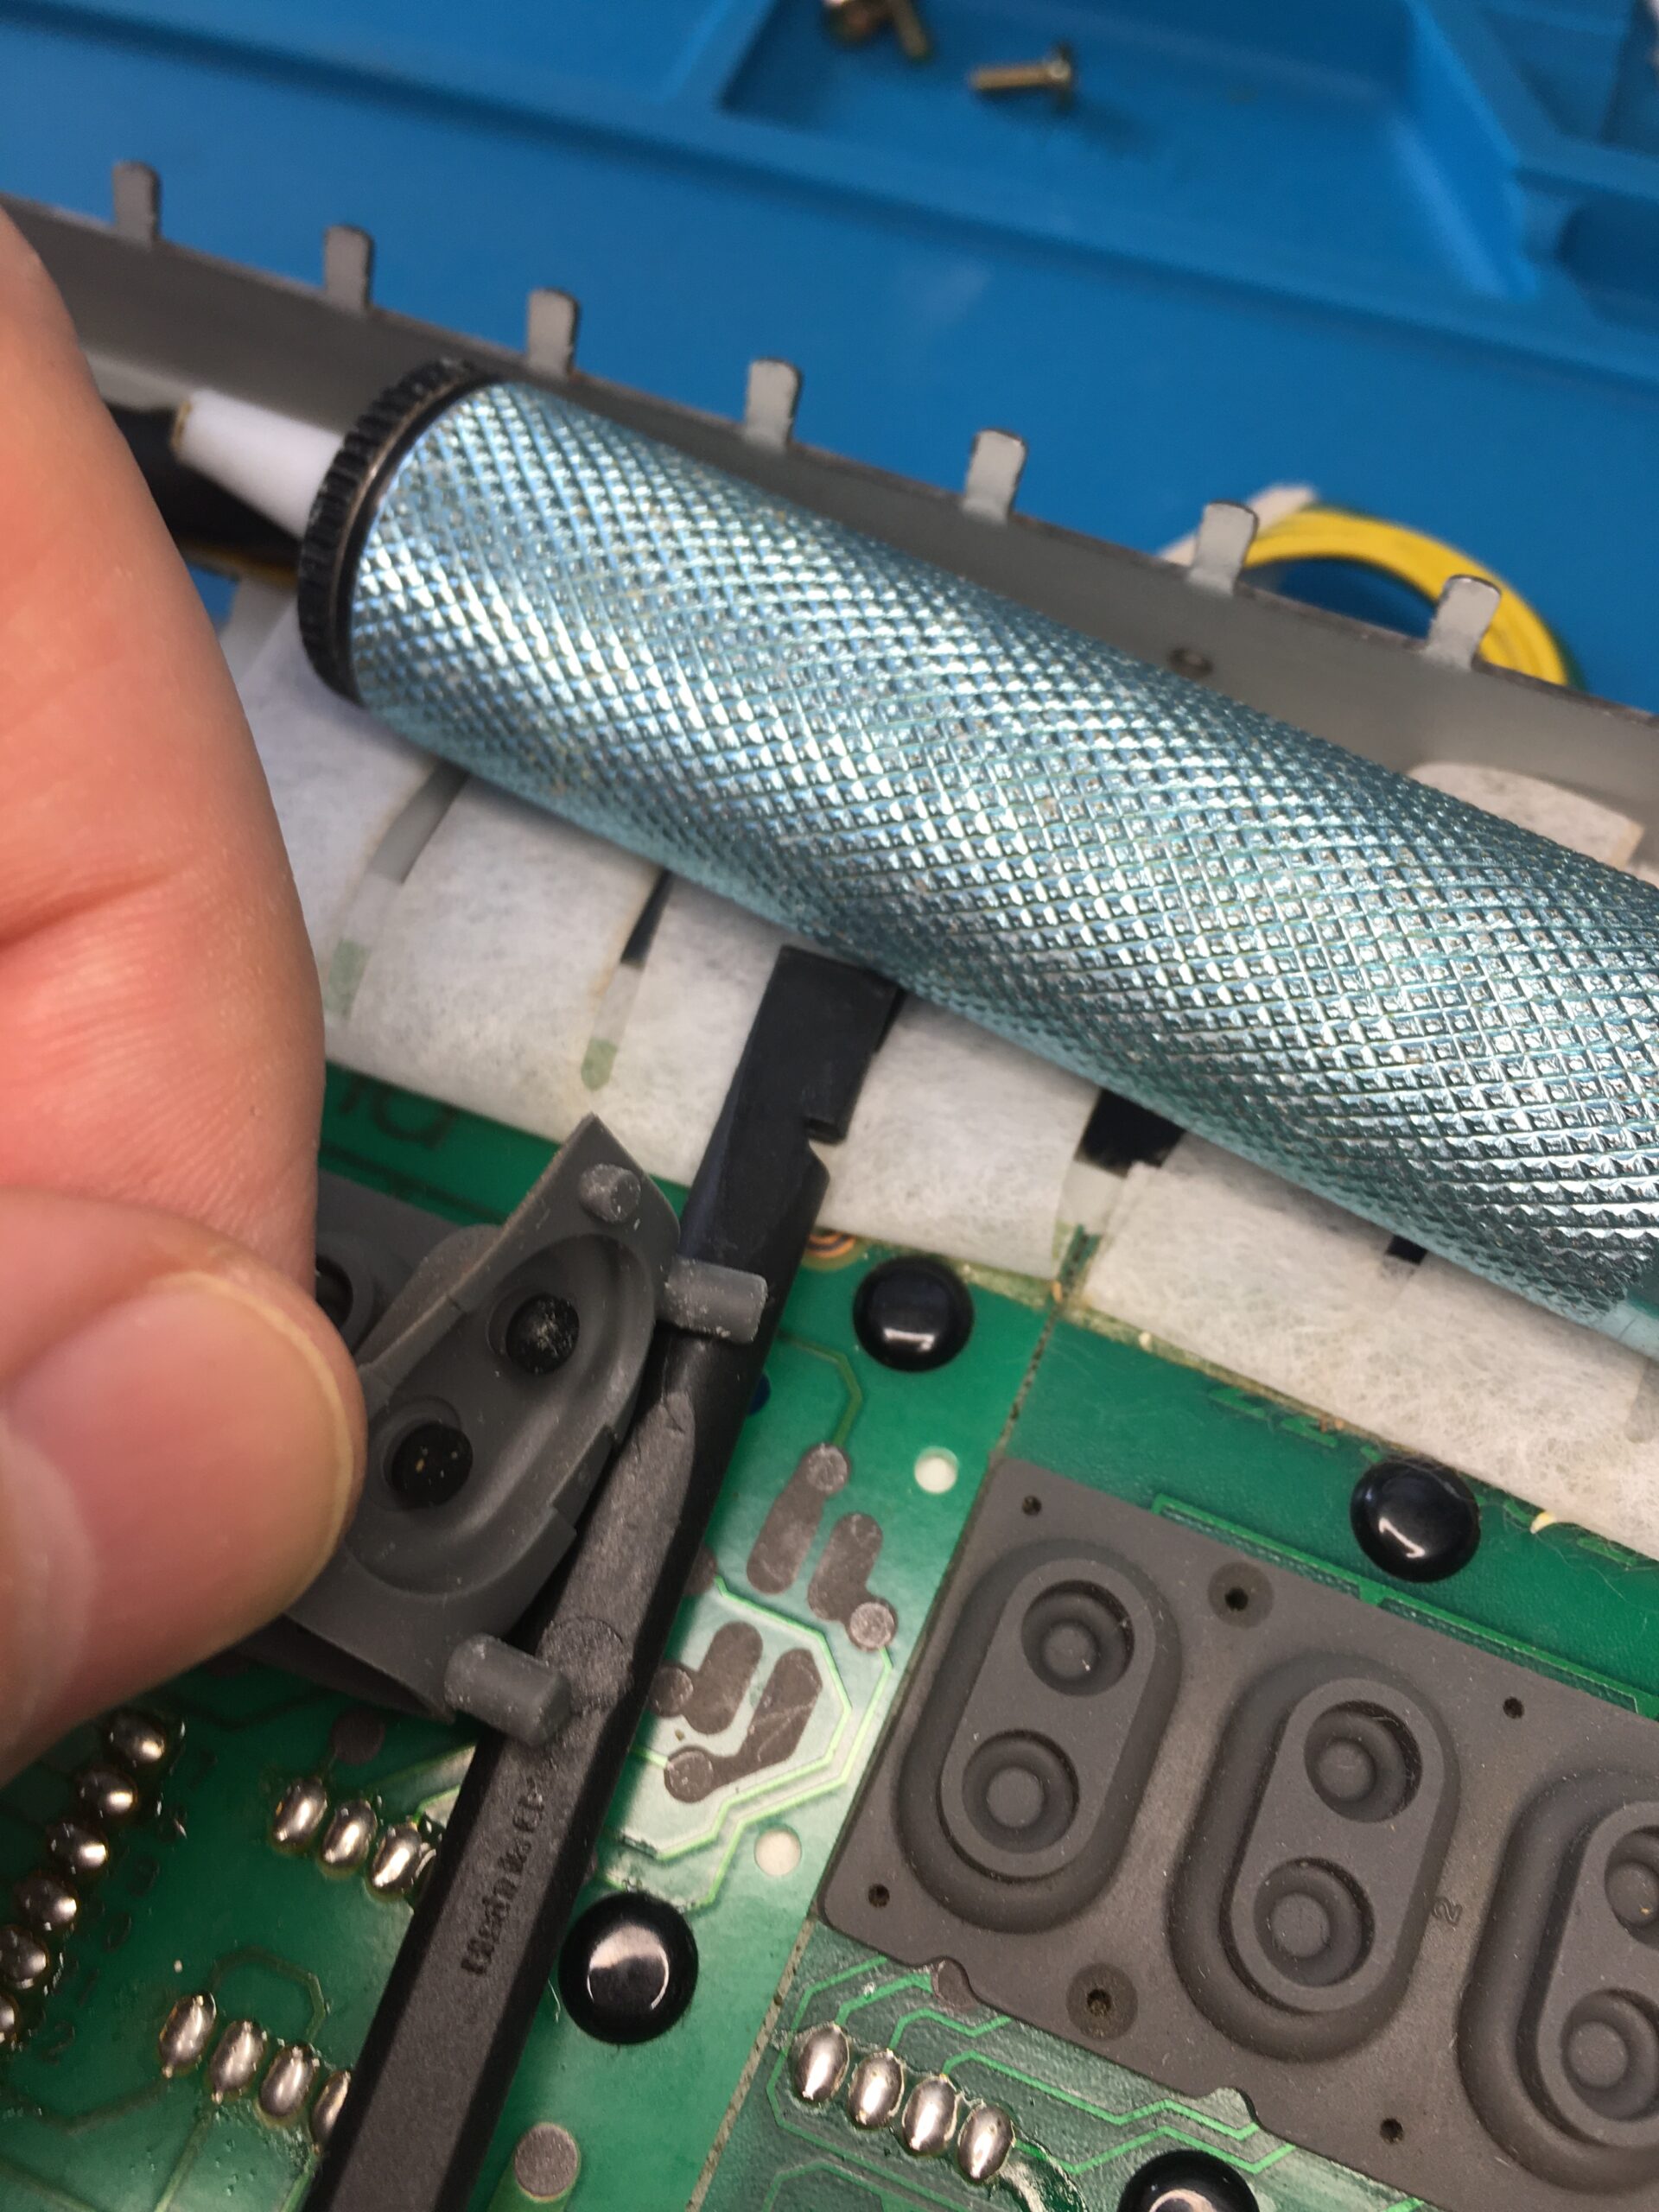
Despite a good portion of its time boxed, thirty-odd years of dirt had certainly built up. With all the keys removed, all the dirt was brushed and vacuumed away, then the graphite pads of the affected keys cleaned. Removing the glue used to stick the key stoppers was the most time consuming effort.

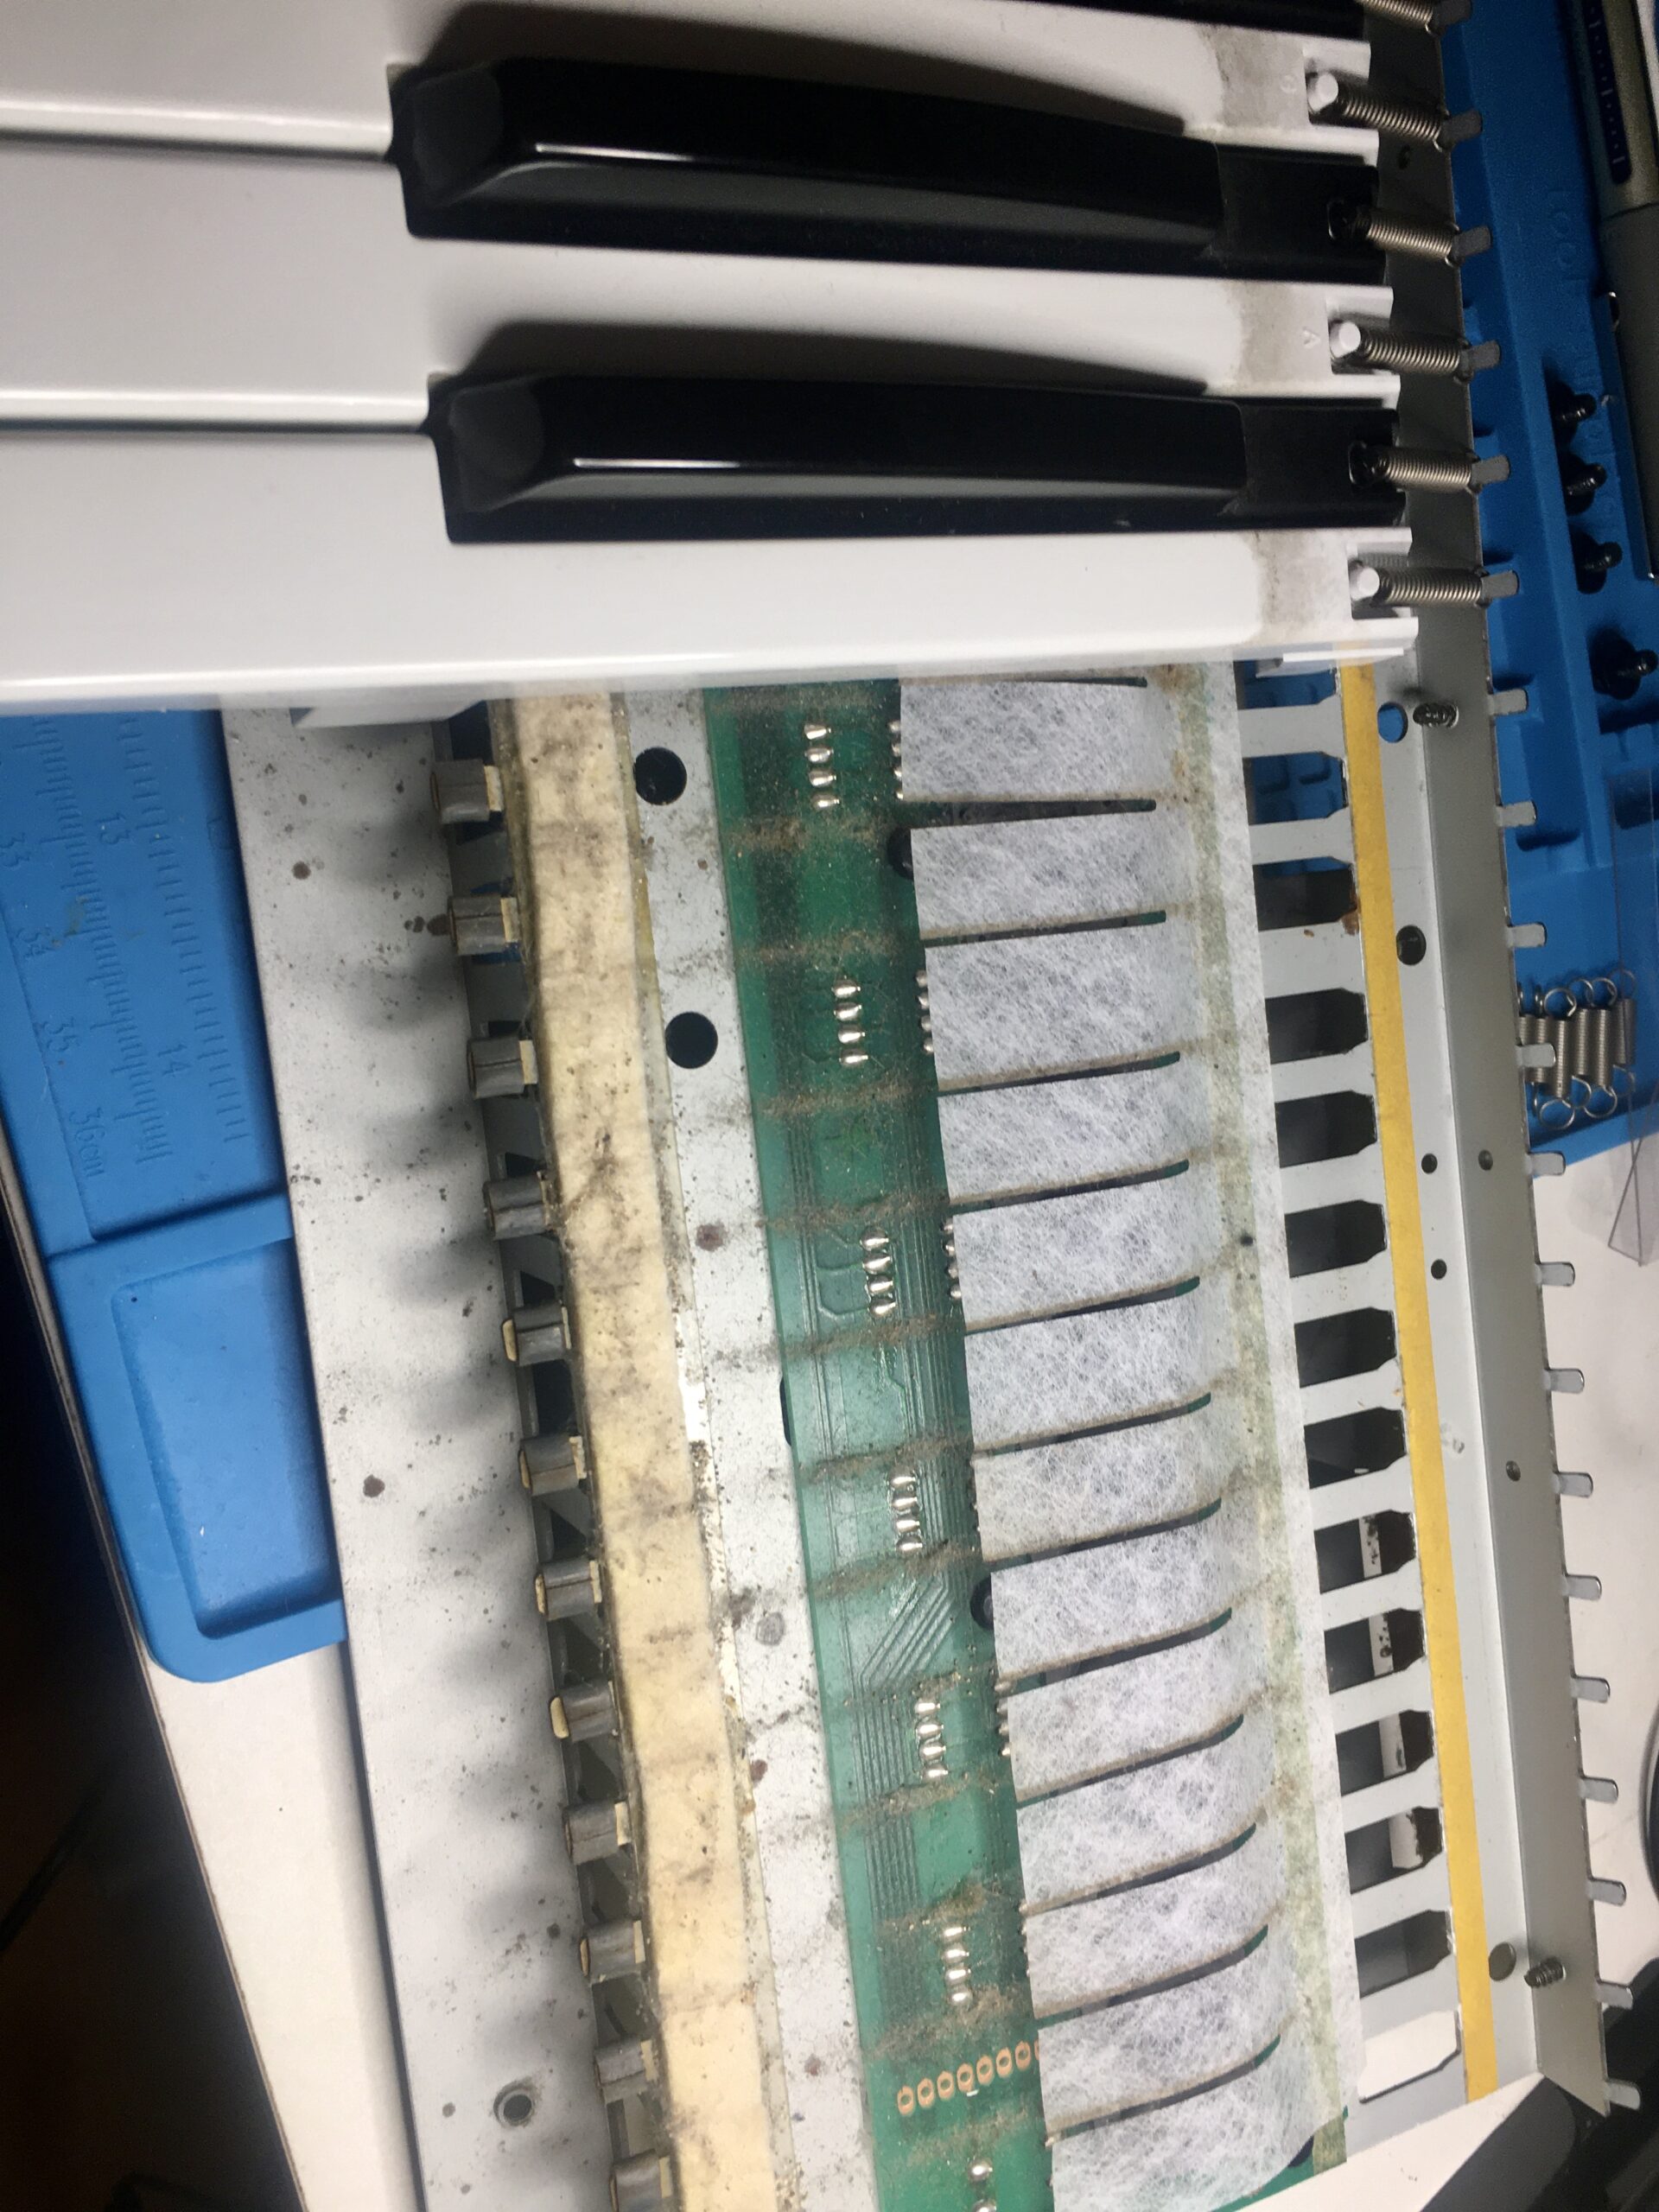
All the keys went into a bucket of mildly soapy (washing up liquid) water for gentle but thorough cleaning before reassembly.
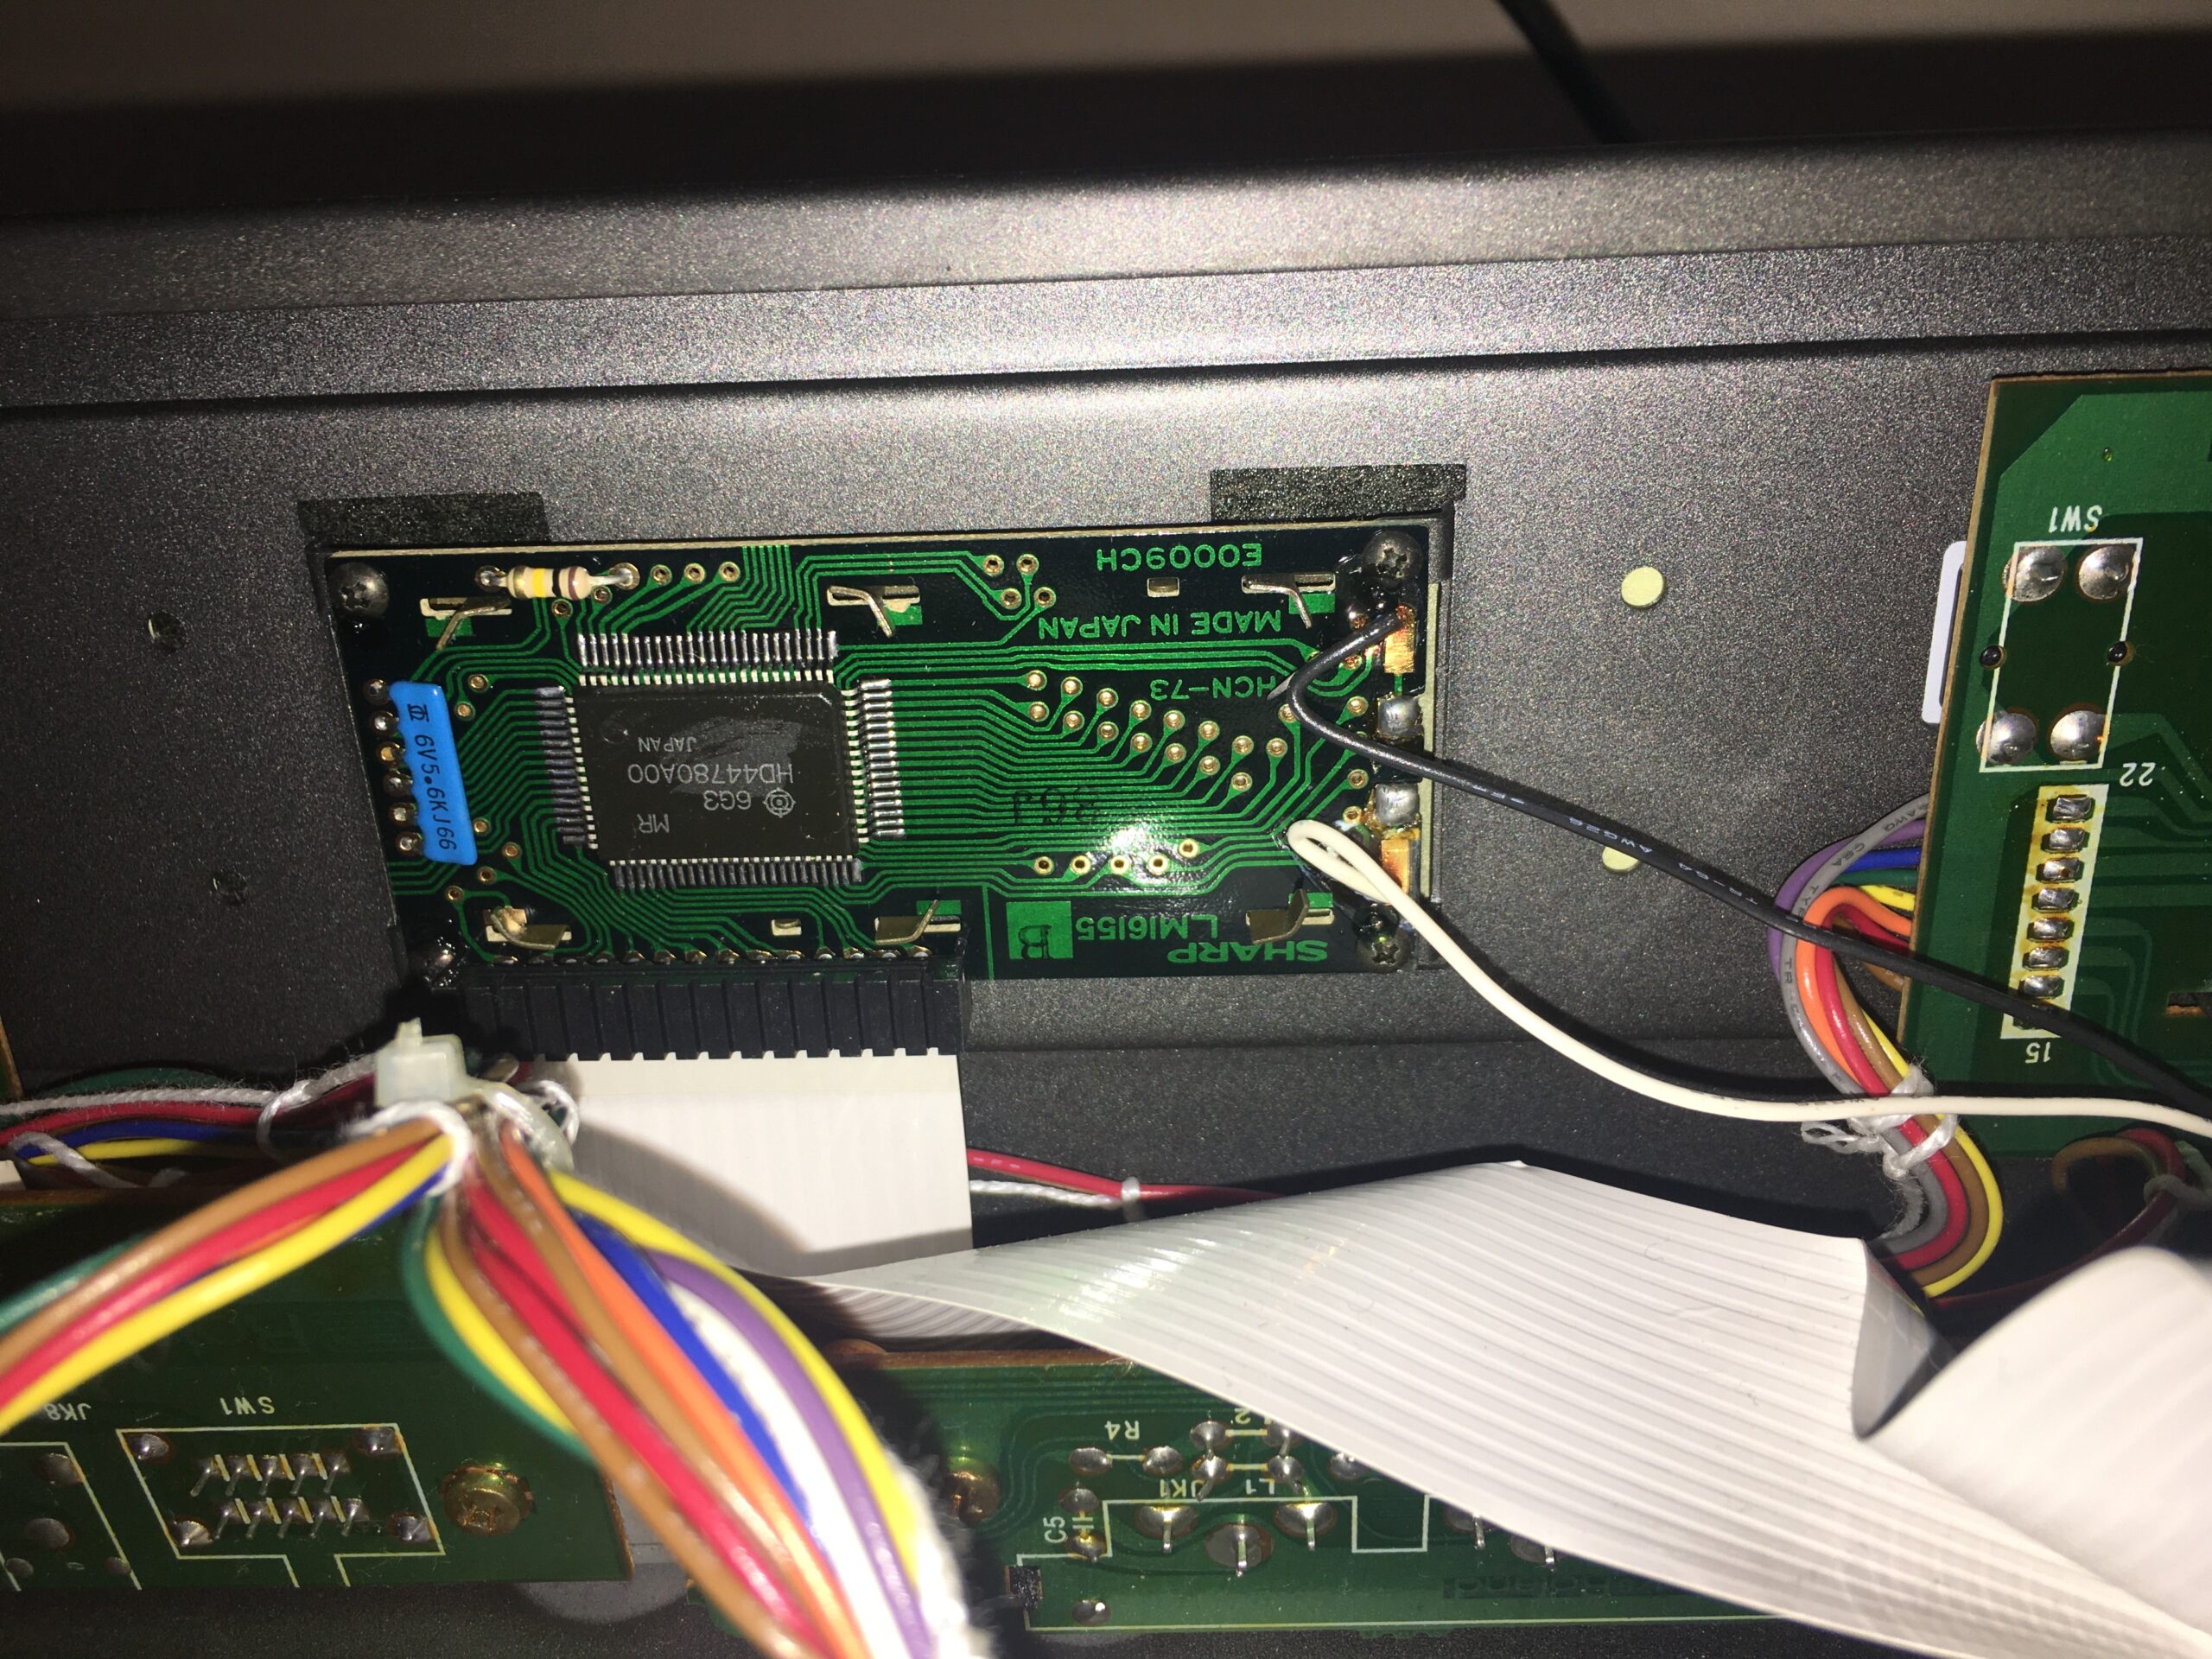
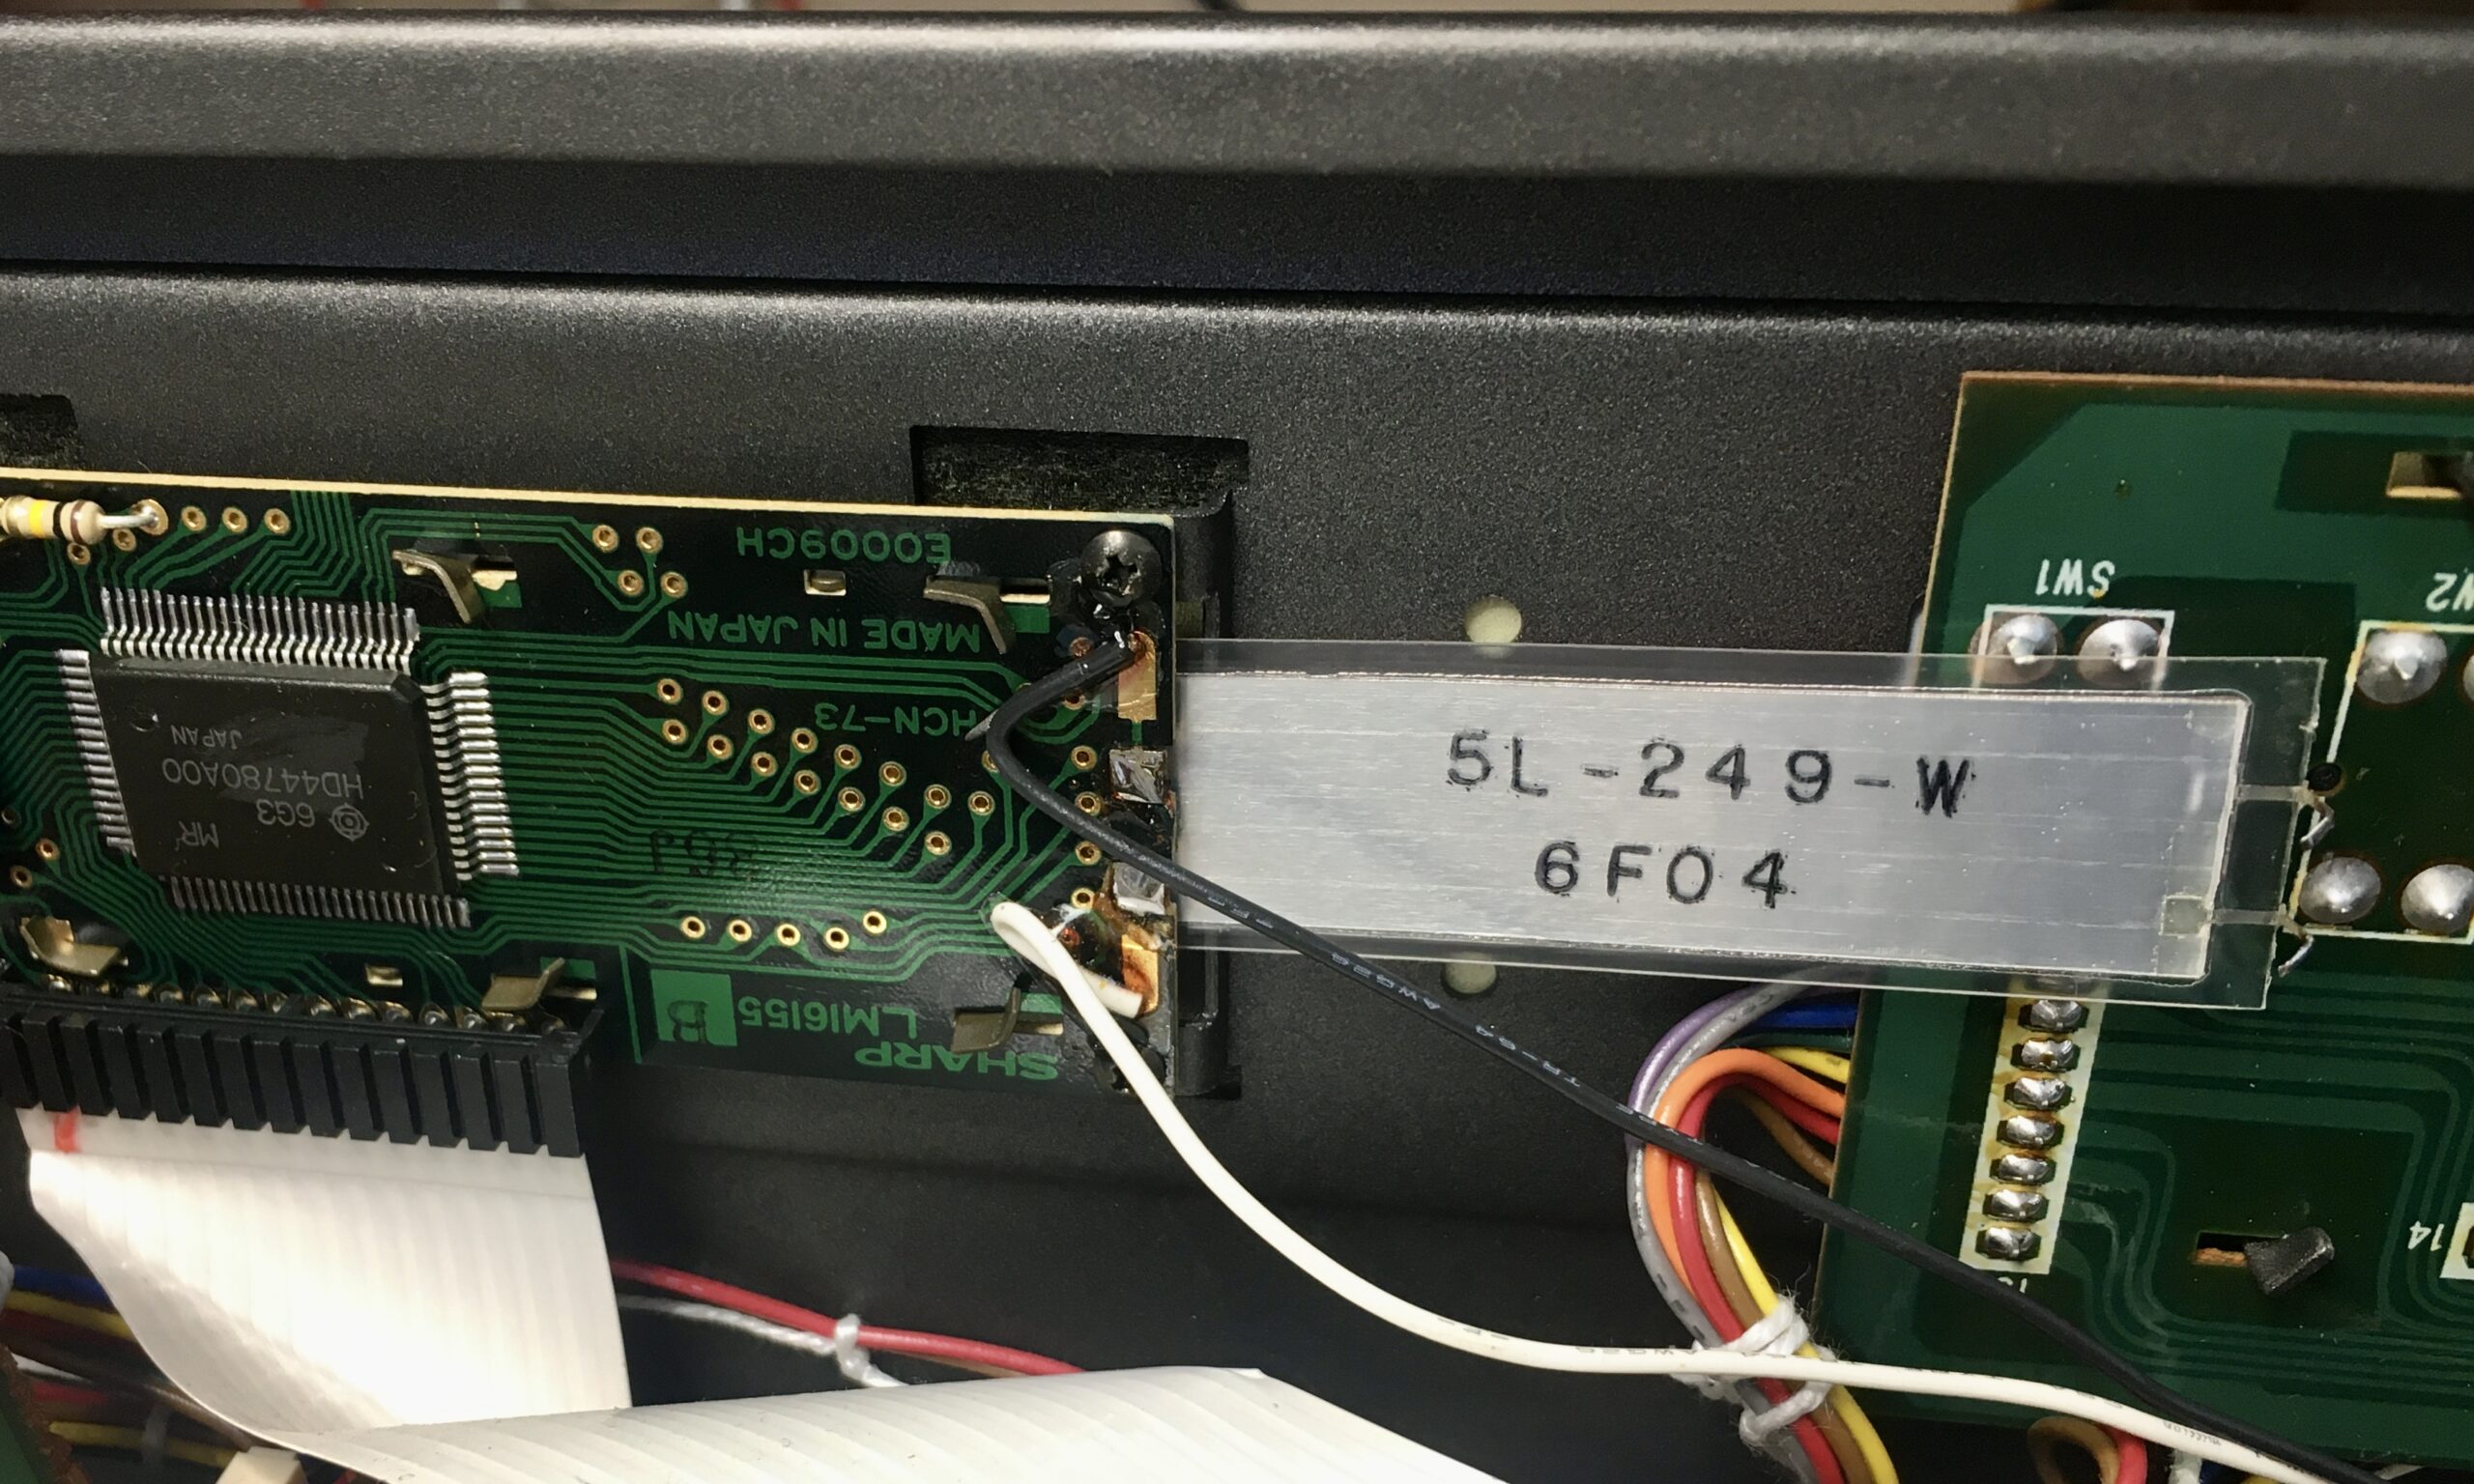
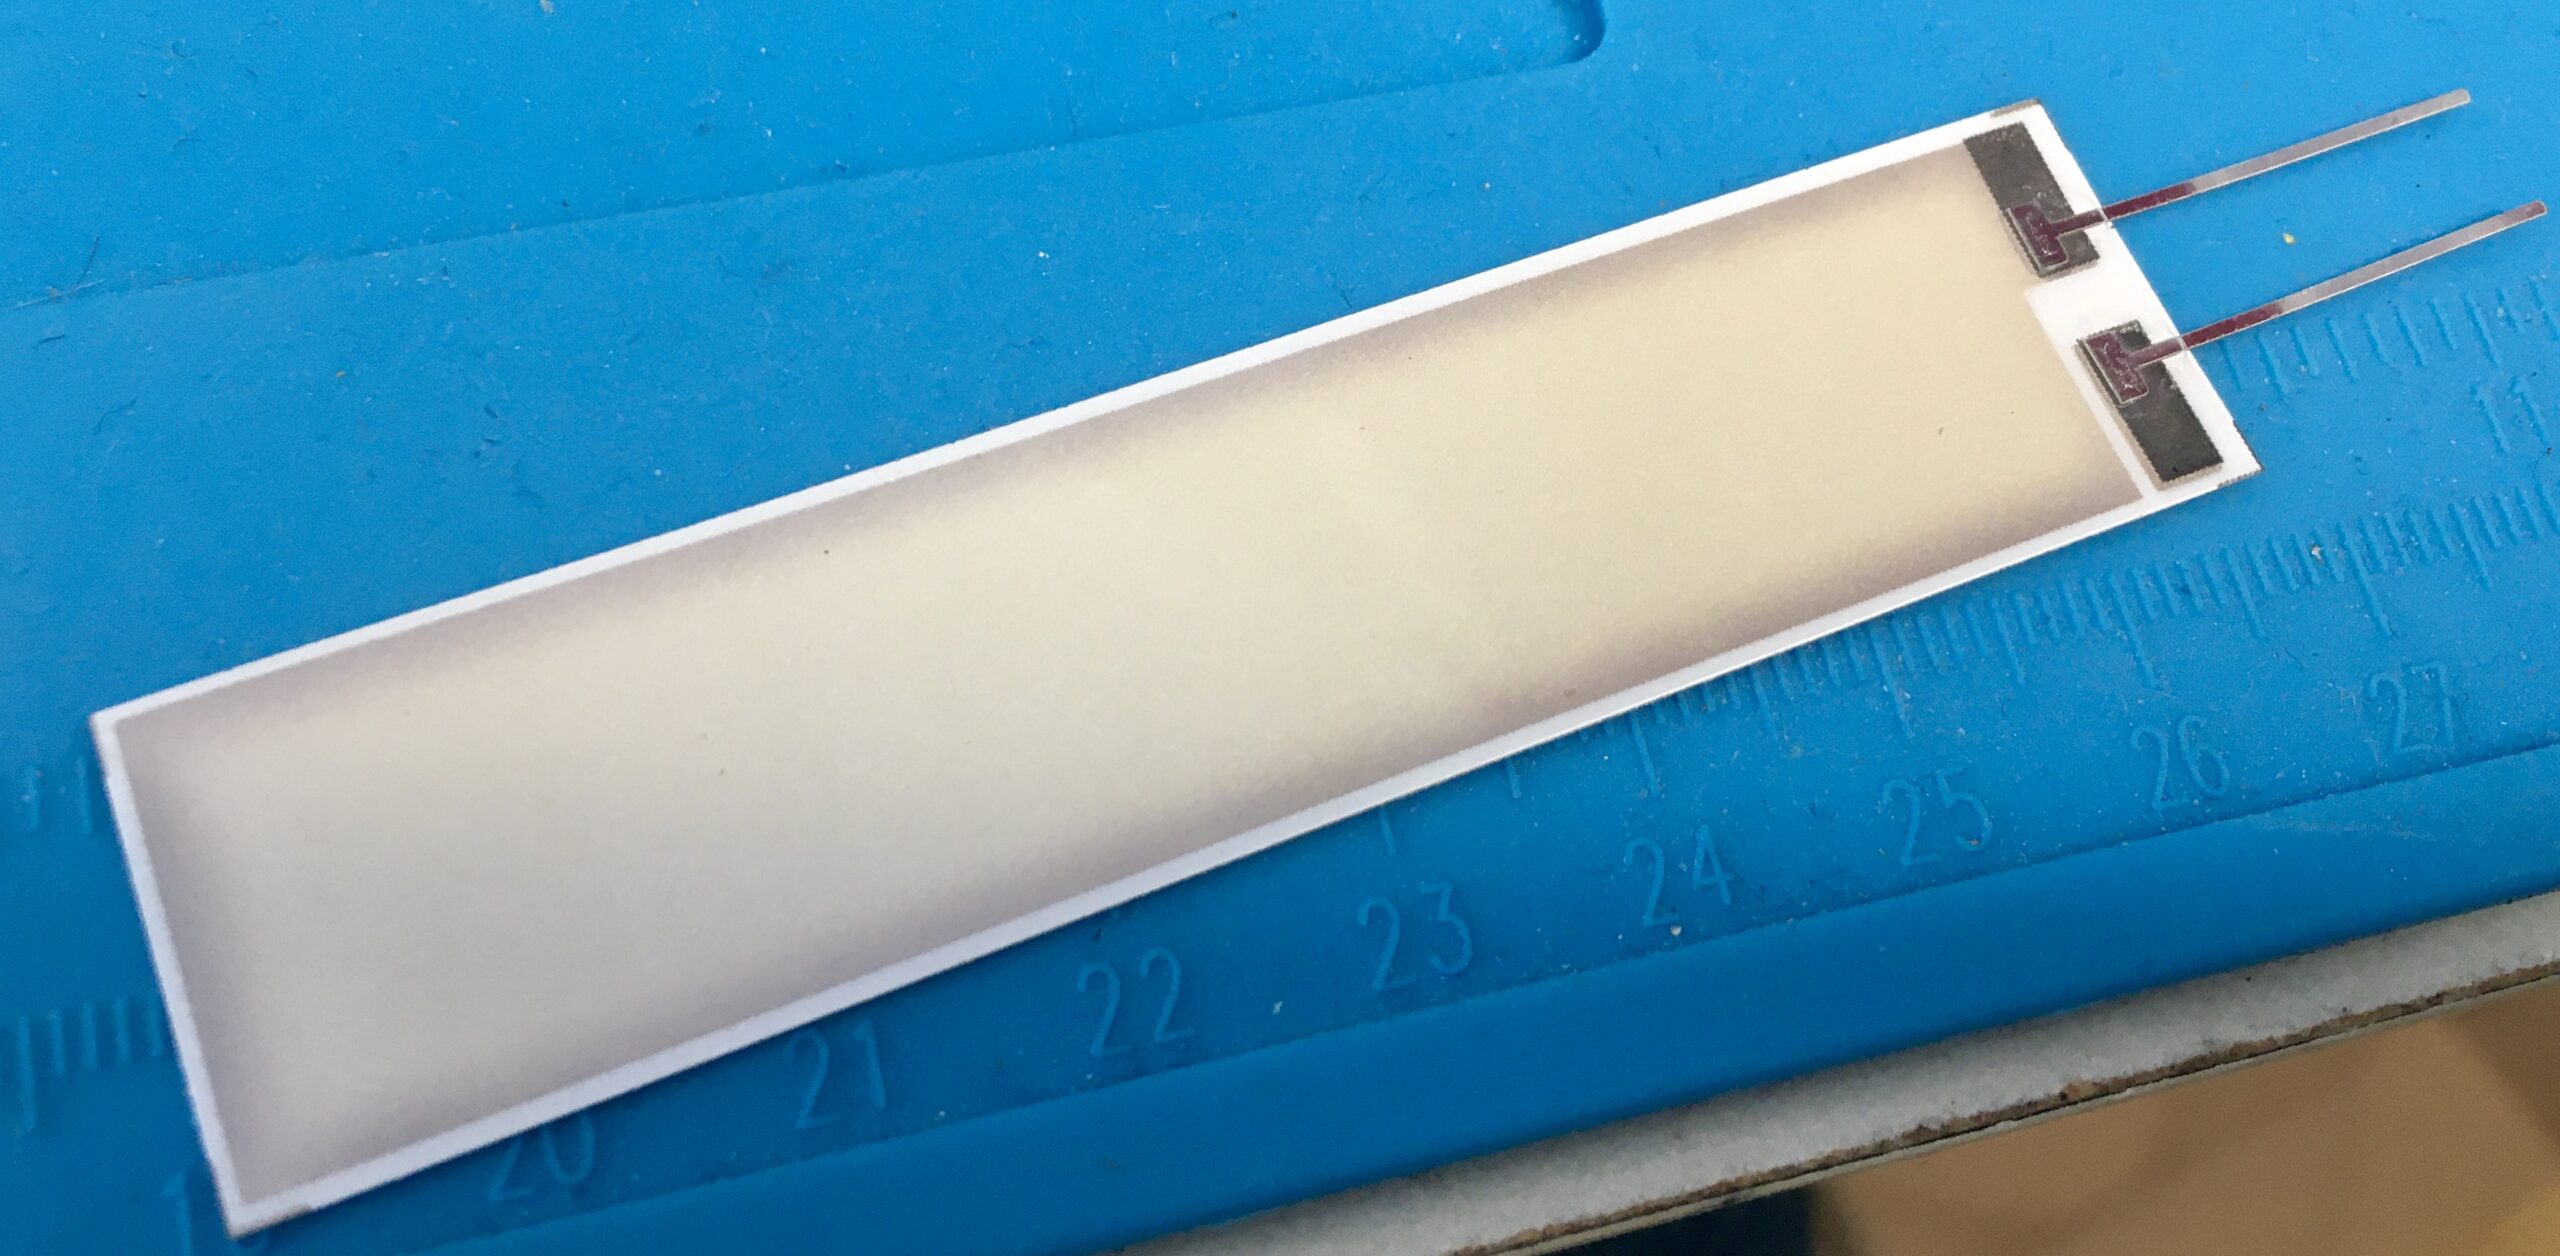
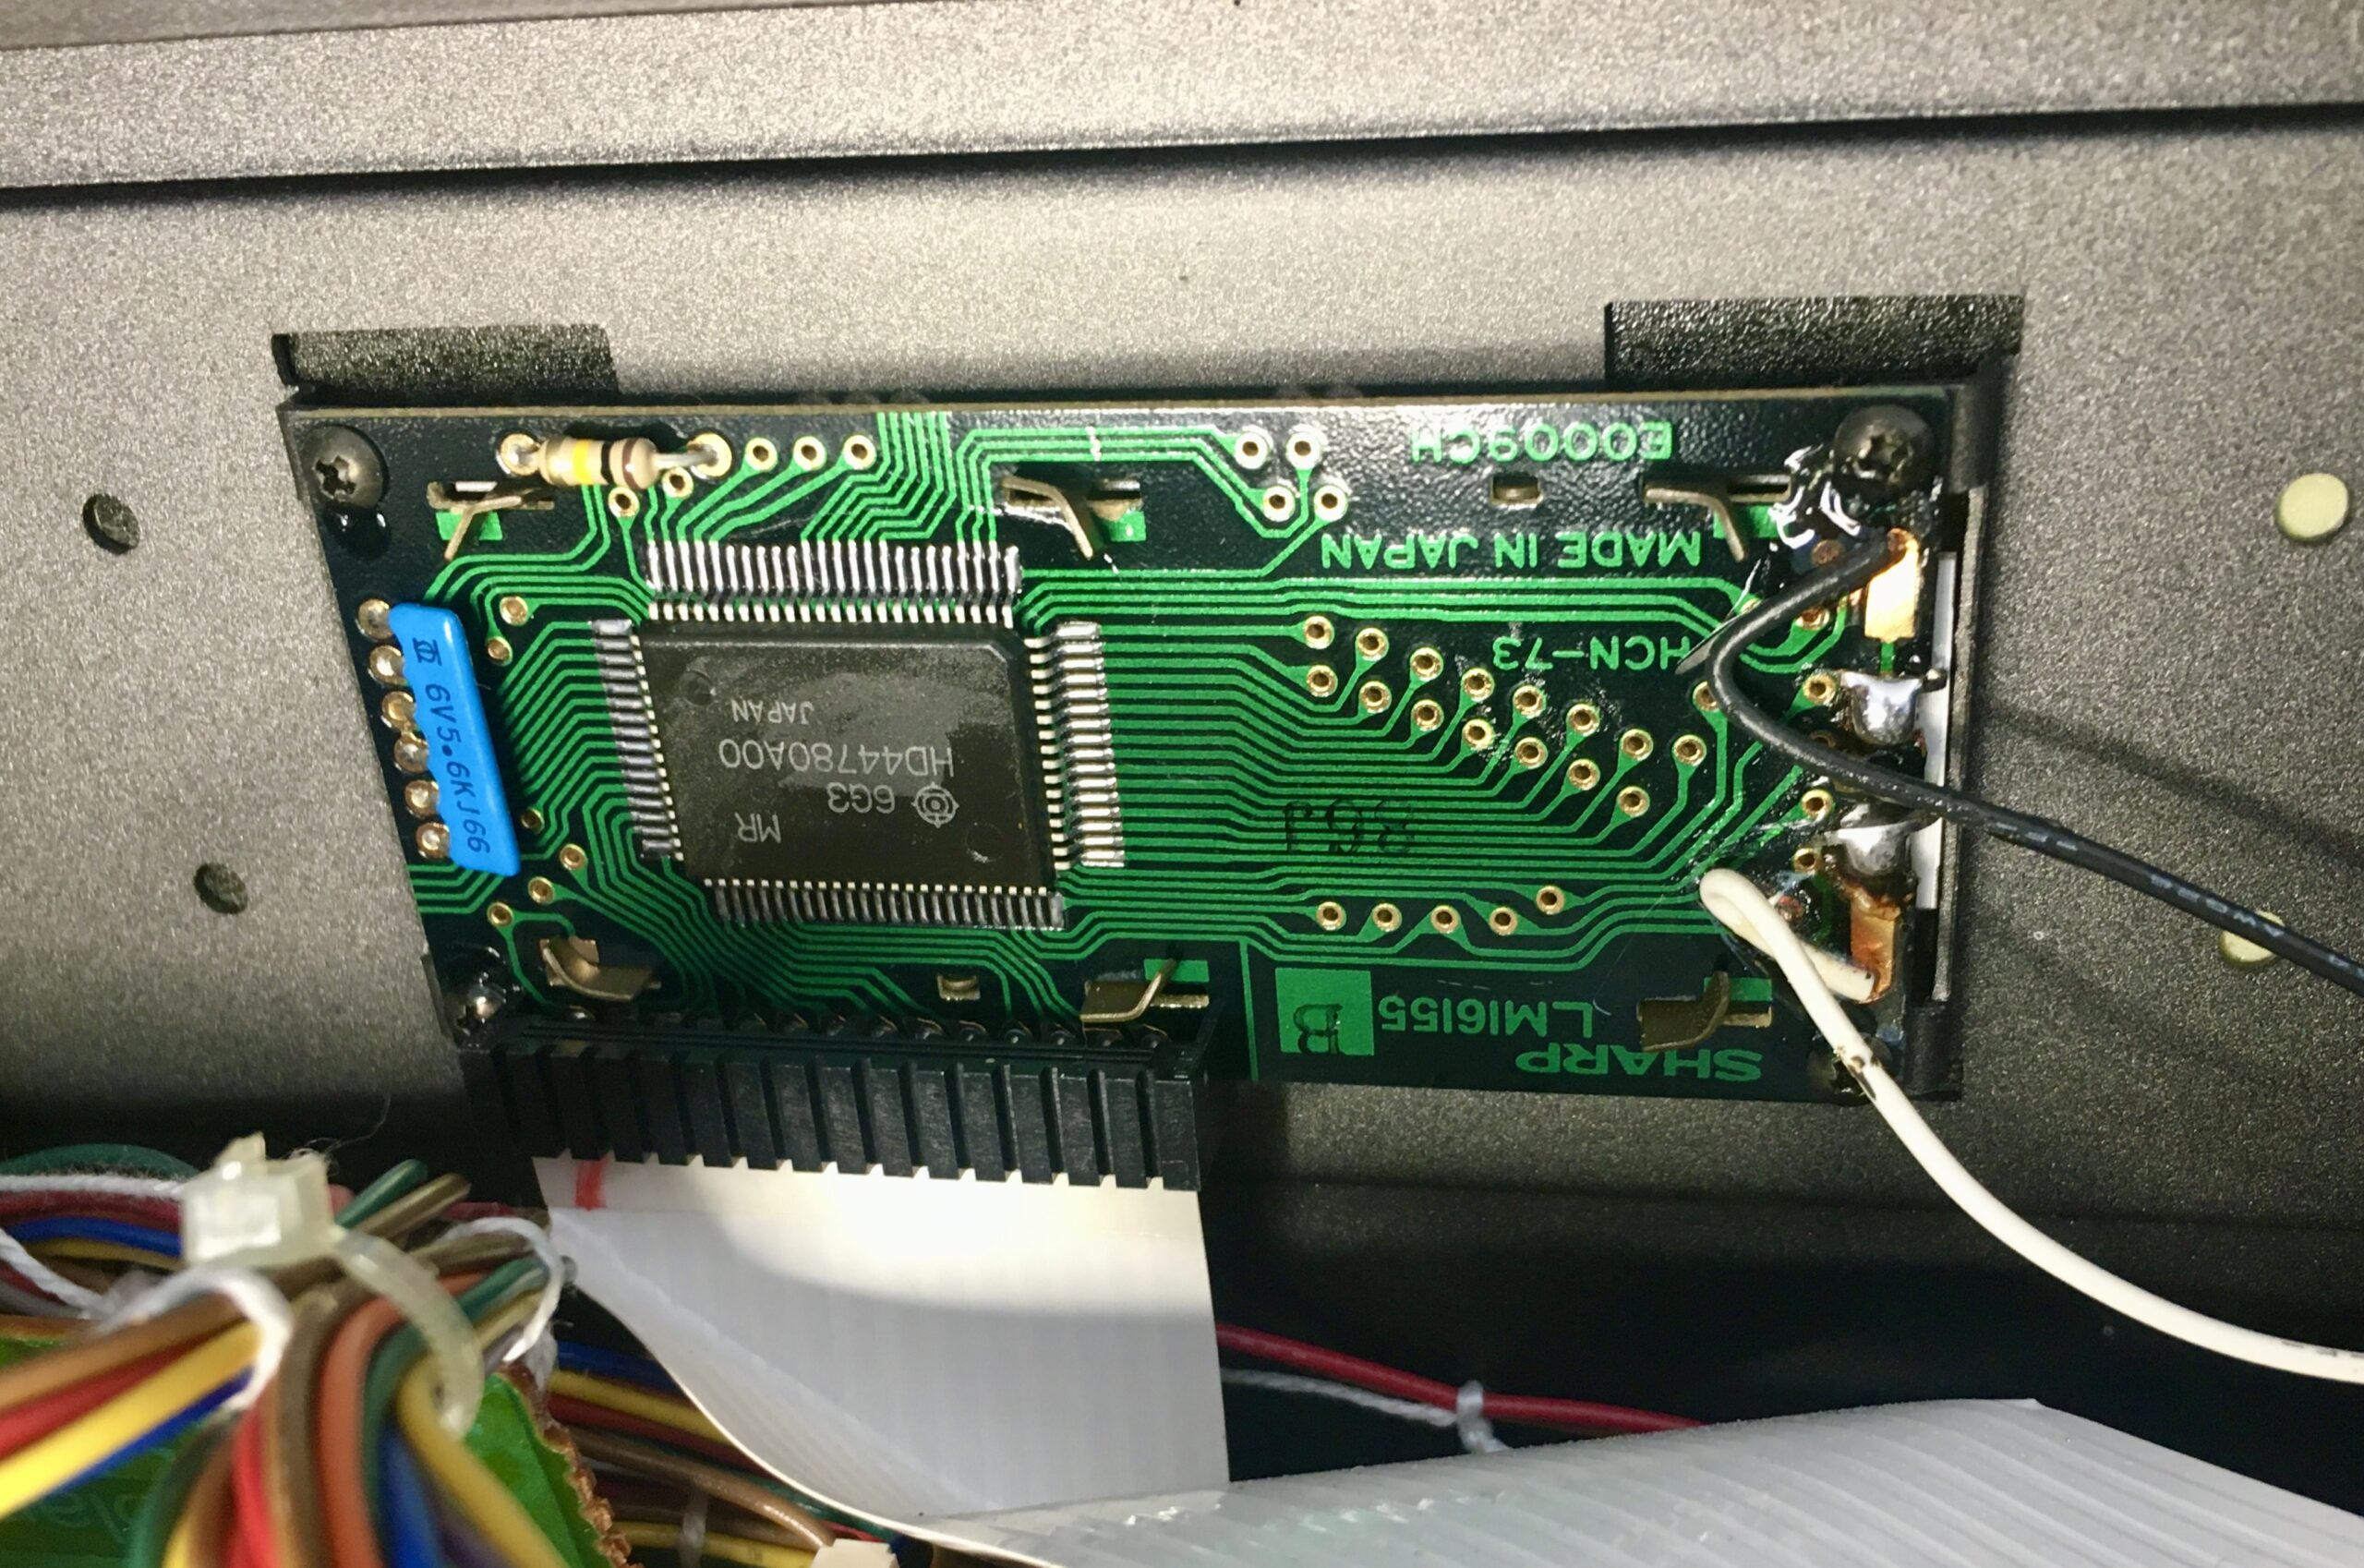
Backlight

In many of the restoration videos the LCD display is replaced with an LED display. I opted for replacing the electroluminescent strip with a new one. I managed to do this simply by desoldering the two connectors and slipping the strip out – without detaching the display from the frame.
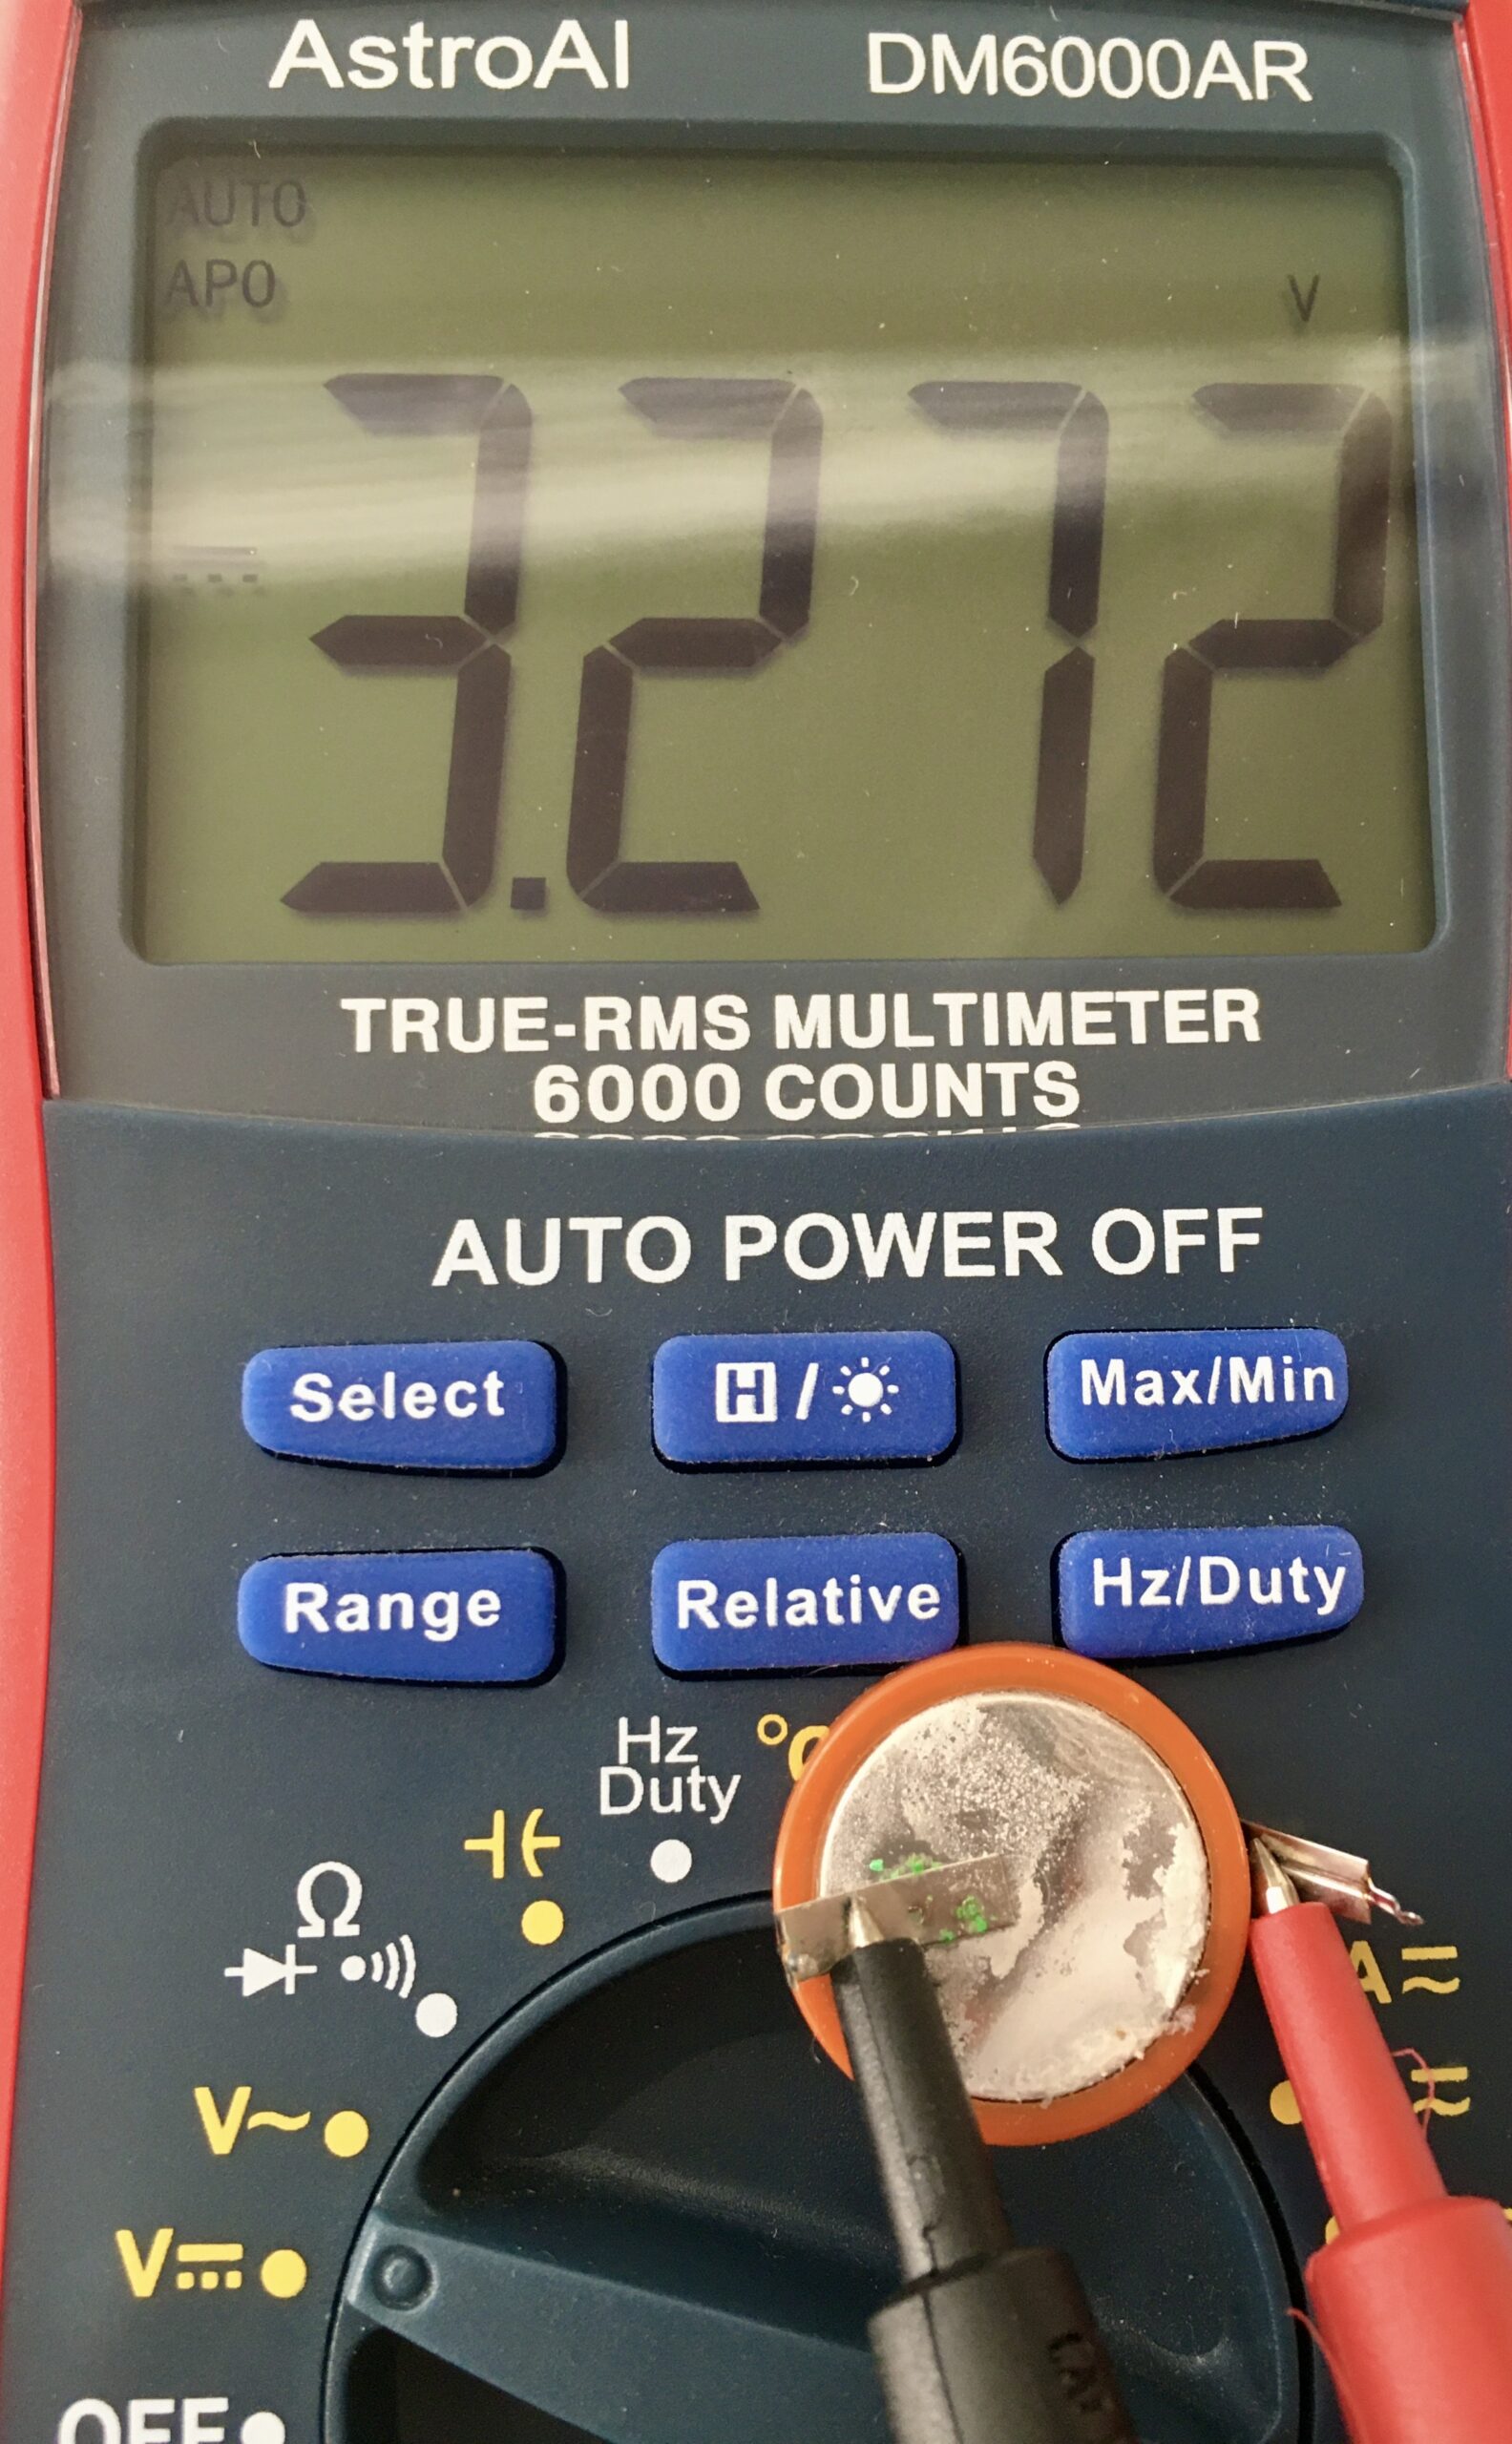
Battery replacement

I opted to replace the soldered battery with a battery holder and standard CR3032. It was impressive that after over thirty years powering the memory for the user patches, the battery still held a good charge. Despite no liquid leakage, there was a white powdery coating building up on the battery.

Aftertouch

The remaining issue is that I have lost aftertouch. On testing the resistance of the aftertouch strip, I can see it changing with pressure. I hadn’t tested it before the disassembly, so this might have been an issue already rather than something I introduced. I may need to change the resistance range, but I haven’t yet worked out what that should be. One for the next project.

Conclusion

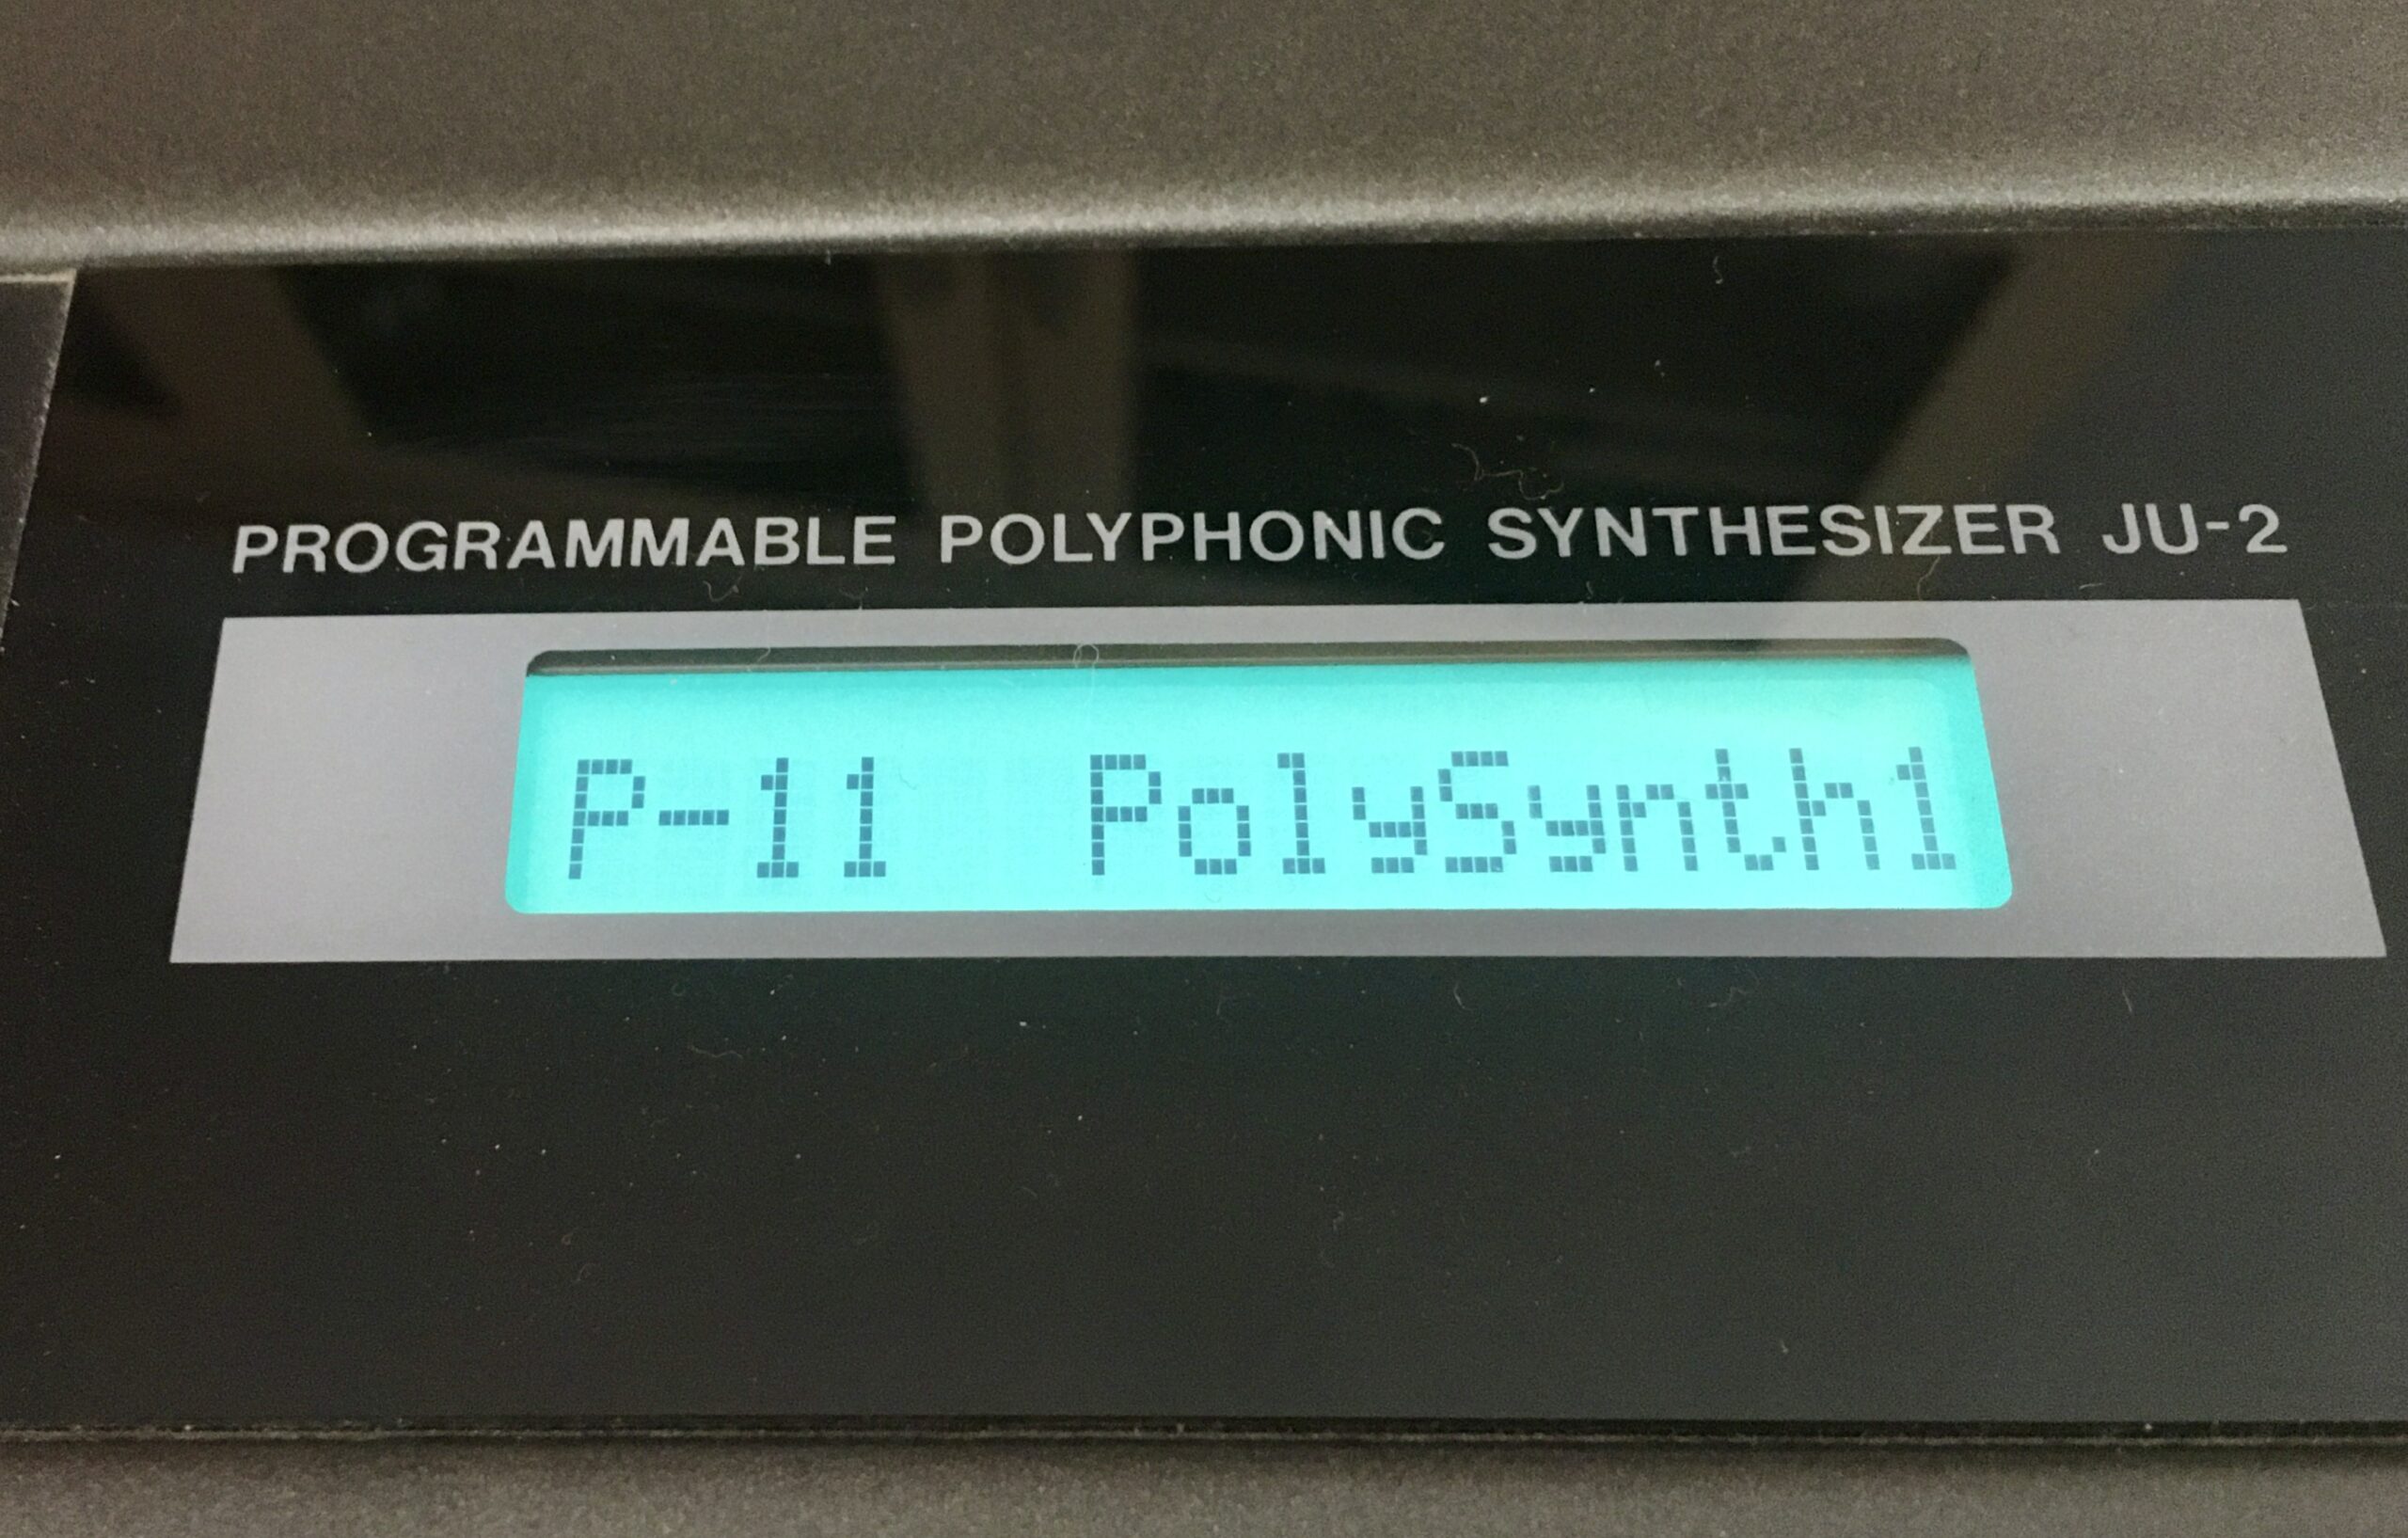
Aftertouch aside, I now have a clean, working Roland Alpha Juno 2. It makes a great MIDI controller for working with any DAW. But in some ways that is a waste for what is actually a decent synth from the late 80’s

Posted by creacog, 0 comments

Speaker repair

I have an old NAD-320 amp and pair of JBL Control 1G speakers attached to the TV, but hadn’t used them in a while. Trying out Netflix and finding Hans Zimmer Live in Prague, the TV speakers were certainly inadequate. But what an awful crackling sound from the JBLs. They were about 20 years old, but hadn’t had too much use. Taking off the grill, and the reason was clear…

The foam, around the main cone had gone crispy, cracked and started falling apart. Even 20 years on it is still possible to buy JBL Control 1 speakers new, but I didn’t want to dump these if they could be repaired.

There are a number of repair videos on youtube (search for “jbl control 1 foam repair kit”) and I found a kit on eBay (though the seller doesn’t appear to be there at the time of writing) consisting of replacement foam baffles and glue.

(edit 9/9/2020: A decent repair video published this year)

Armed with these and a screwdriver, I set about it. Taking photos before disconnecting anything to make sure I could reconnect properly…

Then it is time to get rid of the old foam, held in place by glue in addition to being clamped to the speaker case. Firm but delicate screwdriver action required, especially where the foam is glued to the cone…

Since the foam had denatured it was quite difficult to clean away from the metal frame.

Kicking myself when a slip of my scraper slightly damaged the left part of the cone – though not enough to go through, and not damaging performance in any detectable way.

That done, glue applied around the metal frame and to the back of the cone, and the new flexible foam pressed into place and reassemble…

End result – looking like speakers again, and more importantly sounding crisp and clear.

Posted by creacog, 0 comments

Team ideas = development opportunities

A great video by Ableton showing what I consider to be an inspirational, positive, Product and Development environment. As my mindset shifts from ‘Project’ to ‘Product’, I feel this shows how the team’s knowledge and instincts provide a rich a source of product development ideas. After-all they are already signed up to the mission.

  • Agile makes it possible: (from 2 minutes) Transforming to best practice and an agile development culture improved code quality and development flexibility
  • Hack sprint: (from 6 minutes)
    • Every 5th sprint is a ‘Hack Sprint’, ‘hack’ ideas are put forward, teams formed and concrete demo’s built
    • Demos are presented back and pitched for roadmap inclusion

How this approach contributes to a positive culture of continuous improvement is clear from the video; company, product and personal.

Update: 9/9/2020, I noticed that unfortunately the video had been taken private. I am leaving this post in the hope it might become public once more.

https://www.youtube.com/watch?v=tILlZRLhBJE

Posted by creacog in Developer, Product management, Sounds, 0 comments

resurrected my tascam porta 05

(Update: 9/9/2020 – higher resolution images)

Tascam Porta 05

Tascam Porta 05

Decided to dig out my old Tascam Porta 05 ministudio in order to digitise some old 4-track recordings. But, found that the play heads seemed to be stuck in the forward position. Full symptoms and notes:

  • Power on ok
  • Impossible to insert a cassette due to the position of the heads
  • Can hear the motor (which turns all the time power is on – this is normal)
  • Motor responds correctly to the pitch control
  • Fast forward button works – spins the central right capstan
  • Rewind button works – spins the central left capstan
  • Tape heads in forwards position, but the rubber wheel in front of the stop button is not forward enough to press against the metal capstan
  • The metal capstan, which should normally be spinning all the time the machine is powered is not actually spinning
  • Pressing play or record buttons does nothing – the central capstans that would fit into the tape spindles do not turn

I did google around trying to find a solution. I did find a couple of people with the same problem, but no solution posted. I googled for the service manual with no result other than someone in the states selling on ebay for around $22. I wish companies like this would get their service manuals PDF’d and onto the web – shouldn’t be an issue for what is essentially obsolete equipment?

Anyway, with no solution available from the outside, I decided to take a quick look inside to see if there was anything obviously out of place. Getting inside is easy:

  1. Remove the 5 screws from the back panel
  2. Carefully part the two sides noting that:
    • The power on/off slider will likely drop out as it detaches from the internal control
    • all the other sliders remain with the top of the case – but some detach in the process from the underlying control which remains in the base.
    • In my case the forward position of the tape heads was preventing the sides from separating. Pressing them back by pressing the plastic between the erase and write heads made enough space.

Inside the Tascam Porta 05

Close-up showing heads fixed forward

With the sides parted, I then powered up and observed the mechanics when pressing the various control buttons. I couldn’t see anything obvious, but then noticed that underneath the controls is a flywheel attached to that capstan in-front of the stop button. The flywheel is belt-driven and was not spinning.

Nudging the fly-wheel with a cotton-bud.

Using a cotton bud, I gave it a few nudges, attempting to pushing it round in either direction. I was quite surprised  after a few attempts when the belt picked up and the flywheel turned under the power of the motor. At the same time the heads snapped back into the retracted position, and the play and record buttons now worked.

All that remained was to give it a good clean-out and reassemble. Taking care to align the Record function sliders with their underlying controls, and get the 5 screws back in, and I am back in action with kit that I thought was pretty cutting edge back in 1987.

Posted by creacog in Personal, Sounds, 65 comments