Electronics

Electronic workbench – most basic

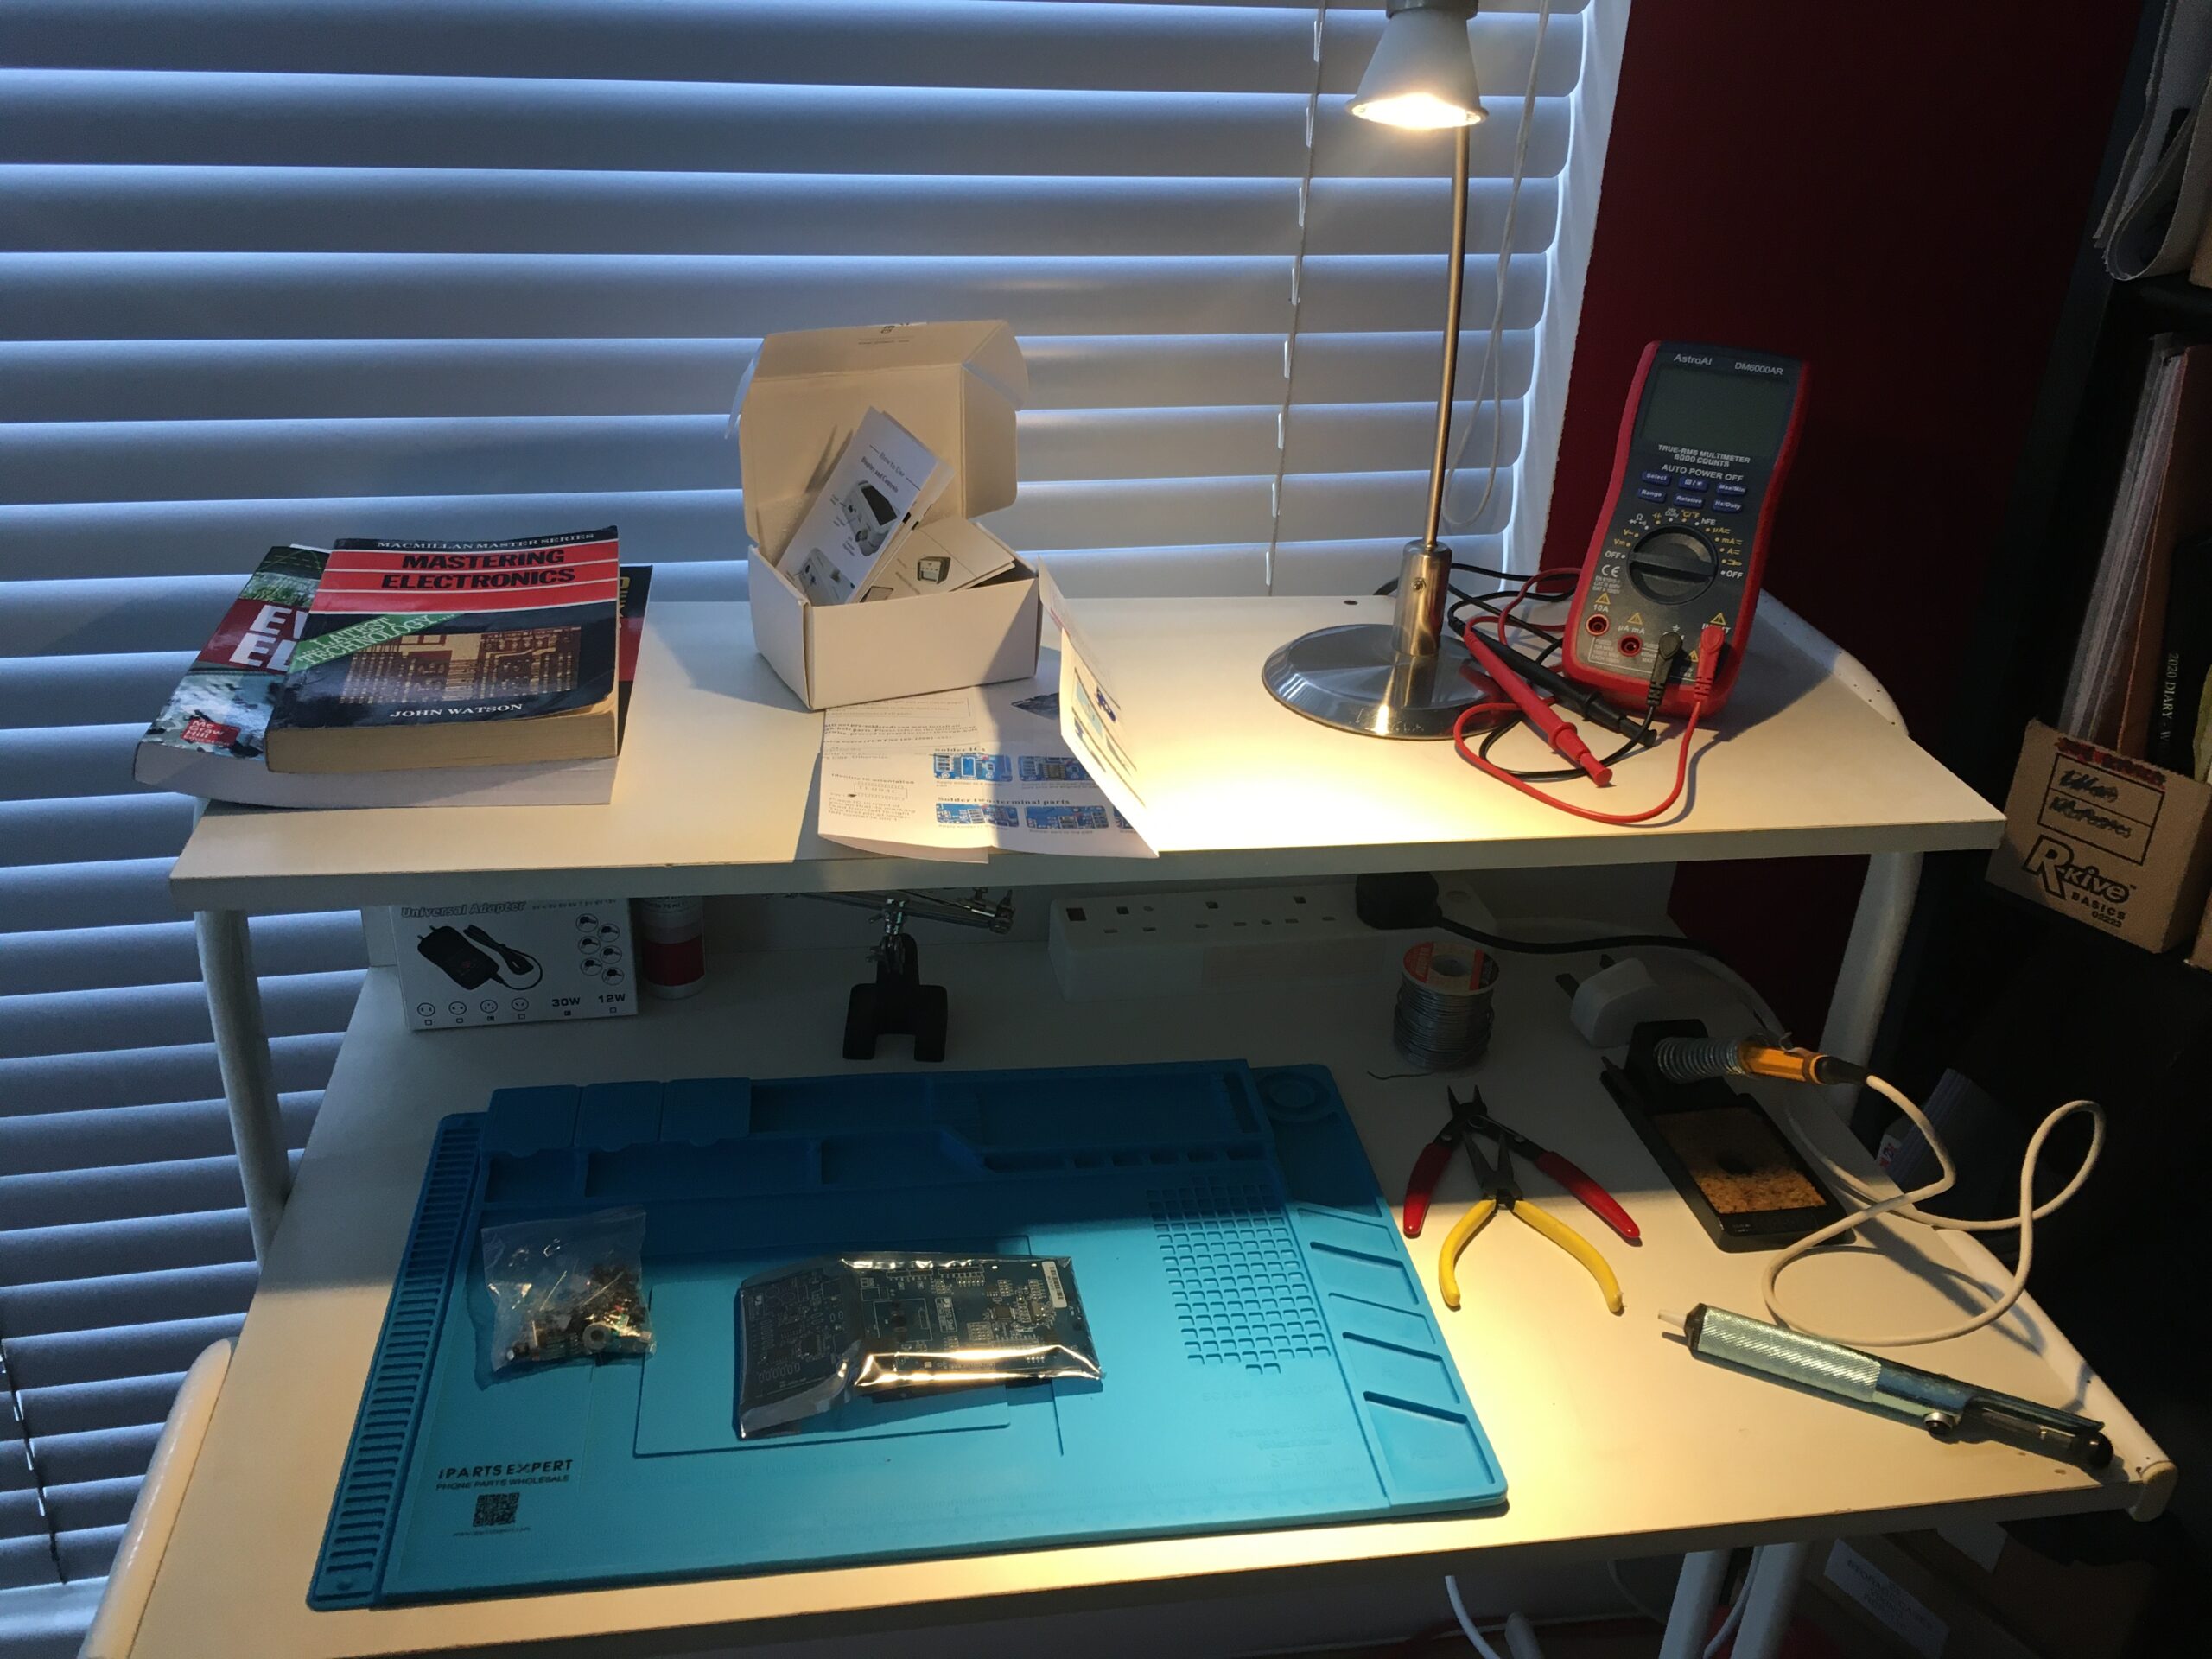
Organising at least a basic workbench for the electronics work will make things easier, allowing kit to be set up over a number of days without competing with other desk space. In my case, it was time to pull out of storage my old MFI computer desk (from around 1989) which originally housed my Atari 520 STFM, its SM124 monitor and Epson LX80 (extremely loud) dot matrix printer. With those boxed up it is time to pull together some basic tools for my upcoming electronics work. That will include:

  • Restore Roland SH-101 – Boxed for 30 years, has a severe fault possibly with the oscillator IC
  • Restore Roland Alpha Juno 2 – Some keys not working, and faded back-light
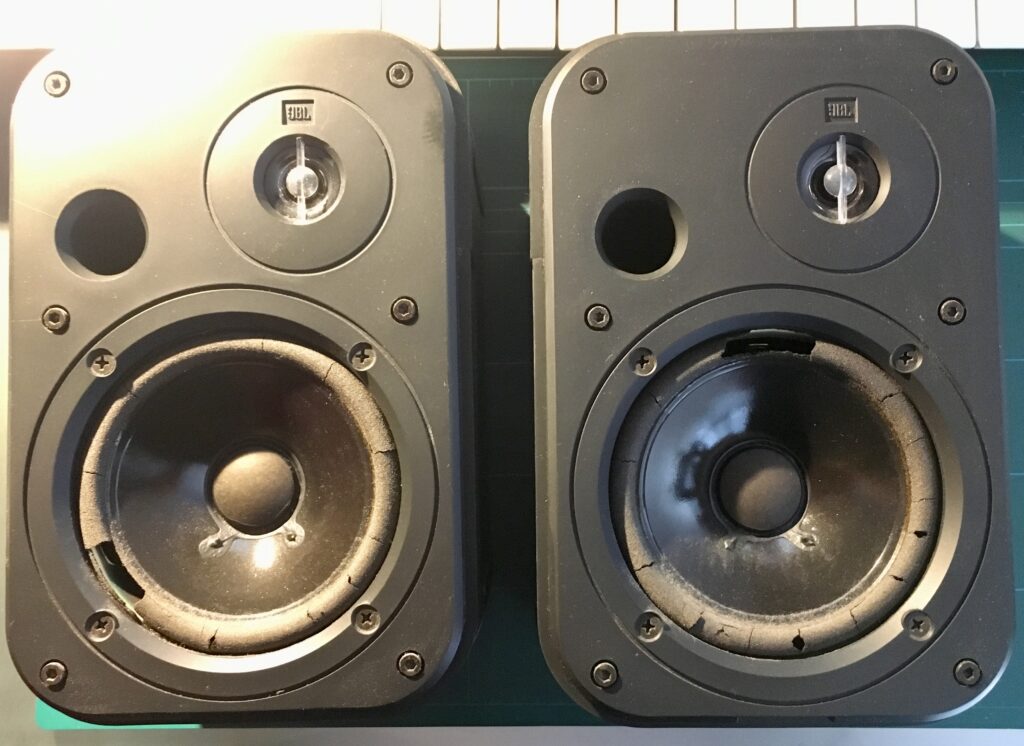
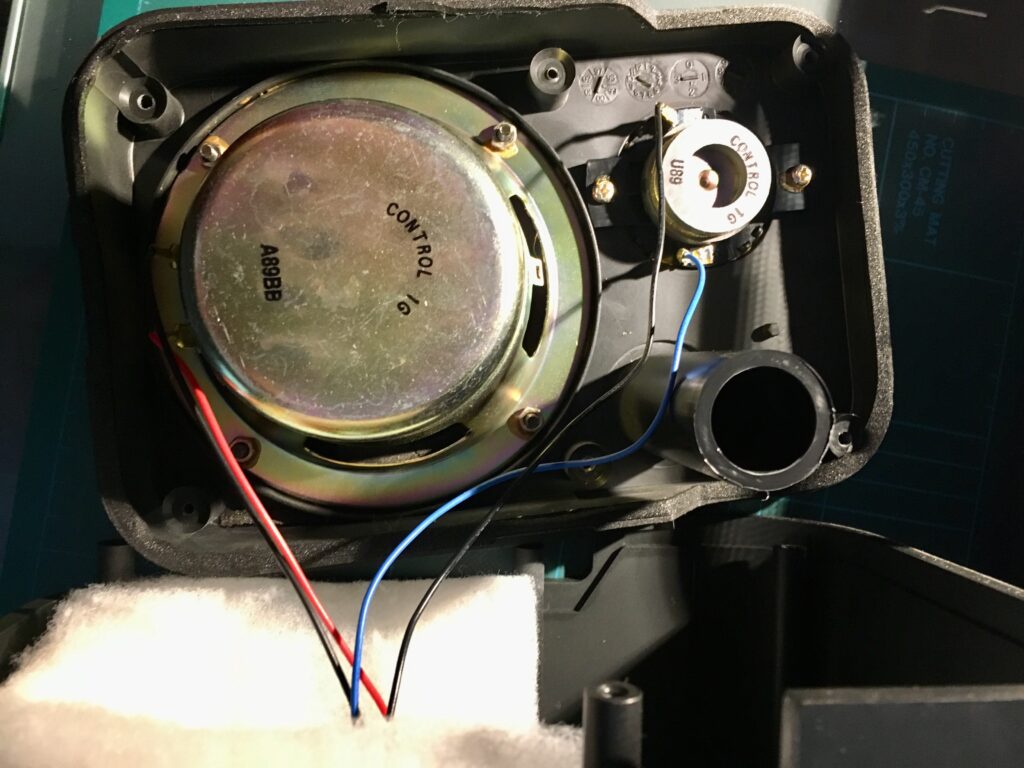
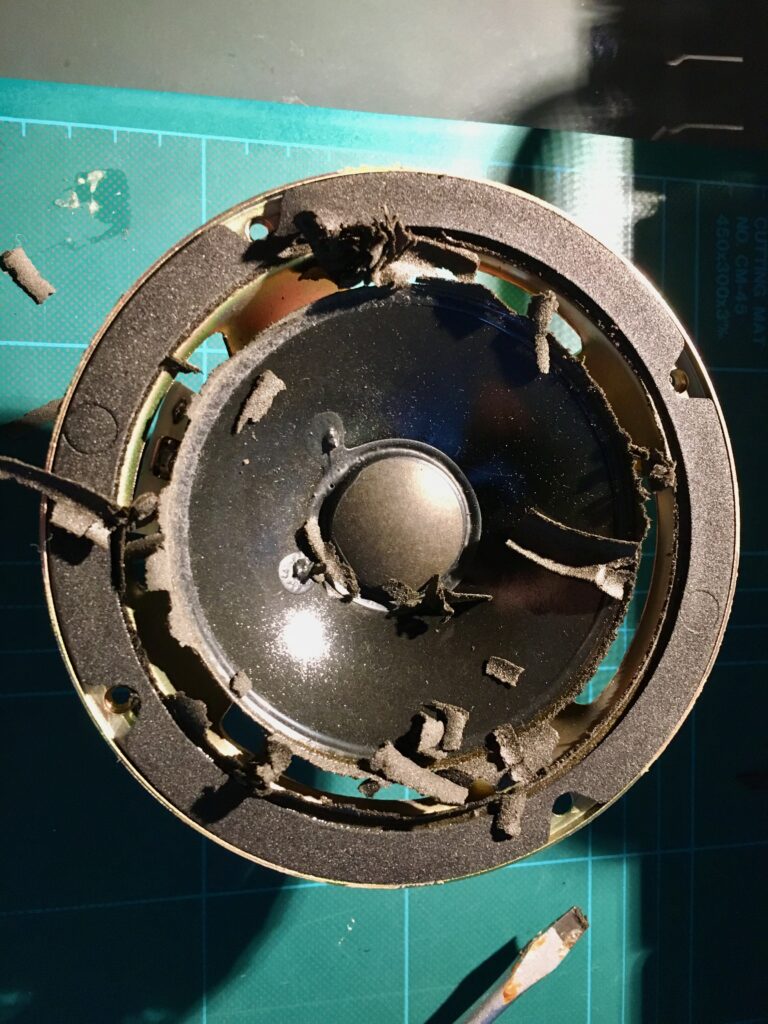
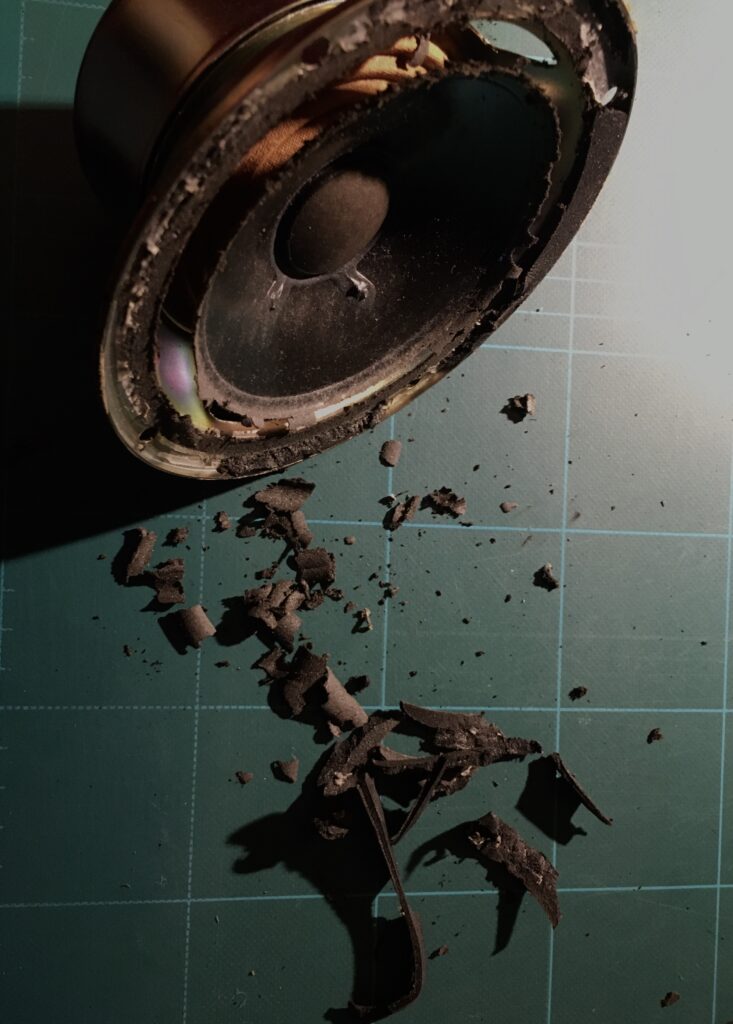
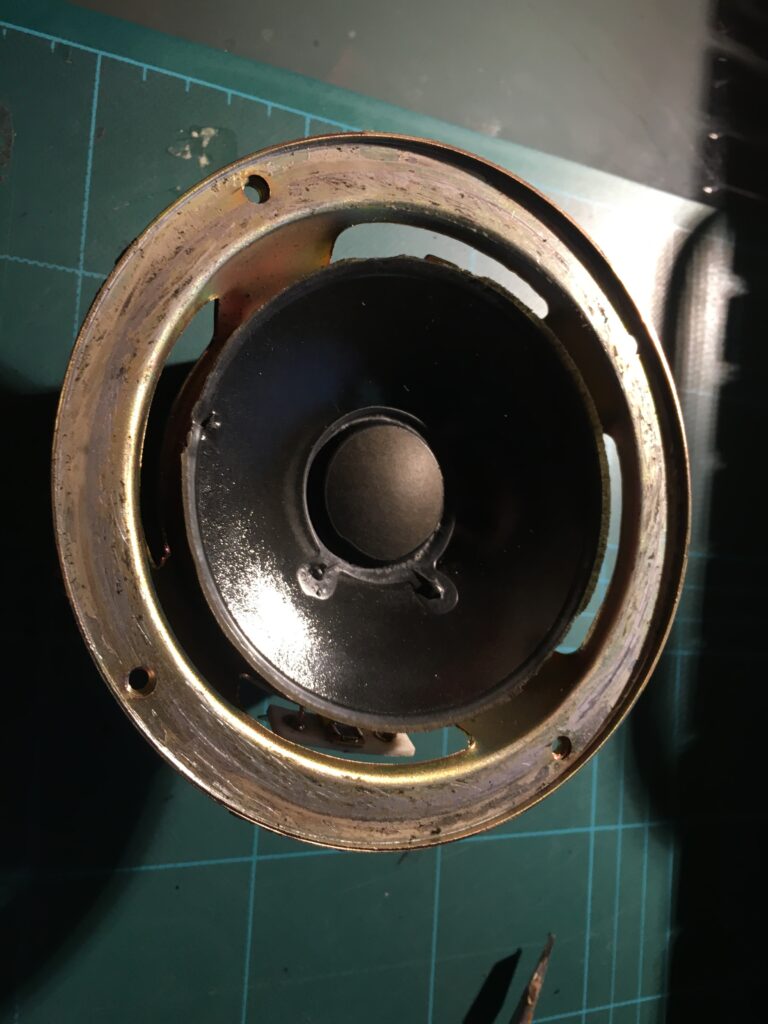
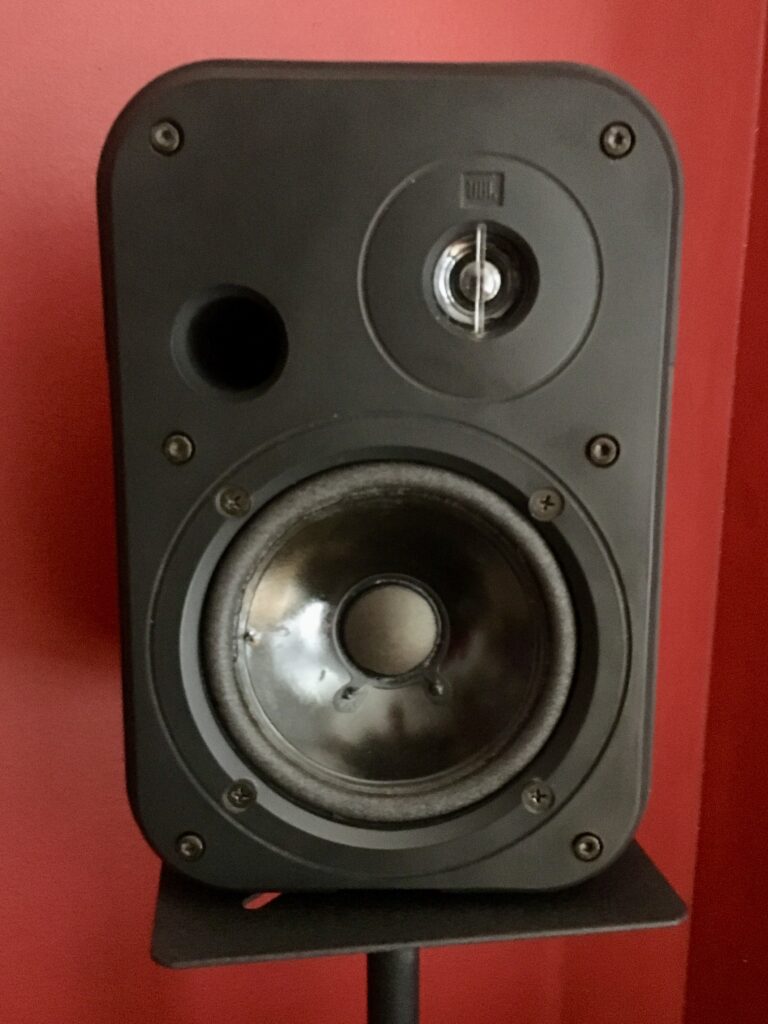
  • Restore my old amplifiers, speakers and bring back into operation – possibly re-housed

So the key tools are a mix of old and new:

  • Soldering Iron 15W – though subsequently replaced with a 25W
  • De-solder suction tool
  • Soldering repair mat
  • Helping hands
  • Long nose pliers
  • Snips
  • A digital multimeter

One tool missing that I feel I need for the SH-101 repair is some kind of oscilloscope. To get us up and running, I have opted to build a kit – The JYTech DSO Shell.

Basic electronic workbench
Posted by creacog, 0 comments

Spring 2021

My professional focus is now firmly in a world of Product Ownership having joined a company building a RegTech platform. Outside of career interests, it it time to return to some older hobbies.

I have a growing interest in retro-computing, having grown up with most of the machines common in the retro-computing space. Indeed I still own my old ZX Spectrum, Atari 512 STFM and Mac LC. I definitely want to give the Mac LC some care and attention. I find inspiration for this from YouTube channels:

I dabbled in electronics through my youth… typically projects alongside my computing and musical interests. My main effort was in building amplifier kits and speakers. Having been in storage for a couple of decades, they’ll need a good servicing if they are ever to be used again.

Where I can make simple repairs, I can and will. I have a couple of old synthesisers which need work. Again, I find great inspiration via a number of YouTube channels:

Posted by creacog, 0 comments

Speaker repair

I have an old NAD-320 amp and pair of JBL Control 1G speakers attached to the TV, but hadn’t used them in a while. Trying out Netflix and finding Hans Zimmer Live in Prague, the TV speakers were certainly inadequate. But what an awful crackling sound from the JBLs. They were about 20 years old, but hadn’t had too much use. Taking off the grill, and the reason was clear…

The foam, around the main cone had gone crispy, cracked and started falling apart. Even 20 years on it is still possible to buy JBL Control 1 speakers new, but I didn’t want to dump these if they could be repaired.

There are a number of repair videos on youtube (search for “jbl control 1 foam repair kit”) and I found a kit on eBay (though the seller doesn’t appear to be there at the time of writing) consisting of replacement foam baffles and glue.

(edit 9/9/2020: A decent repair video published this year)

Armed with these and a screwdriver, I set about it. Taking photos before disconnecting anything to make sure I could reconnect properly…

Then it is time to get rid of the old foam, held in place by glue in addition to being clamped to the speaker case. Firm but delicate screwdriver action required, especially where the foam is glued to the cone…

Since the foam had denatured it was quite difficult to clean away from the metal frame.

Kicking myself when a slip of my scraper slightly damaged the left part of the cone – though not enough to go through, and not damaging performance in any detectable way.

That done, glue applied around the metal frame and to the back of the cone, and the new flexible foam pressed into place and reassemble…

End result – looking like speakers again, and more importantly sounding crisp and clear.

Posted by creacog, 0 comments